
Something my workspace has always lacked, is a permanent residence for all the small odds and ends of equipment. Things like assorted battery chargers, phone and laptop chargers, device programmer, USB HD docks, EPROM eraser, scanner, etc. Plus a dedicted PC for the scanner, docks, device programmer, and old storage formats like IDE drives and floppies. I'm forever having to find a spot to put these, then tidy them away, forget where I put them last, search for them, set them up again, put them away... I'm sick of it.
Also now there's one piece of test gear (HP 4342A Q-Meter) with the oddness of test connections on the top lid, meaning it can't be used up on a shelf or in a rack. Currently there's nowhere convenient to set it up permanently so it's usable without a hassle.
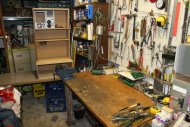
There's just one free spot left in this room that could serve all these needs.

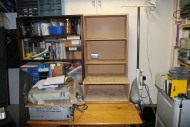
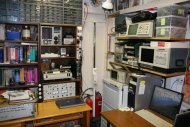
The large doors are because theoretically this building is a garage. There's very rarely any need to open them, so using the space there is OK. The bookshelf on the left for instance. In front of that is a small desk on rollers, acting as a movable extension to the main desk at right.
What's needed is something in that space, to organise all the assorted bits and pieces of stuff I want to have permanently set up and working. It's time to do it.
As usual lately I'm cash-poor, junk-rich. So I decided to do this construction project using only old recycled materials I had lying around. Saves money, and uses up some of that junk — which all takes up space. Rummaging through the lumber piles I found:
Another thing this setup would need, is something to plug all the bits of equiment into. There will be a lot of power cords, and it's a nuisance to have to keep moving them. Ideally there'd be a master switch, and sub-switches for groups of things like battery chargers. Plus a few outlets for things that should stay on all the time, like a NAS.
There was an intense and detailed planning stage. Ha ha... well not really. These are the 'plans'.
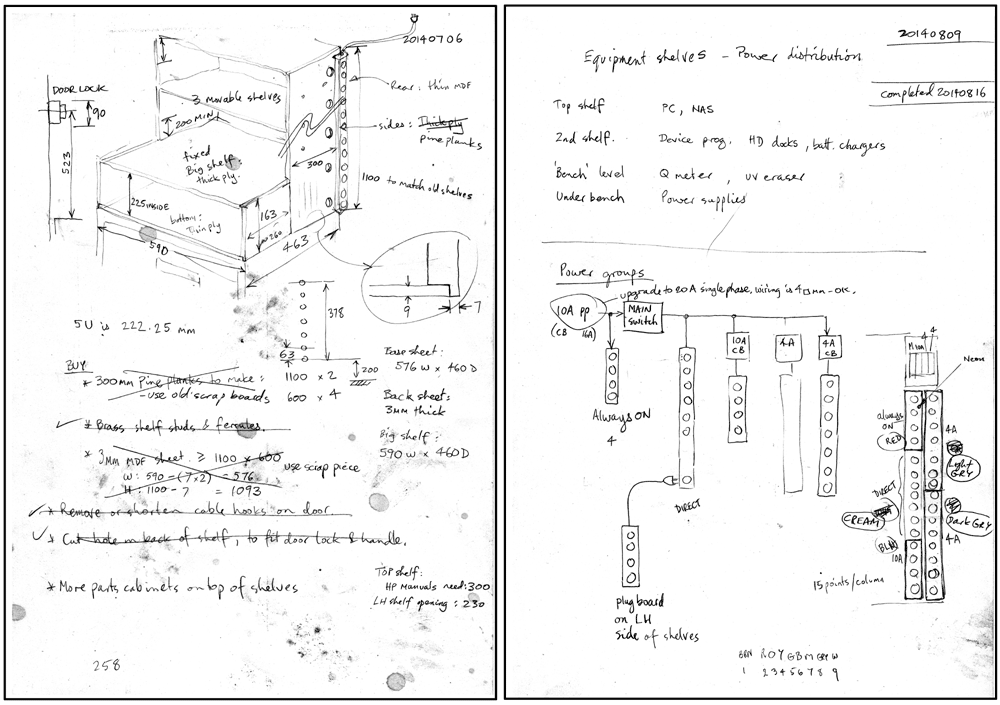
Drawn up in consultation with my cats, who made their useful contributions with wet paws after coming inside on a rainy day.
 |
 |
 |
 |
 |
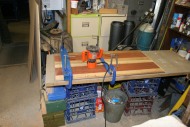
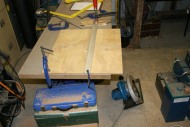
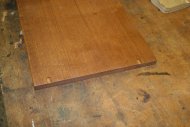
And so once more unto the carpentry breach. Err.. I mean bench. Choosing sizes was easy, since this has to sit on top of (and match) an old chest of drawers. Also the top should be level with the adjacent shelves, since I want to run more sets of metal parts drawers across the top.
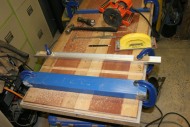
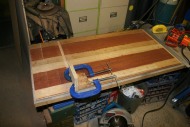
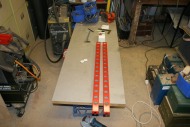
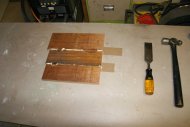
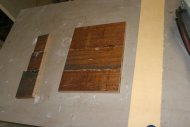
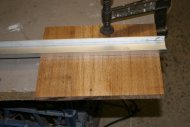
The top two shelves should be movable. Obviously the holes for the shelf pins have to be identically spaced in each of the four columns, or the shelves won't sit level. To get them exact I made a drill guide from a bit of scrap wood. The 4th pic shows the guide registered against a reference (one of the routed slots) for drilling. The template strip is screwed to the block, and the bit of plywood is a press fit in the reference slot. So there's no manual adjustment at all — just slot it in and drill the holes, four times.
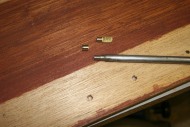
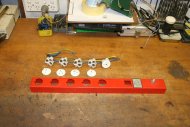
The holes also have to be all exactly the right depth (to fit the brass ferrules) so that was done in the drill press using a set depth stop. Once the holes are ready the brass ferrules are punched into place using a drift made especially for them. Do not just hit them in with a hammer, as this deforms them and the pins won't fit. Since I'm going to be sanding off the stain later, I punch them in slightly below the surface.
 |
 |
 |
 |
 |
The ferrules in place. Oregon is a very soft wood, and I wouldn't trust short metal pins set only in the wood. Considering the value of some things that are going to be sat in these shelves, I don't want any chance of accidents. The ferrules spread the load over a greater area of wood.
It's winter, and during a break two of my cats cuddle up while I'm sitting at my PC.
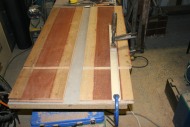
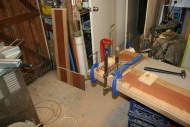
Next, the lower part of the sides have to be extended forwards. This will be done by gluing on pieces using urethane glue. The butt-join faces have to be flat and true, so these get cut with the router.
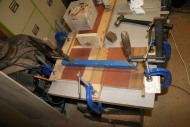
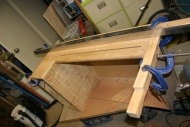
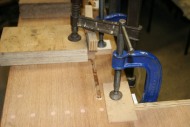
Pics 4 & 5 are the extensions being glued on. Wedges, hammered in hard, are used to press the pieces very tightly together.
Incidentally, that's why for carpentry I prefer this arrangement of a really thick slab of particle board with laminex surface, just sitting on crates. It's extremely solid (so can take the forces), very flat (makes a good surface reference), the laminex is good for putting down the packing tape I use to prevent adhesion of urethane glue to the table surface, and most of all, because it's just sitting on crates, it's possible to use all the edges for clamping. It can also be moved around and made higher or lower to suit the job. When not in use it can lean upright somewhere out of the way. It's actually much better for this kind of work than a fixed bench.
I have several of these massive particle board slabs - all tossed out as scrap by that office fittings company.
 |
 |
 |
 |
 |
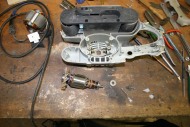
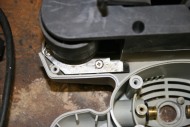
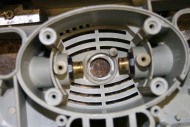
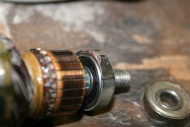
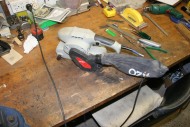
With the sides glued together, I wood-fillered the old screwholes then started to sand off the old woodstain. Whereupon my belt sander began making a nasty noise and a smell. Sigh. Well this is probably going to cost money. I'd assumed the worst, most typical problem with high speed AC motors — failure of the commutator or windings. Happily, on taking it apart it was fine electrically. Instead the end bearing (that takes the sideways load of the toothed belt) had overheated and melted its way sideways in the plastic casing (Pic 3). Result: the rotor had begun rubbing on the iron field poles.
The solution was to replace the bearing (from my collection of salvaged bearings) then add packing to the bearing sleeve to re-center it in the now not-round mounting recess in the plastic case. Also the carbon brushes were nearly worn out, so those got replaced too, using the spares that came with the sander originally. Thank you Ozito - I don't think I've ever seen any other hand power tool manufacturer provide a spare set of brushes.
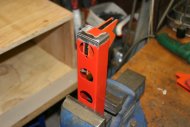
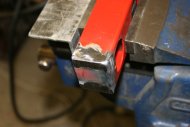
Another problem with the sander was that a side-stop plate for the sanding belt was almost worn through. So I welded the groove away, and ground it flat again. The repaired plate is visible in pic 2 above.
 |
 |
 |
 |
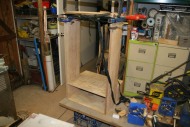 |
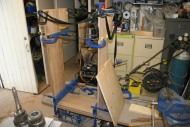
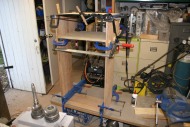
With the sander working again, and the three fixed horizontal shelves all cut to size, it was time to assemble the frame.
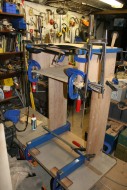
Urethane glue is relatively unforgiving - it sets fairly fast, and it's extremely strong. You don't get a second go at putting something together. So when doing multiple joints at once, it's essential to jig everything up so it just clicks into place once you have the joint surfaces coated in glue. This means completely assembling the whole structure without glue, and adding whatever clamps and end stops are needed to allow reassembly (with glue) to proceed without delays and screw-ups.
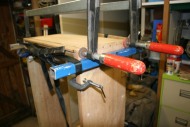
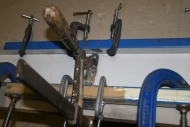
You also must work out beforehand how you're going to apply the necessary clamping forces. Sometimes these need to be very high, and distributed correctly along joints. Often across distances too great for G-clamps to reach. There are cabinet-making clamps for this, using clamps that slide on long metal rails. But I don't have any of those, and anyway there's a better method using steel sections and strong webbing. The webbing is twisted tight with a stick passed through a loop, and this can produce very high forces. It's also easy to lock off, and the webbing is much easier to store when not in use.
In this shelf there was an extra problem. One of those old boards from the waterbed had warped. Like this, seen in end section:

The wood is soft, and the warp is easily straightened out under pressure. So long as the attachments to the fixed shelves were solid I figured it would be OK. But they did have to be solid. Nails, and in the case of the thick plywood 'bench shelf', lots of screws. But all this had to be prepared for before gluing.
 |
 |
 |
 |
 |
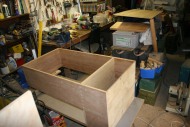
With the main body done, the back sheet was next. It's rebated into the sides, glued, and then nailed as well. The nails are really only used to hold the back sheet in place as the glue dries, since Urethane glue foams up as it cures. Things not held in place will be pushed apart by the foaming glue.
With the back on, the shelf can be tried in it's place. It's annoying to have to cut that hole for the door lock, but I don't want to have to set the entire thing that far out from the doors. Besides, it's all scrap material, who cares about holes, right?
There are a few more things to do on the shelves, but here is when I started making the power outlets unit. This too would be entirely constructed of salvaged materials:
 |
 |
 |
 |
 |
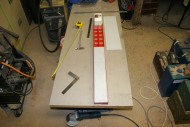
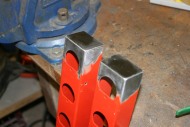
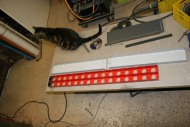
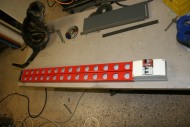
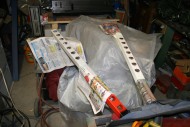
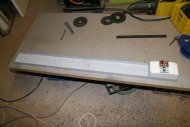
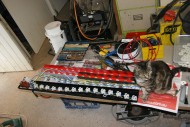
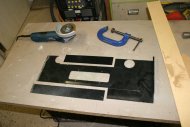
The 20-way power rails had been mounted in racks, and had no rear cover. Not safe for exposed use. Since I wanted a single unit with two 15-way side-by-side strips, the circuit breakers at the top, and a secure cable mount, some metal working was needed.
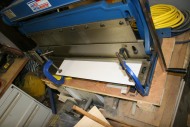
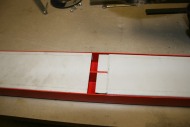
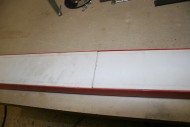
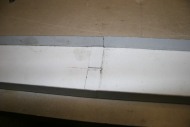
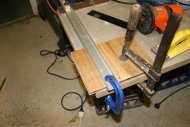
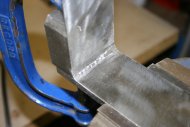
My sheet metal guilotine and folder is too short to do a backing piece for this, so it had to be done in two halves. To then be welded togther to make an electrically contiguous single back shield.
 |
 |
 |
 |
 |
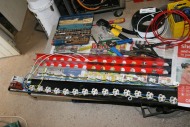
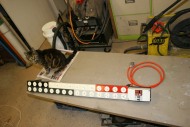
The differently switched segments of power outlets are spray painted to color code them for clarity.
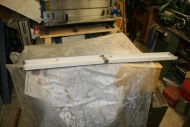
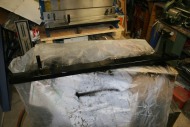
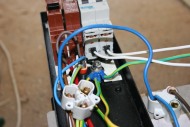
I mentioned a 'three phase 4A circuit breaker.' What I actually wanted was two independent 4A breakers. What I'd found in my box of assorted breakers was one three phase 4A breaker. Fortunately, the three phase ones by this manufacturer are just three single phase breakers clipped together, with little plastic clips for the body, and a couple of steel pins that gang the moving parts together. Then at the front there's a single control bar that allows the three units to be set on or off as one. It's easy to separate them into individual units. The only 'mod' needed is to cut the control bar into separate pieces, one for each breaker. So in these pics the gray circuit breakers are two separate 4A units, that were once parts of a three-phase unit.
 |
 |
 |
 |
 |
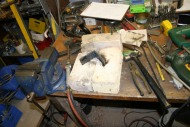
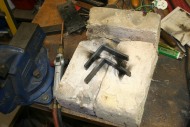
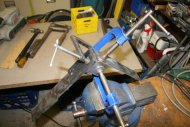
The structure will be screwed to the side of the shelf, via two right angle brackets. I have plenty of scrap steel bar lying around, so making these was a quick 'blacksmith' job — the bar is heated up to red heat with an oxy torch, then quickly clamped in the vice and hammered to a sharp 90 degree bend while red hot. Holes are drilled in them, and the ones to attach to the rear of the power strip are tapped for M4 screws.
Once the rear panel is assembled it's spray painted black. (Using an old nearly empty tin of spray paint.)
 |
 |
 |
 |
 |
Wiring it up. Fortunately I could retain most of the wiring of the original strips, and only remove a couple of segments of the Active line along each strip. Once again the bootlace crimper proved invaluable. It was quite tedious refitting 30 of those outlet sockets to the metal strips. But the end result is worth it.
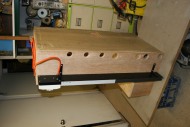
By the way, to the electricians recoiling in horror at the use of a 10A plug as the source for that whole outlet bank, yes, it is inadequate. That circuit in the building has a 16A CB and 4 sq mm wiring. The wall power outlet and the plug on the end of this cable will be upgraded to a 3 round pin 20A outlet soon. The 10A one is just for 'testing'. In practice, the sum of all loads in this system will be less than 1KW, usually less than 100W, so it will do for now.
 |
 |
 |
 |
 |
In the meantime, I'd also cut a couple of movable shelves out of those hardwood planks. They looked nice in place, but I'd discovered something annoying. That warped plank again. Despite being forced flat at the top and bottom of the cabinet due to being solidly fixed to the horizontal planks, in the left hand long upright section it is still bowed out. Enough that with the shelf mounted it's really obvious. Enough that it bugs me, and I know it will always bug me if I don't fix it somehow.
But how? And what are the chances of whatever 'fix' I try going wrong, and ruining the entire cabinet?
It's these situations, where further experimental work has to be applied to something that's already taken a lot of effort to produce, and the considered actions have some chance of converting existing work to evil, that scare me.
So I thought about it for a few days.
The first idea was to steam the timber, while clamping it flat. But this has the practical difficulty that I can't think of ways to generate the steam, confine it to just the bowed board, and not steam other parts like the MDF backboard (which would be destroyed.) So that was out.
Obviously the fundamental problem is that the wood near the center of the tree-rings structure (see diagram of the warp) had shrunk more than the rest of the wood. Resulting in stresses that deformed the plank. The plank to either side of the stressed area was still relatively flat. So I figured that if I just cut a slot through the center of the stressed area, the two pieces to either side would be drawn back to flat by their end attachments to the shelves. Like this:

Then I'd make a press-fit filler strip of wood, glue it in, plane and sand back to a smooth surface. Should work. Theoretically... But I've seen enough of my plans go horribly wrong, that I didn't have a great deal of confidence.
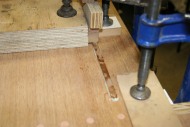
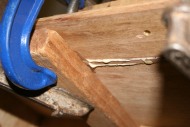
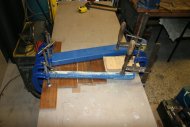
Anyway, finally I worked up courage to do it. Cut the slot. Yes! The timber did go back to almost flat. Made an insert strip from some scrap Oregon, made back-stops that allowed the inset to stick out about 1mm on the inside (so it can be sanded to flat), set up all the clamping, and glued it in.
Which left me with some time to kill before I'd know how it would look after cleaning up the surfaces. For this I wanted to give the glue at least 24 hours to fully cure.
 |
 |
 |
 |
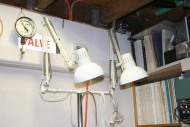 |
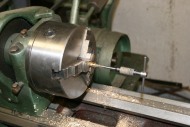
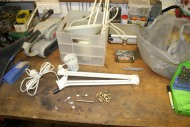
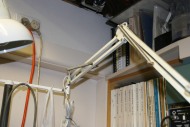
There was a chore I'd been putting off. I have three planet lamps, that have all failed due to a silly little plastic part they used to secure the ends of the arm-support springs. The plastic breaks eventually, so then the lamp is useless since the arm won't support the weight of the lamp fitting. Cheapness, or planned obsolescence, who cares what the reason was — the result is the same. You're supposed to buy a new lamp.
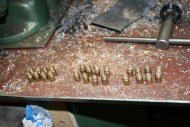
Phooey to that. What I need is 3 x 8 non-breakable replacements for those plastic pieces. And I have a lathe plus a stock of brass rod. Easy.
Just a bit tedious making 24 identical small machined and threaded brass parts. It took an evening. Ah but the feeling of satisfaction of defeating an example of either planned obsolescence or stupid product design! Priceless.
Ha ha... and then the next day, entirely by coincidence, a relative gave me another identical planet lamp, with the same broken plastic spring anchors. No, I hadn't made spare brass anchors. Sigh.
 |
 |
 |
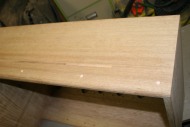 |
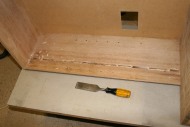
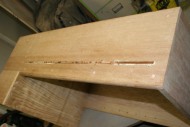
That evening I attacked the sticking-out wood of the inserted strip in the shelves. A quick job, and the end result was quite acceptable. Best of all the shelf side is now nearly flat. There's still a slight residual bow, but it's not particularly noticeable. So overall a success.
And then of course a long interval of rainy weather set in, so it didn't seem like a good time to stain and estapol the shelf. Also, I needed the shelf sitting next to the workbench for use as a 'size guide' while constructing the next stage of this project. That of the article title.
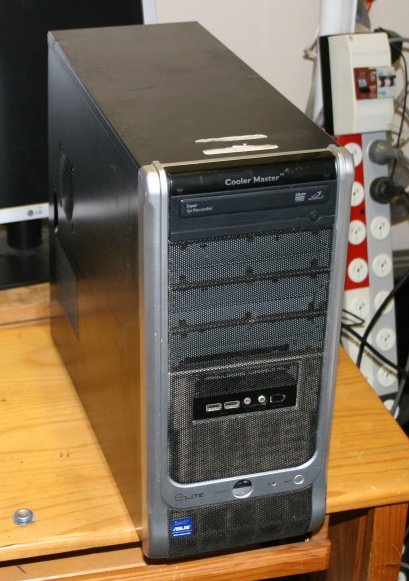 Allow me to introduce to you a rotting corpse, disinterred from that traditional graveyard of old PCs, a kerbside rubbish pile. This is Mr Gutless, and he is a dead machine, never expected to rise again in any form. There should be flies buzzing around him, and a bad smell.
From the start I'd known there needed to be a PC of some kind on these shelves, to run things like the device programmer, hard disk docks, etc. But other factors had overriding consideration when setting the dimensions of the shelves. I'd decided I wasn't going to try to make the shelves to fit a PC, but rather the other way round. There should be cases available in pretty much every shape and size, right? At worst I could use some small biscuit PC or something.
Now the shelves were effectively complete, I started to look into the PC question. Firstly all the old biscuit PCs I had were useless - too slow, or lacking odd cables, or USB 1.0, etc. I have piles of old (and some not so old) desktop PCs — but their cases are all far too big. The two laptops I have are also unsuitable for this, due to lack of enough USB ports, parallel ports, RS232, etc. Besides, I want to be able to connect multiple floppy drives, and removable drive trays (both SATA and IDE.)
So really, what's needed is a desktop style motherboard, in a compact case. Hmm... hey google, is there such a thing as a 'bookshelf PC'?
Well of course there is! There are many.
But astonishingly, as I skim through advertisements for 'bookshelf PC cases', it becomes apparent that no one seems to take the word 'bookshelf' seriously. Or maybe the manufacturers don't have experience with actual bookshelves? Because all the designs have connectors and air vents on multiple faces - always the front and rear, but also usually on the sides as well. Are you kidding me?
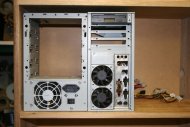
What I want is a PC case, more or less cubical, with everything on the front. All the connectors and all the vents. Including the power supply, mains cord, card slots, buttons and LEDs, everything. All five other faces must be blank. Because the back of the unit will be hard up against the back of the bookshelf, the top must be blank to keep dust out and to allow things to be laid on it, and the left and right sides should be possible to put hard against shelf sides or um... books, strangely enough. Or whatever. This is a practical requirement, and it overrules appearance. Sure, I know having the mains cord close by the other cables and buttons will look rough. I don't care!
At this point one of those wonderful moments of serendipity occured.
I was thinking about how I'd deal with this problem, and whether it might be feasible to improvise a PC case to suit my needs, on a Monday when I was driving round to visit my mum. In her suburb, a few blocks from her place, someone had a pile of junk on the kerb for council rubbish pickup. What caught my eye and made me pull over was a quite large flatscreen LCD TV. I'd not previously had opportunity to dismantle one that large, so besides the likely useful parts it would be fun.
Standing at the pile I found there was also a desktop PC case. The side cover was removed, there was no hard disk and everything inside was covered in a grotesquely thick shroud of dust, so initially I didn't pay much attention. Then I noticed the case side was lying nearby, so the case at least was complete. Then realised that underneath the dust the motherboard was a fairly recent model. So I grabbed the whole thing along with the flatscreen, mostly out of curiosity to see what it was.
 |
 |
 |
 |
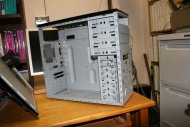 |
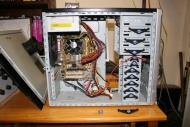
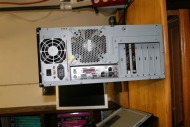
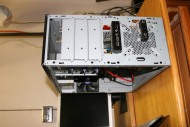
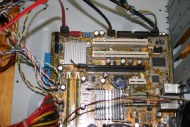
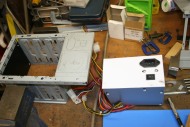
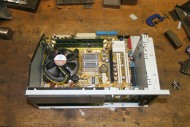
After blowing out the dust with compressed air, it's not a bad machine, despite containing only a motherboard, DVD and PS.
The board is a nice ASUS, in a good small form factor. Perfect for what I want.
  Motherboard: ASUS P5GC-MX/1333  Rev 3.05G
  CPU: Intel Core 2 Duo.  2.66GHz/6M/1333/06
  DRAM: 2 x Kingston KVR667D2N5/1G   1.8V
  DVD: writer model SH-S203   (SATA)
  Motherboard info:   http://www.asus.com/Motherboards/P5GCMX1333/
It has 4 SATA ports, many USB 2.0, one IDE, one floppy port, built-in graphics, a couple of PCI slots, a PCIe x16 and a x1, serial and parallel ports, and ethernet.
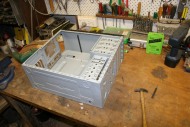
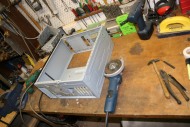
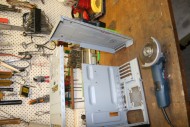
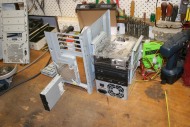
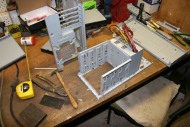
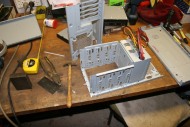
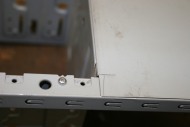
Well then. Strange Fate has handed me a PC case and functional board, at the exact moment I was pondering what I'd use to construct the odd form of PC case I need. Furthermore this case is 'broken', since the plastic power-on button is snapped off. The case is also made of very lightweight sheet steel (easily hacked), and I already have more PC cases than I could ever need. So there's no reason in this world or the next to consider this one as anything but an invitation to twist it into whatever unnatural form suits my desires. If it doesn't work out, there's zero loss. I can just dump the hideous malformed product of my experiments in the river. Or perhaps better the local metal recyclers. If there's not enough suitable body parts in this one case to stitch together into some unholy abomination of a PC, I have other PC cadavers on ice in the crypt/attic that will serve as donors for organs and limbs.
So I clear off the autopsy slab, and get out my knives, bone saws and stitching needles. I first named this machine 'Gutless', but it shall become known as Frankenstein. Oh no wait, sorry Mary, that's me isn't it? This ungodly constructed PC will be my nameless monster. Which I shall call 'Nameless'.
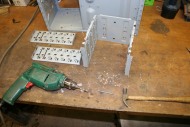
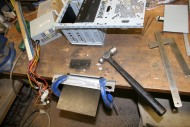
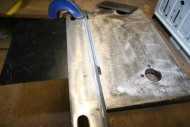
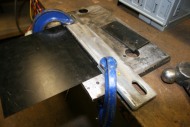
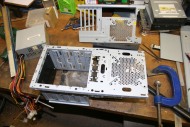
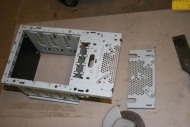
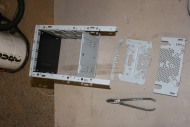
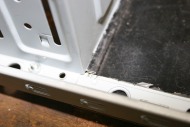
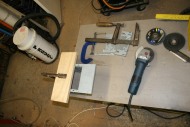
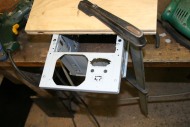
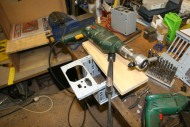
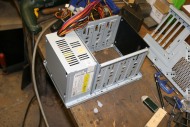
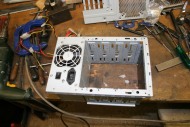
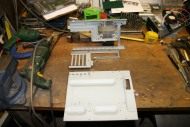
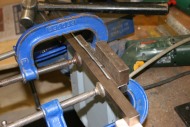
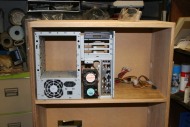
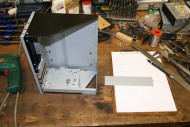
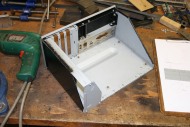
PC hacking with tin snips and hammer, bwahahaha! Since I don't have a spotwelder, it will mostly be held together with nuts and bolts. How apt.
I fervently hope the villagers never get wind of this.
 |
 |
 |
 |
 |
 |
 |
 |
 |
 |
 |
 |
 |
 |
 |
 |
 |
 |
 |
 |
 |
 |
 |
 |
 |
 |
 |
 |
 |
 |
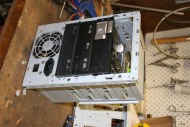
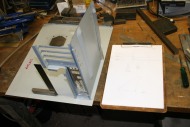
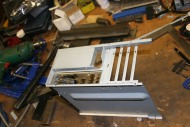
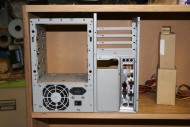
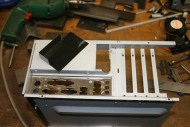
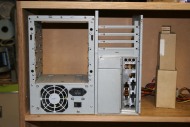
It's becoming apparent that this may work out quite well. Even the airflow should make sense, though it might need deflector vanes to stop the air going round and round in a circle, due to the proximity of the intake (at right) to outlet (the power supply fan vent.)
Considering how well it works, it's surprising no such thing seems to exist commercially. I guess the rationale for manufacturers not doing this is that it 'looks ugly, and customers would find it repellant and disturbing'. But so what? In pursuit of the higher principles of Bookshelf, one can't afford to be squeamish.
And so, putting aside any nagging doubts and other weaknesses, on with the experiment.
 |
 |
 |
 |
 |
 |
 |
 |
 |
 |
 |
 |
 |
 |
 |
 |
 |
 |
 |
 |
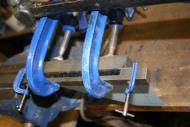
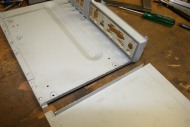
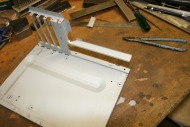
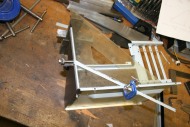
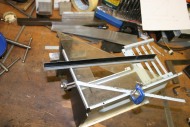
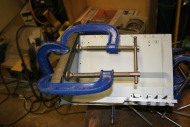
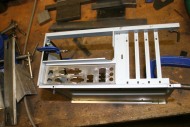
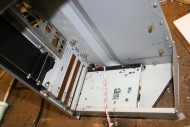
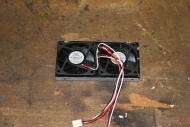
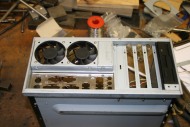
The two flat blank panels are separately removable. The larger one will carry the two 60mm fans that suck air into the case, and the smaller panel is intended to carry the power and reset buttons, Power & HD LEDs, and any other custom controls required. Long ago I had a PC with several older floppy drives, and a switch to select which one was B: drive. Still considering something like that here.
The air intake will have a removable dust filter made of a green dishwashing scourer pad.
Now that I realize how easy it is using my guilotine to cut plain flat sheets of steel free from all the edge folds etc of standard PC cases, I'm kicking myself for all the old PC cases I crushed and took to recycling in the past. That thin steel is quite useful.
 |
 |
 |
 |
 |
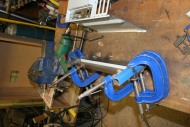
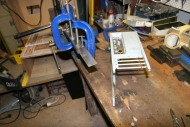
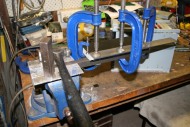
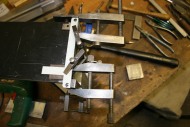
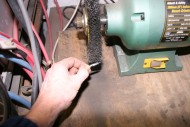
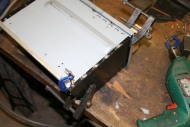
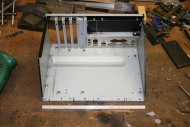
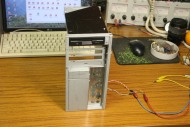
Making the top end panel for the motherboard module. This time I managed to get both corners identical, instead of botching one as I did with the bottom end panel on this module. I'd also been adding the soldered-on M3 nuts to all the joins, due to getting sick of fiddling with loose nuts every time I had to disassemble part of this again. The nuts are 'zinc plated', or is it 'passivated'? In any case, the surface finish does not easily wet with solder. Giving them a quick wire brushing, while letting the nuts spin on a 2.5mm drill shaft does wonders for the solderability.
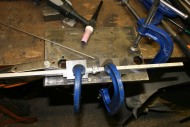
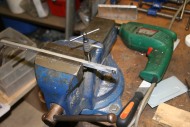
In pic 4, you can see that I had foolishly cut that aluminium stiffener bar too short before. I'd thought the motherboard module was going to be shorter, but then decided to include the floppy drive. Oh noes! It's cut too short! Will I have to make another one?
Nope, I'll just TIG weld some more aluminium bar on the end, then machine it back to square again. My aluminium TIG welding is appalling as usual, but adequate.
 |
 |
 |
 |
 |
 |
 |
 |
 |
 |
Another mistake I'd made was imagining the floppy drive would be centered in the opening. Then after making the end plate I decided to 'left justify' the floppy, and use the space to its right for the machine's Power and HD activity LEDs. For this position I should have included a suitable fold-over on the end plate, for the floppy drive mounting points. Now there's no room for fasteners to attach an extra bit of sheet metal, since the floppy is hard against the corner.
Never mind. I can't TIG weld the thin sheet metal, but I can solder it.
Do I care about ugly? Is my name Dr Frankenstein?
 |
 |
 |
 |
 |
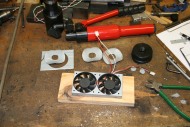
By now the two 60mm fans I'd ordered had arrived. With a little persuasion using an engraver, a few interferences between the panel securing nuts and the fan flanges were sorted out. This was actually planned — I'd known the space available in this opening wasn't quite enough for the nuts and the unmodified fans. In this whole case 'design' (using the term loosely) I've been trying to shave off every non-essential millimeter. It's a one-off, not a mass production plan, so hacks like manually cutting slots in fan flanges are quite acceptable.
If Dr Frankenstein hadn't encountered certain unforseen difficulties with his creation, would he then have proceeded to commercial mass production, I wonder?
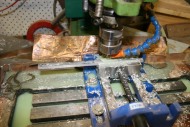
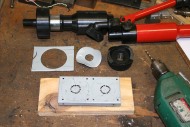
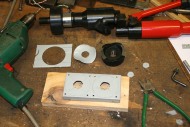
Next for the air vent holes. Making large round holes by hand is a pain, more so in very thin sheet, and especially when there is going to be more hole than metal. And so my hydraulic hole punch becomes pressed into this unholy endeavour. Uncertain if it would work on metal thin enough to be pulled into the gap in the die, I tried it on an offcut of PC case flesh. No moral qualms were expressed by the hole punch with that, and it worked happily on the fan shroud too. It would have been good if I'd had a hole die set a couple of mm smaller diameter, but that missing center segment was easily patched up. No one will ever see it anyway.
 |
 |
 |
 |
 |
 |
 |
 |
 |
 |
With the fans in, this stitched-together PC case is starting to look like it might actually come alive. Even better, the monstrosity hasn't yet tried to grab me by the neck and strangle me.
The body work was nearly complete, so it was time for a tidy up. The less incriminating evidence left lying around the better, I always say. Also I'd decided it was high time to get the wooden shelf part of this project finished. I nearly started lacquering it right then, but decided to give it an official "What have I forgotten?" consideration interval of a day first.
Just as well too. I realised I'd forgotten about the small 4-point outlet I'd intended to mount on the left hand side. That in itself was no problem, but it needed a cable hole cut in the wooden side of the shelf. Which I wouldn't know the location of until I'd made the outlet. And so the lacquering has to wait till after the power outlet is done. Sigh.
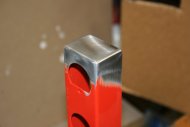
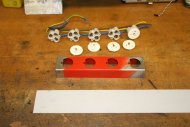
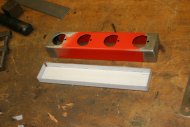
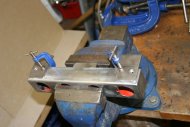
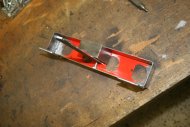
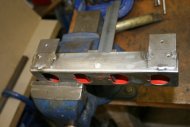
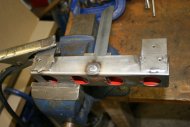
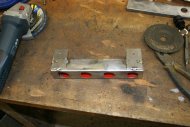
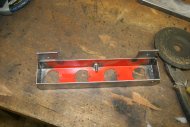
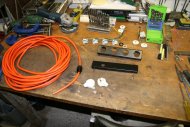
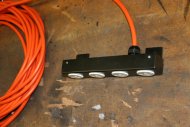
I could perhaps have used a standard 4-point power extension board. However this part will be in front of the bookshelf, and I want it as unobstructive (small) as possible. It has to face forwards, for ease of use, so whatever I do will require a 90 degree mounting bracket. Also it would be nice if it didn't break after a few years. Ah what the hell, to be consistent with the rest of this improvised project I'll construct this too. From one of the cut-off pieces of the original very long power rails, with end-caps welded on. And this time the backing strip is small and easy to fold.
 |
 |
 |
 |
 |
 |
 |
 |
 |
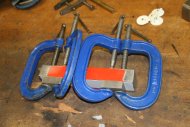
When you have something with multiple mounting screw holes, there's only one quick, certain way to get them all perfect. That is to clamp the pieces together, and drill all the holes through both in one go. No measuring required, no possible errors, they just automatically match exactly.
Another thing this needs, is a separate attachment point for the safety Earth connection. It's neither legal nor wise to use any of the other screw mounting points. Often earth points are a spot welded screw, because that leaves no external part that might be undone. Also looks better. Lacking a spot welder, an even more secure alternative is to just weld the head of a bolt into a hole in the sheet metal. I turned a round lip into the bolt head in the lathe first for better fit, also to remove the zinc plating from the weld area.
Then a quick spray paint (with the earth bolt taped) and assembly. It turned out OK. Ha ha... I didn't want to cut that cable until I had it all mounted in place, so later I had to feed the entire length through the cabinet holes. Amusing.
With the power outlet finished, there was no problem determining its mounting position and cutting a hole for the cable. So finally I could go ahead with completing the wooden cabinet, right?
Well, uh... the trouble with doing things in this improvised, winging-it fashion, is that problems which in the distance look trivial, tend to become more 'interesting' when you get up close and personal.
You notice in the Frankenstein movies, there never seems to be any mention of the smell? A lab with dead body parts lying around; no amount of electrical sparks ozone is going to cover up that stink.
The other thing they didn't mention, is how much Dr Frankenstein must have agonized over the choice of skin tone. I mean in those days people cared about that. A lot. He couldn't just take any mix of cadavers that turned up, or the result would be some kind of ridiculous colour patchwork. People would laugh. Or become outraged and want to lynch him for racial mixing. Nobody would take his work seriously.
I think this whole issue was probably glossed over by the movie director, because black and white film would present some difficulties in getting skin tone matching problems across to audiences.
Normally I like wood to remain the natural colour, with just a clear lacquer. All the other nice carpentry in my workshop is like that — mostly just clear-lacquered pine. But this shelf is going to sit next to something different. The old bookshelf to its left is one of three identical ones I have, made by my grandfather. He'd knocked up a bunch of them for his study and there's nothing fancy about them. Except that I have many early childhood memories of playing in that study, among these shelves packed with fascinating books.
So, I wanted mine to blend in with the heirloom/sentimental bookshelf next to it. As close a colour match as possible.
But that's much easier said than done.
 |
 |
 |
 |
 |
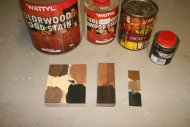
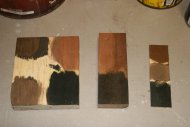
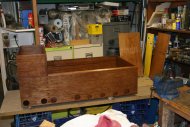
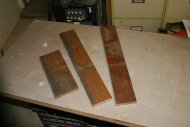
Looking like this (1st pic) isn't acceptable. I needed a stain that was both reasonably uniform on different timbers (plywood and maple) and matched to that dark brown, slightly golden finish on the bookshelf. With the added complication that estapol over the top of stained timber changes the colour of the stain.
I had several old tins of woodstain, but knew they were all fairly reddish and light coloured. I searched in the hardware store for a stain with a similar looking dark golden-brown tint of what is probably aged shellac, but didn't find anything that seemed close. As an experiment I bought a small tin of 'Japan Black' stain, hoping if I darkened one of the stains I had, it would be near enough.
But no... from memories of painting in oils and acrylic in my teens, I knew that some so-called black pigments are actually 'extremely dark green', and become a sickly 'medium vomit green' when lightened. 'Japan Black' turns out to be like that. The brown wood stains are of course reddish-brown, and the result of darkening redish-brown with a green-black, is a colour range that could best be described as corpse-like. However appropriate that may be for this Frankenstein project, I decided not to go there.
In desperation, I tried an ancient tin of 'decking stain' from my paint tins cupboard. It was nearly empty and I can't even recall what it was for originally. Amazingly it matched pretty well! There was even just enough left to stain the whole cabinet, with a little left over. (Fortuitously, as it turned out.)
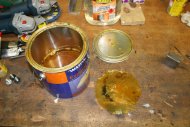
The old tin of estapol turned out to be in its last days too. When there's little left in the bottom, and the lid doesn't seal too well anymore, this is the kind of skin that forms. But there's enough for a couple of coats on this job. Another relic that no longer will be using up storage space. There was a small amount of estapol left over, and I nearly threw it out. The tin lid has really had it by now, so the only way to keep the estapol would be to find another container. Which I did. Luckily.
 |
 |
 |
 |
 |
It had turned out that for some reason the rear sheet of the cabinet had a slight forward bow, which tended to push the movable shelves forward enough to stick out past the sides noticably. The fix for that was small recesses for the support pins, cut with the router. Now the shelves sit firmly, in the right place.
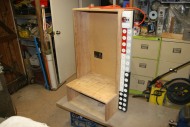
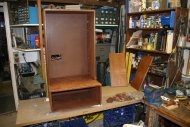
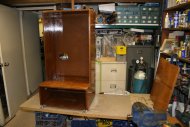
After staining and a couple of coats of estapol, the cabinet is a pretty good match for the old bookshelf.
Yes, the top movable shelf can be positioned exactly in line with the old bookshelf fixed shelf. But due to sizes of things to go on them, and that darned door lock sticking through, they are in other positions.
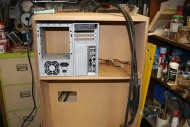
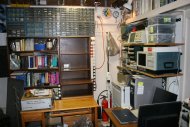
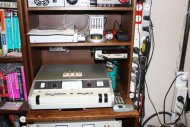
In the final pic, the half-formed travesty of a 'bookshelf PC' is serving as a placemarker.
 |
 |
 |
 |
 |
I've noticed over the years that even when large groups of professional designers carefully pre-plan every stage of a project, they still almost always later discover they forgot something. This is why I don't feel too bad when it turns out I've forgotten something in add-hoc improvised projects like this cabinet and contents. I even think it's quicker and more effective to spend minimal time planning beforehand, and just deal with issues as they arise. Depending on the severity of consequences of course — a matter Dr Frankenstein perhaps should have given more thought before begining his experiments.
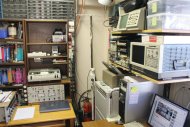
For instance, the HP 4342A Q-meter, which is effectively a center-piece of this effort, is best used in conjunction with a frequency meter. When I had it set up before, I had a small Fluke 1900A digital frequency meter attached. I have a few DFMs, so allocating one permanently to the Q-meter is no problem.
But of course I forgot to consider where the DFM would sit in this cabinet.
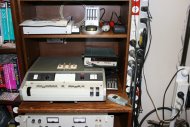
The Q-meter is precious enough that it should be under a dust and dropped objects protective cover when not in use. So its top needs to be clear of obstructions. A good place for the DFM would be up in the top right corner of the space, as in the 2nd pic above. But how?
I recalled there were a few scraps left over of the wood I'd used for the movable shelves. Digging them out of the scrap wood heap, there's sufficient to make a matching partial-shelf for the DFM.
 |
 |
 |
 |
 |
But how am I going to mount it? There are two pin ferrules on the right side, but they are too low for this demi-shelf. The matching pins on the left side are on the other side of the space I want to keep clear above the Q-meter. Also the demi-shelf may not be immortal, so it's preferable to not hack the existing cabinet up any more. That cutout for the doorlock was bad enough.... Hmm, and that could be used as a mount-point. Which gives me three mount points, even though they are all in awkward positions. Is it enough?
Well I like a challenge. If the mounting points won't come to the demi-shelf, then it will have to go to them. That's OK, just more scrap odds and ends to be stitched into the beast. In this case some sheet steel, to serve as mount point juggler.
 |
 |
 |
 |
 |
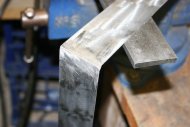
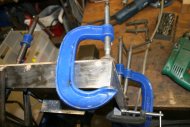
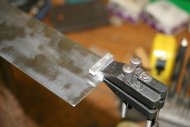
One long strip with a fold would have been best, but the scrap I cut the pieces from didn't allow that. So, a corner weld of 1mm thick sheet. Not the prettiest, but good enough. A few lines of sutures here and there, who cares? This is not cosmetic surgery, and there are no beauty pageants in the creature's future.
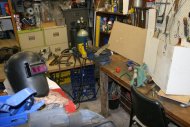
When I'm angle grinding, I often stand a sheet of scrap cardboard downstream in the sparks and filings direction. The tiny sparks can't set fire to cardboard, and it keeps the filings from getting into everything.
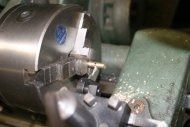
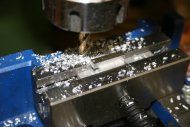
A couple of brass pins will fit into the cabinet's shelf pin holes. Except these pins will be permanently screwed to the metal sheet, so have to be made on the lathe, then thread tapped for the screws.
 |
 |
 |
 |
 |
Over on the left there's a small space for a clip to sit on the edge of that door lock cutout. Totally unplanned, and good luck there's any useful gap at all, so the required shape for a 'clip' is a little complicated. But it's small, hence quick to mill a piece of aluminium to fit. The clip is clamped to the metal frame for transfer drilling before tapping the holes in the aluminium, as otherwise the drilling operation would mess up the threads in the aluminium.
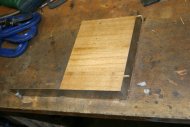
A quick assembly of the demi-shelf to check it actually fits in the cabinet and is stable. It works! Now there's just the painting, woodfilling, sanding, staining and estapol to do.
 |
 |
 |
 |
 |
So that's the cabinet done.
Now to complete the 'bookshelf PC', which still needs an outer case. I don't think Mary Shelley could have ever seen an actual dissection, or she'd have included some graphic descriptions of assembly stages before the creature had covering skin applied. Bodies without skin are notably unappealing to the eye, and also completely impractical. Dust gets into the works for one thing. Also pieces tend to fall out, without a bag to hold them together.
 |
 |
 |
 |
 |
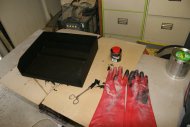
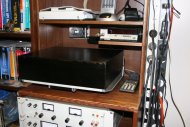
Wait, did I mention a cover for the Q-meter? Besides not wanting it to get dusty, there are glass gauges on it's top surface. As these are directly below shelves on which small, often-used items will sit, leaving it exposed all the time would be just asking for breakages. It really does need a solid protective cover; more than just a sheet of plastic.
If I don't do that now I'll never get around to it. And so...
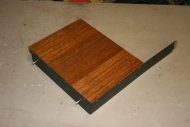
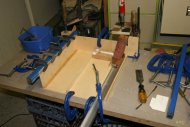
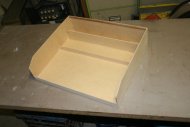
Things like this can be very quickly knocked up with thin MDF sheet, a drop saw, and urethane glue. And clamps. Lots of clamps.
Rather than just leave it bare, I used that 'China black' stain that wasn't useful for the main cabinet, with an estapol seal. The photo exaggerates some staining irregularities, which to the eye are minor and give it character.
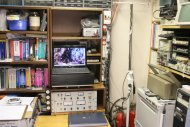
Another benefit is that when the Q-meter is not in use, there's a flat surface for a laptop.
 — A loooong break, for
Multiple
Life
Priority
Interrupts —
Oh, and about the article title. I know, my little cobbled PC case and shelf aren't even close to being worthy of the honor of allegorical association with Shelley's Frankenstein tale. I confess — what I actually did was hijack and recycle that legend, because I wanted a tall, dark and handsome headline. So really, the only recycling of Frankenstein here, is in the title "Recycling Frankenstein."
Hey, newspapers pull this kind of dishonest crap all the time, so I'm sure no one will mind when I do it too.
Hang on, there's someone at the door. brb.
