It was Sunday evening, 8th April. Tomorrow I'd be driving 600Km to Albury to pick up the big Uninterruptible Power Supply.
There had been a lot of dramas getting to this point. Firstly with a mechanic who'd taken three months to do a two week job on my old Subaru — an engine recondition and new clutch. Discovering some incredible defects in the work he had done. Re-registering a trailer, out of rego a few years and so old it didn't have a compliance plate or stamped number. Battling the company who'd auctioned the UPS, then decided post-auction that they didn't like me having won it for one dollar (sole bid), and they wanted an extra $960 to let me collect it. (I'd overcome that demand.) Building myself a robust wheeled dolly and loading ramp, to deal with the unwieldy and heavy UPS.
But now I was all ready. Only need to load the gear in the car.
But first, a few small checks. For one thing; in the last few days I thought I'd smelled radiator coolant inside the car when driving. And I'd noticed the radiator coolant level reservoir tank level was going down slightly.
 |
 |
 |
 |
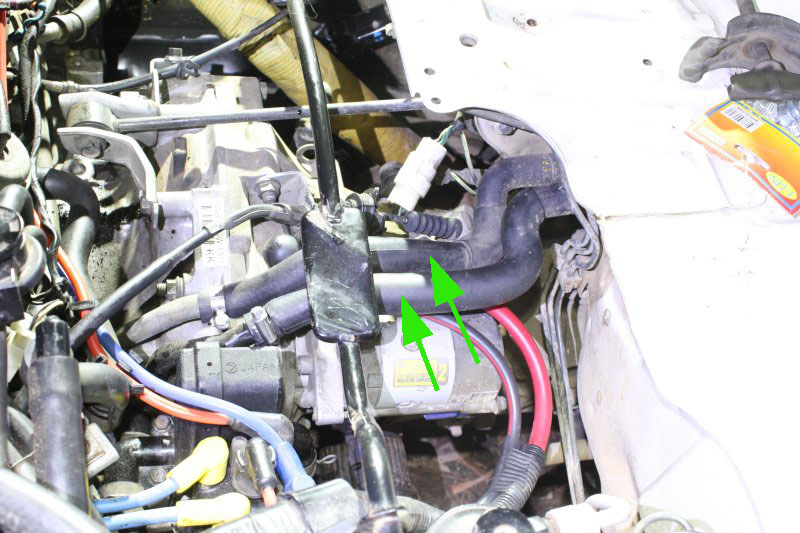 |
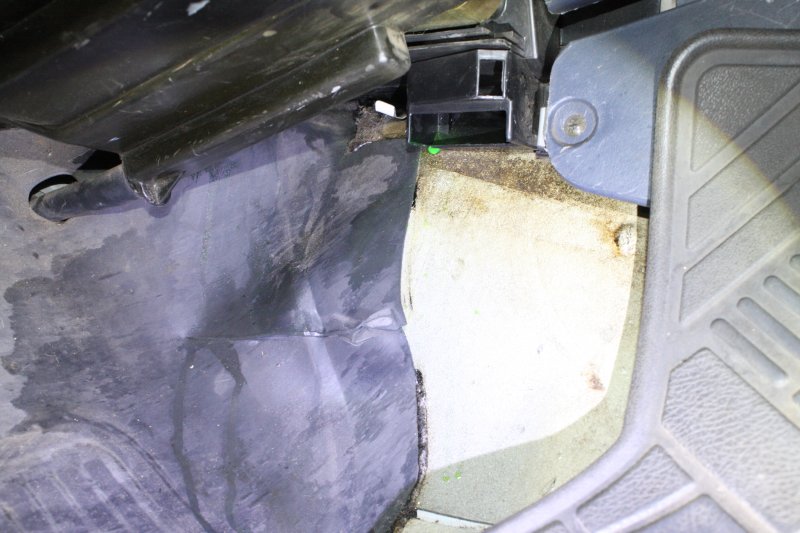
1. Oh %$#K! See that bright green drip? That's coolant. Leaking from the area of the interior heater, under the dash on the passenger side. To get to that heater requires taking out the entire dashboard. I know, I've done it before, when I previously replaced the interior heater just a few years ago. It has a stupid plastic-to-metal seal, I bet that's gone again.
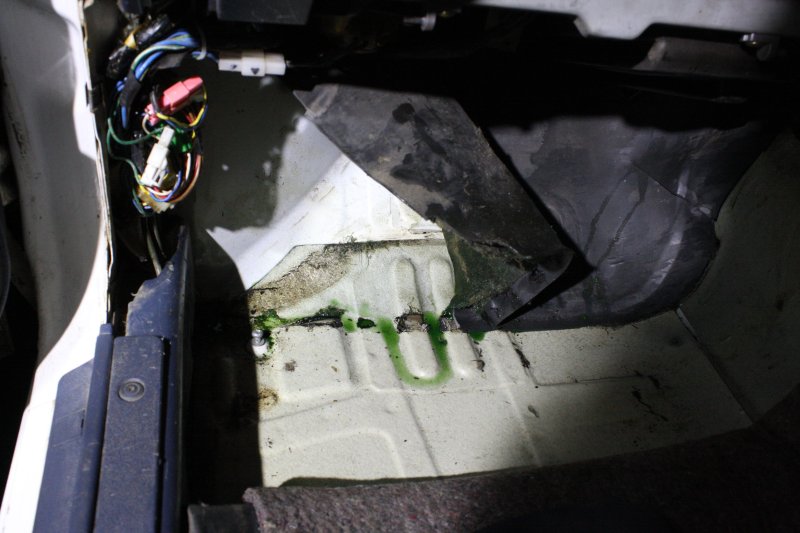
2. Ouch. It's leaked a lot. All the felt insulation under the floor rubber in this footwell is soaked. This is bad. I'm not going to drive the car to Albury with that kind of leak. Nor am I going to try taking out the dash and fixing this in one night before I leave tomorrow.
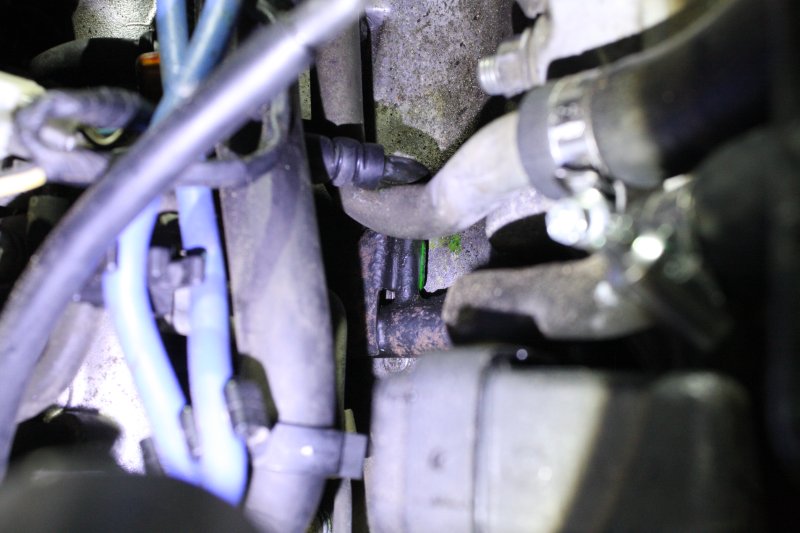
3. Then looking at the interior radiator plumbing at the rear of the engine, I find this. Another coolant leak. This one due to that &%#@ing mechanic not bothering to replace a small pipe clamp. See the small rubber hose slightly above center in the pic? With marks from the old clamp, but none there now. Add this to the growing list of his stuff-ups.
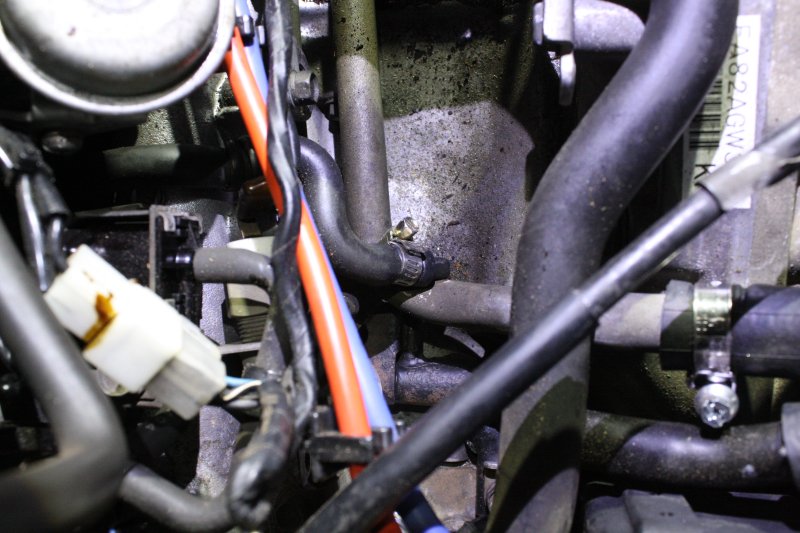
4. A new clamp on that, and then back to the real problem. What to do about the interior heater leak? The pipes to and from that heater are the ones running horizontally in lower right quadrant of the pic.
5. These two. It doesn't matter which are in and out. The only way to do this quickly, is to isolate the interior heater completely.
 |
 |
 |
 |
 |
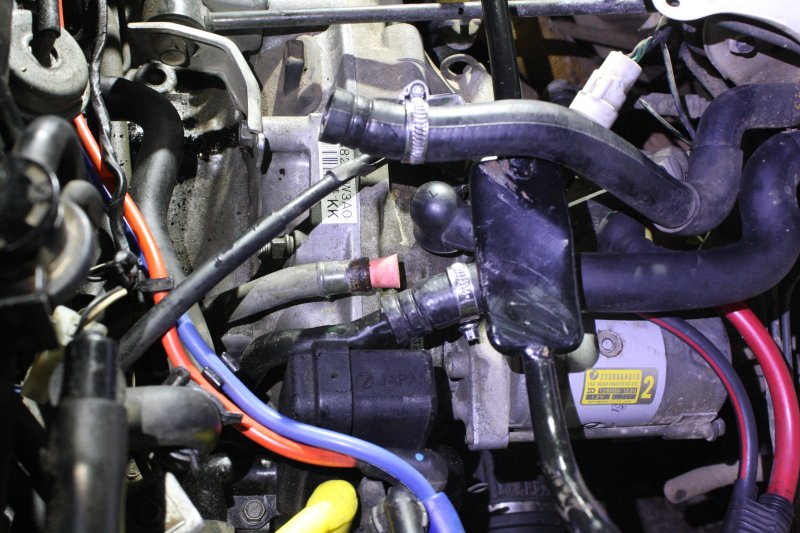
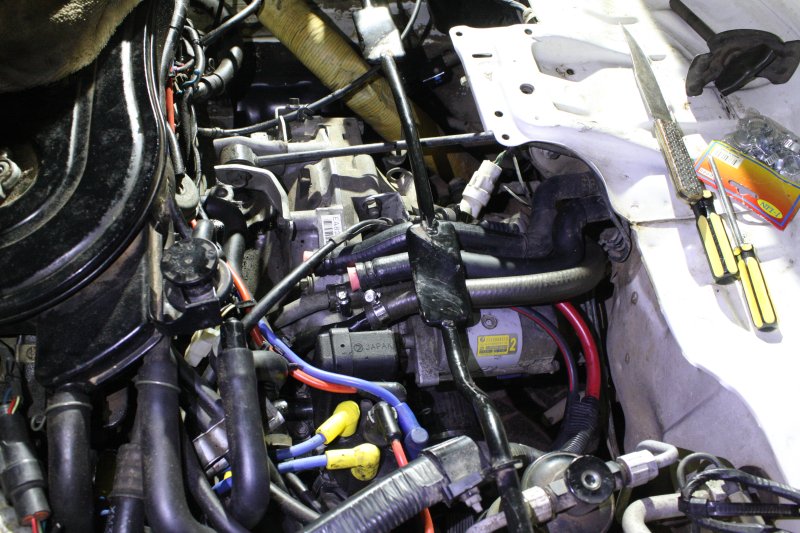
1, 2. Like this. I found some suitable pressure hose, and looped it between the two metal pipes. Air-blew all the coolant out of the interior radiator into a jar, poured that into the reserve coolant tank, and stoppered the now disconnected hoses. It's warm weather still; I won't need the heater or windscreen demist for this trip.
3. As for the soaked felt... can't leave that, it will start the car body rusting. So for now, begin drying it out by stuffing newspapers against it. The paper will absorb the fluid, and I'll just keep replacing the newspapers till it's dry.
4. Leaving! Except the coolant fix had taken up the evening that I'd expected to use packing. So I didn't get away till nearly 1pm on Monday. This and the slow speed I'd be driving with a trailer, meant I'd be setting up camp in the dark. Since I knew where I'd be camping, that wasn't so bad. So long as nothing's changed there since my last visit, and I can use the same campsite.
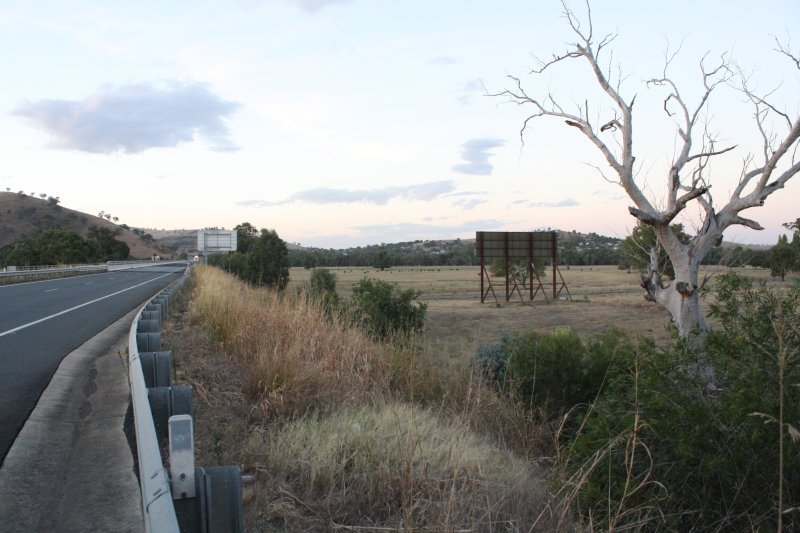
5. The bridge at Gundagai. Great, but this was at nearly 6pm. The Sun is down, and still 150Km to go.
 |
 |
 |
 |
 |
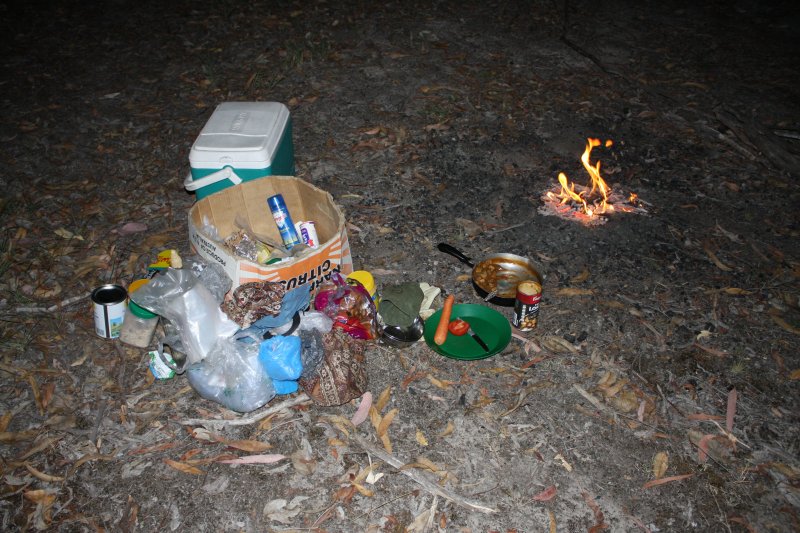
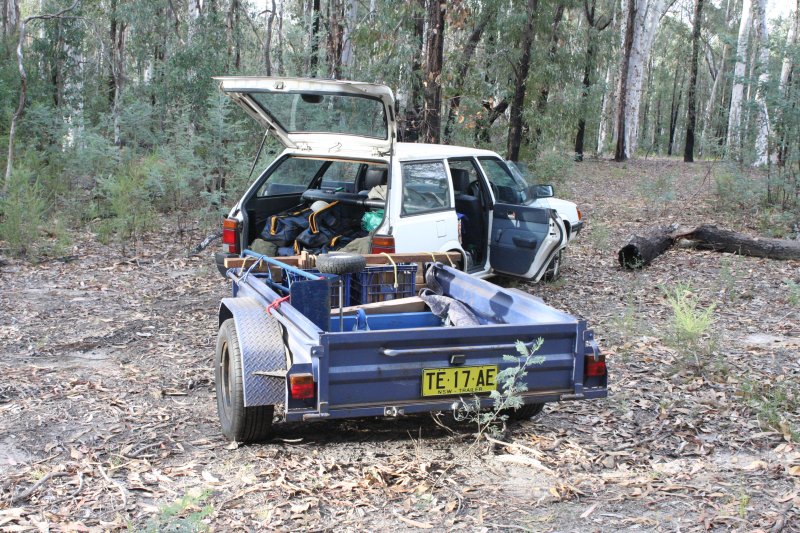
1. Luckily, everything was the same as before. A nice campsite, off road and very well hidden. By the time I was all set up and could warm up some dinner, it was 10pm. A tiny fire, since everything is extremely dry. Just enough to heat a saucepan of food.
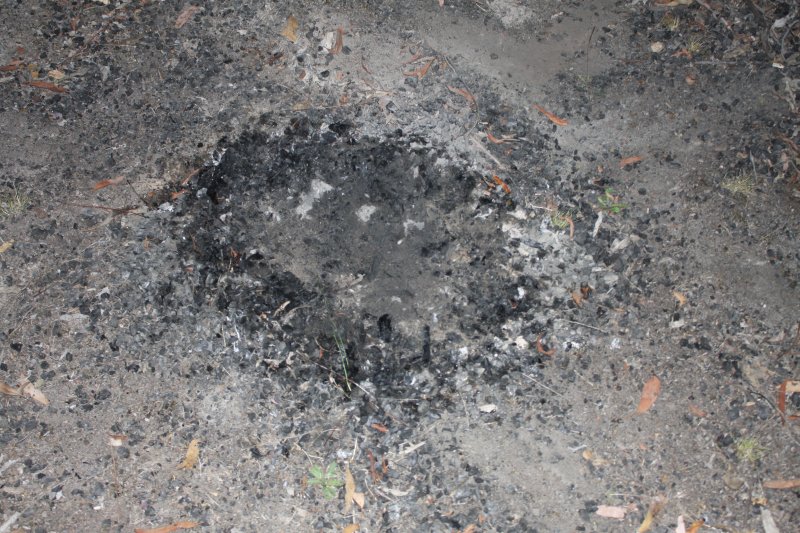
2. Then putting the fire out with water soon after. I had a very comfortable night; no sleeping in the car due to heavy rain like the last time here.
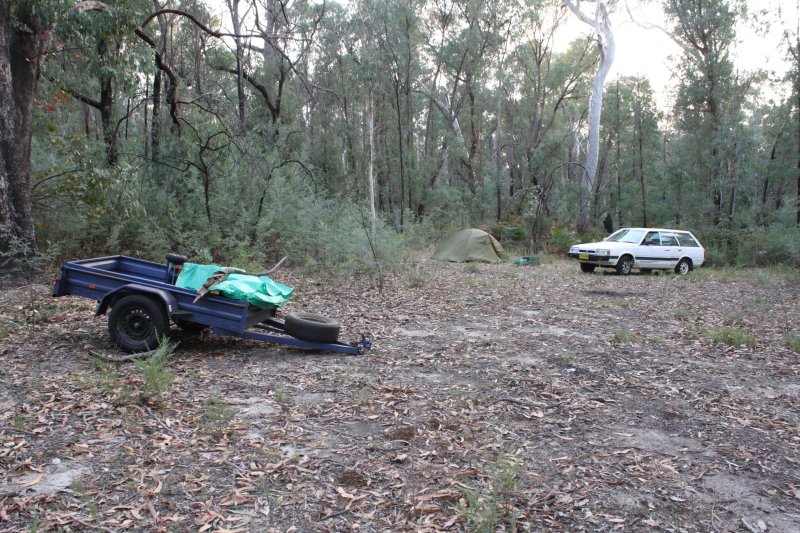
3. Morning, Tuesday the 10th. The day arranged to pick up the UPS. I'm still about 50Km from Albury, so what else is going to go wrong?
4. Nothing yet... all ready to set off.
5. I arrived at the factory about 9am. Phoned my contact there. He seemed surprised to hear I was at the gate. Came out to meet me. And the news is... They have already disconnected the UPS, and moved it up to the loading dock. I can just drive in and load it up.
Hmmm... I didn't know if that was good or bad. The worry was they'd damaged it, or omitted to include the accessories, such as the bypass switch box on the wall. But let's go see what they have, before I start sounding ungrateful.
It turns out, they had done a really nice job. All the bits I wanted, even mostly still wired together. But, missing the cabinet doors and some battery rack shelves. I asked if we could go down to the room where it had been. He was happy to do that. We went down, there were the missing bits. Carried them up.
He said he'd ask the forklift guy to come load it on my trailer. Really being very helpful. I had to ask for some time, since with this unexpected situation I had to reorganise the stuff currently on my trailer, to make room for the UPS.
I felt slightly miffed that I'd constructed the moving gear and carried it down here for nothing. They could have told me they were going to do this. Oh well. But really I will need them still at my end, and this has been a big help. I'm gratefull.
There may once have been a printed manual and CD of software for the UPS, but these could not be found. As I'd about 95% expected. Lost sometime in the years since the factory bought the UPS, presumably.
 |
 |
 |
 |
 |
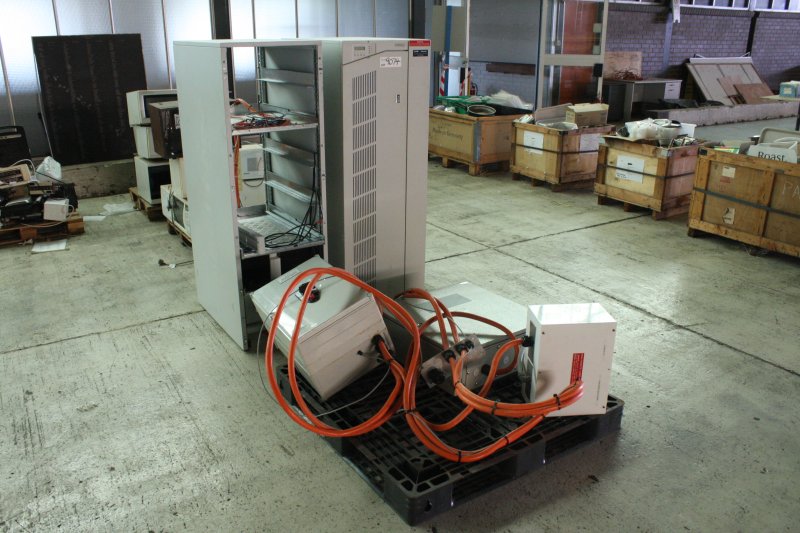
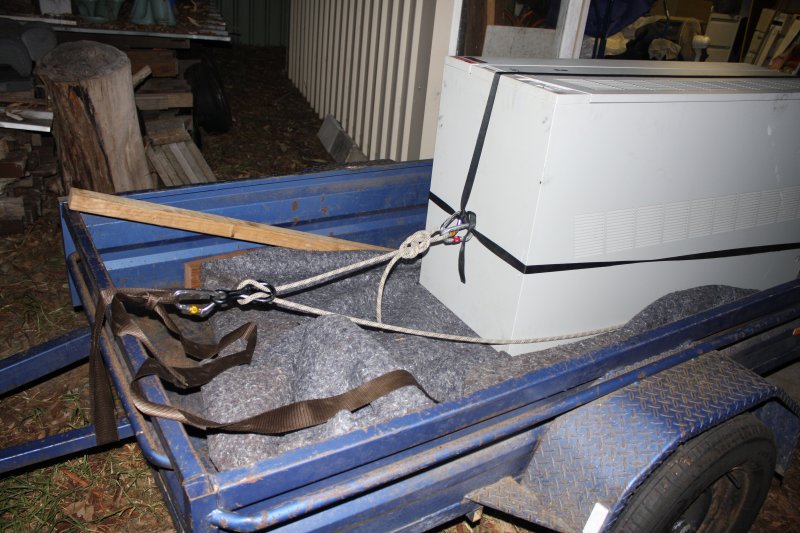
1. Also, to be able to pack it (some in the car, some on the trailer), I had to disconnect most of the cables still interconnecting the various cabinets, remove the remaining batteries, etc. That took a while. Around midday I was ready. The only thing I needed help with was the main UPS cabinet, and that with myself and the forklift guy, we just tilted over and heaved up onto the trailer. Lots of padding! Then a bit more time to rope it all down, and I was away.
With the trailer, wind drag and UPS weight my car was lucky to get up to 80Km/hr, even downhill. It was going to be a very long drive home. Had lunch at a miserable truck rest stop. Picked up a hitch hiker at Gundagai. Dropped him off at my local train station in Sydney, which fitted his needs well.
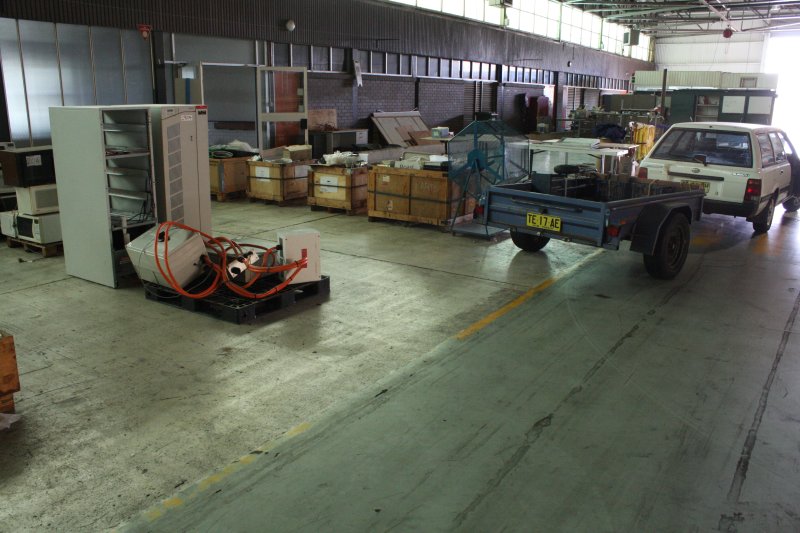
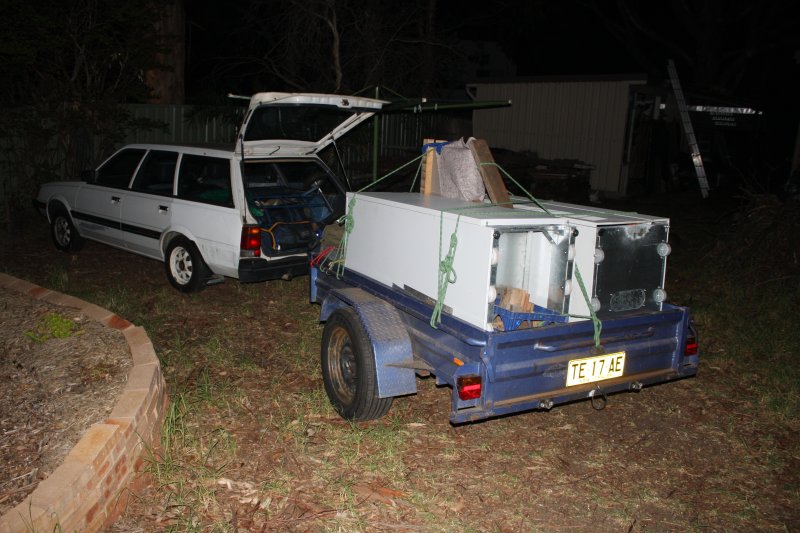
2. Made it home around 10:30pm. Total trip: 1095Km.
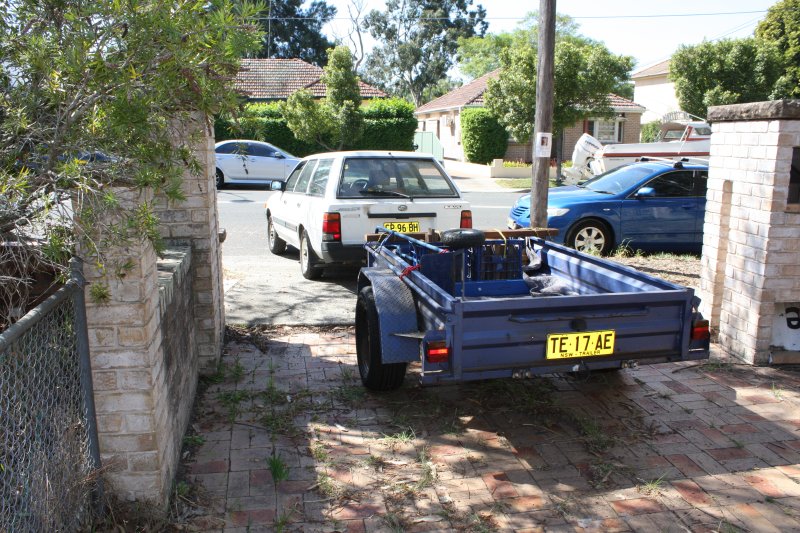
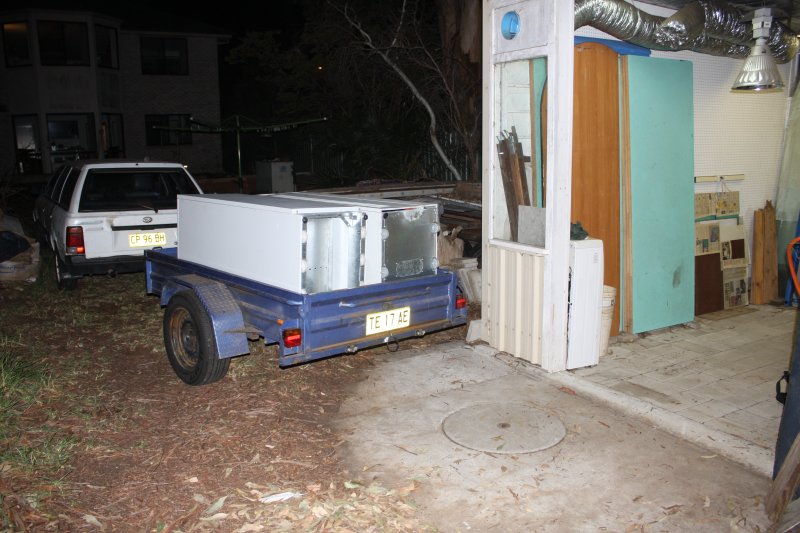
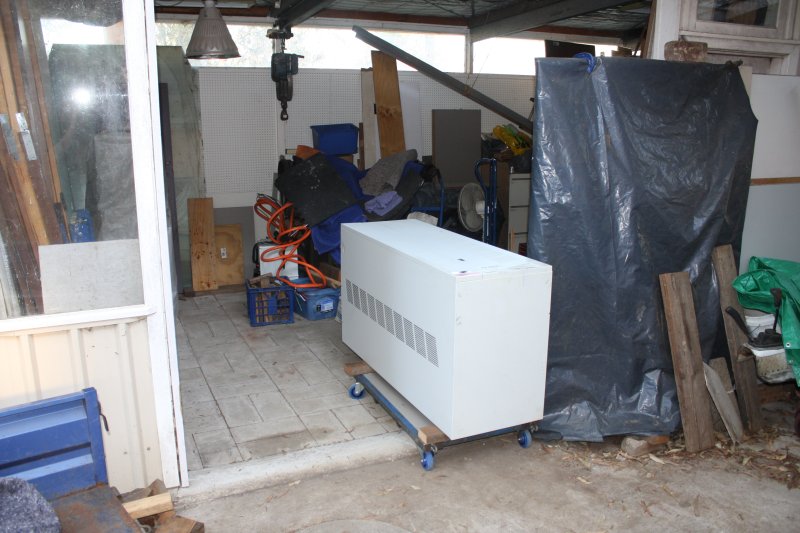
3. Looks like almost the same pic, but no. This is after a bit of a jig saw puzzle of how to get the car and trailer rotated 180 degrees in the confined backyard space. I'd have to draw a diagram, and it's not worth it. Anyway, done.
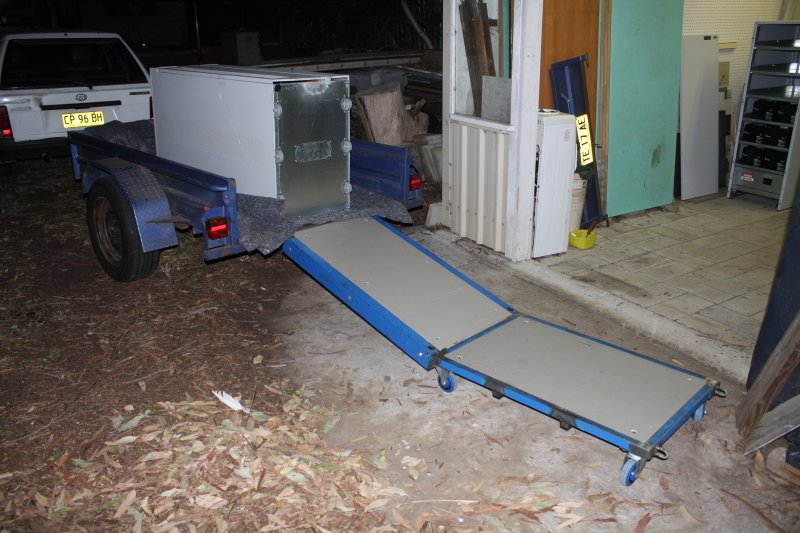
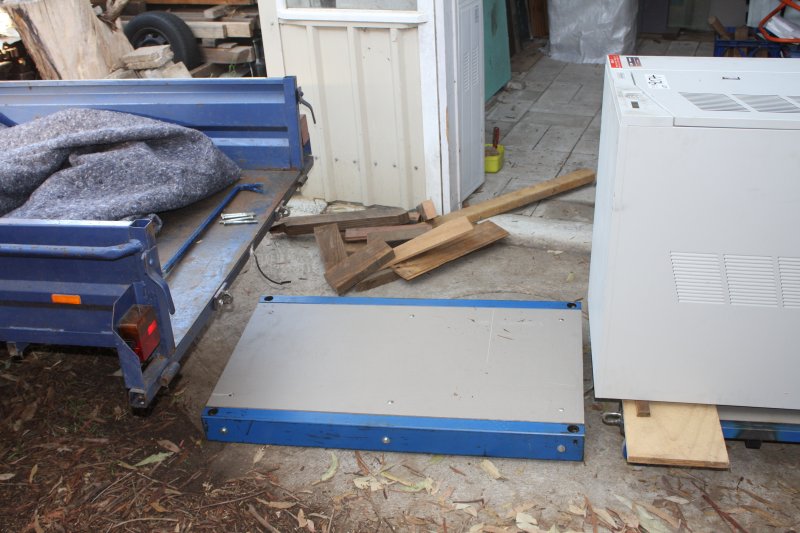
4. But I cannot back the trailer into the shed, under the lifting beam. Not enough clearance diagonally. So now I need the ramp and dolly.
5. It's too heavy to even slide it by myself. Time for some ropework.
 |
 |
 |
 |
 |
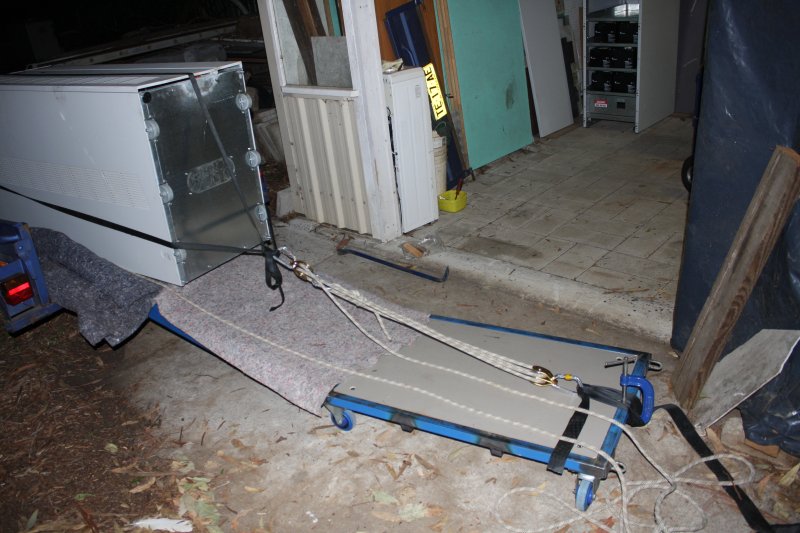
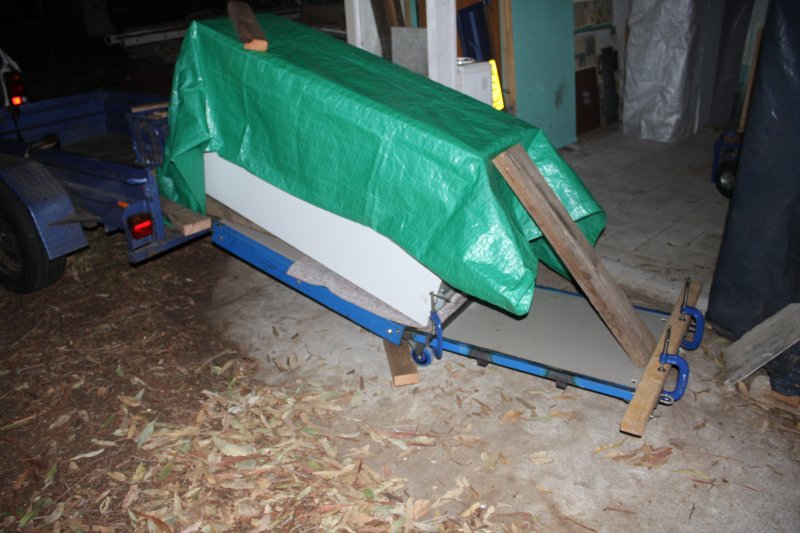
1. Also an absailing figure-8 used as a retarder, to stop the UPS sliding down the ramp suddenly once it gets a sniff of the slope.
2. Nearly down. But by now it was early hours of the morning, and I'd run out of steam.
3. So I just covered it to protect from dew, and went to bed. No rain possible tonight.
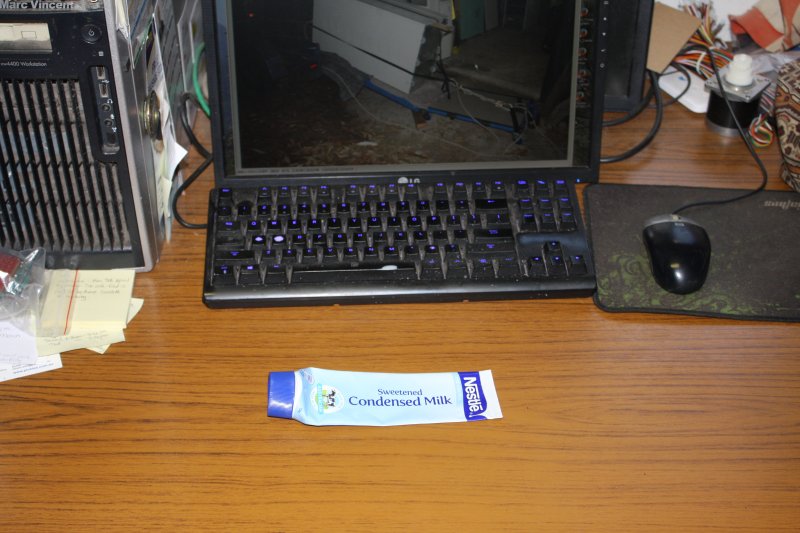
4. The next morning slept in. Then unpacked other trip gear. This is mid afternoon.
I don't drink alcohol, so have a variety of other small indulgences for when I want to celebrate something. One of them is sweetened condensed milk. I have an extreme sweet tooth. I very rarely let myself have one of these, since it really can't be healthy. I'd bought this a month ago and saved it for when the UPS was finally here. Anyway, this is my equivalent of a glass of scotch and a cigar.
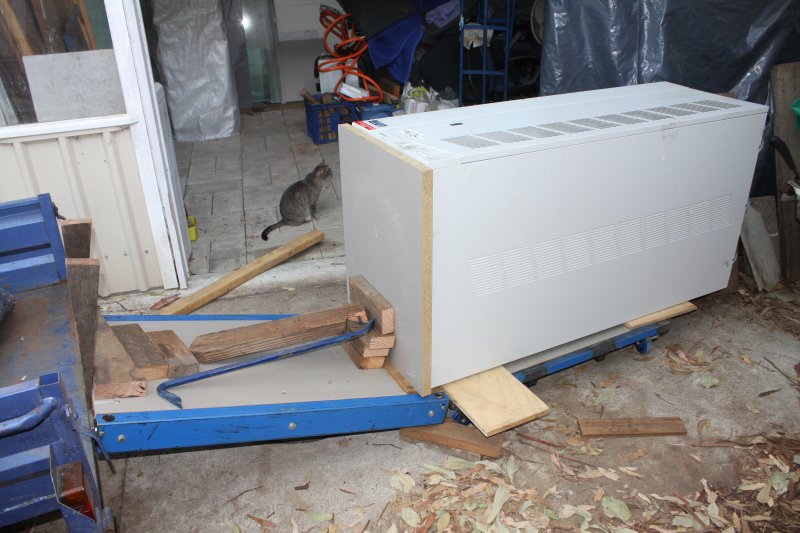
5. Back to work, plus a sugar buzz. Crowbar and wooden blocks, to shift the UPS to position on the dolly.
 |
 |
 |
 |
 |
1. Ramp removed.
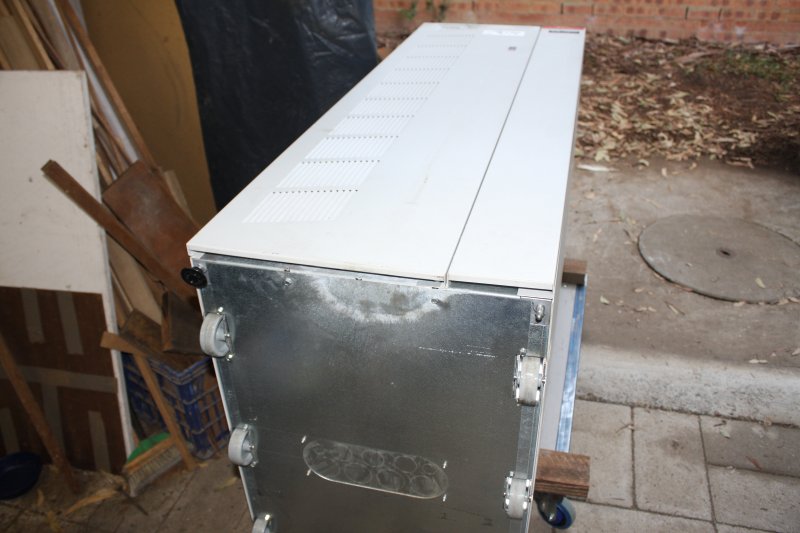
2. The dolly works beautifully. Easy as pie to roll this thing around, even over bumps like the raised concrete door sill.
3. Curious corrosion on the UPS bottom plate. Not much. Looks like there was sometimes water dripping down the front face of the cabinet, splashing of the floor and making this plate damp. No real damage.
4. Lots of stickers, and greasy hand prints from the forklift guy. None of them matter, since they will all come off easily.
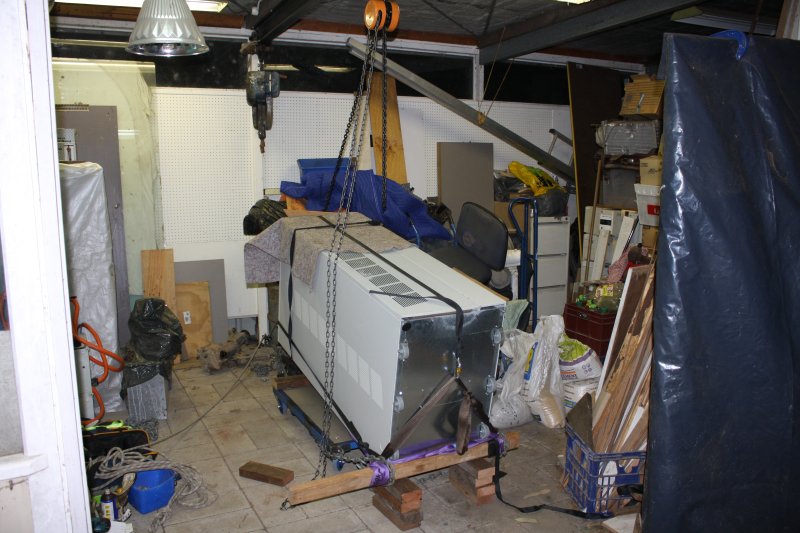
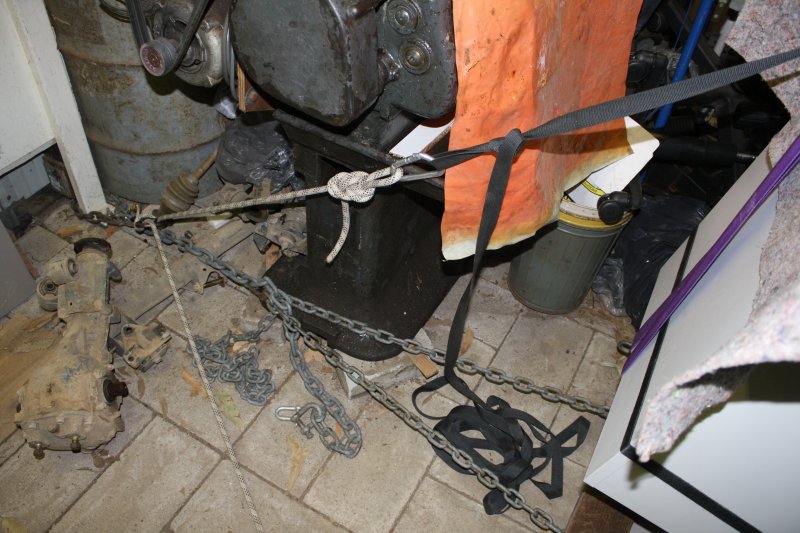
5. Next stage: get it upright. Not as easy as one could wish. Partly because the center of gravity is very high in the cabinet, and off to one side. But mainly because there are no lifting points that I'd trust. A couple of threaded bolt holes at the top rear face corners, that I had no way of knowing if they were rated for the cabinet weight. So here I'm starting to do it with ropes, straps, chains and a chain block hoist.
 |
 |
 |
 |
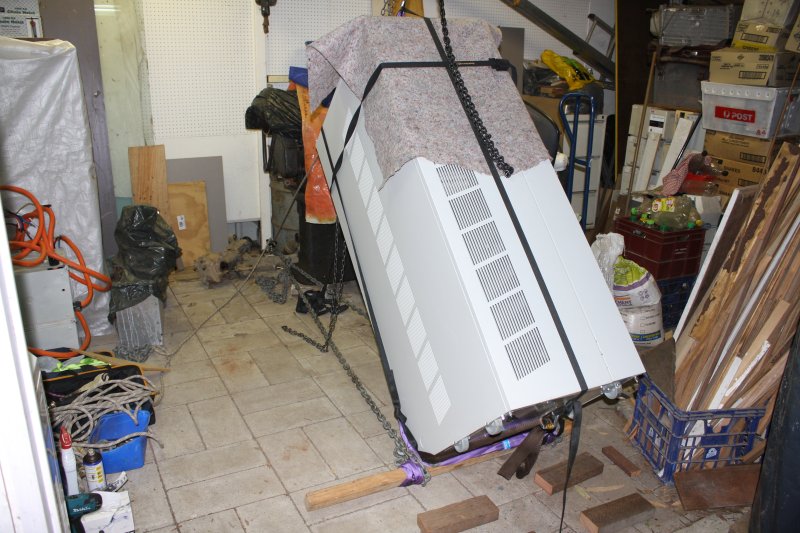 |
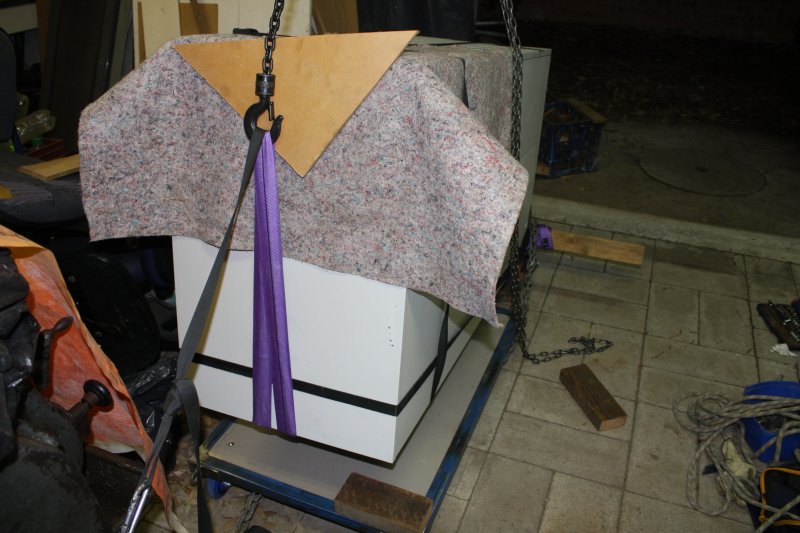
1, 2. Again a figure-8 to restrain it once it's ready to tip over onto its own base.
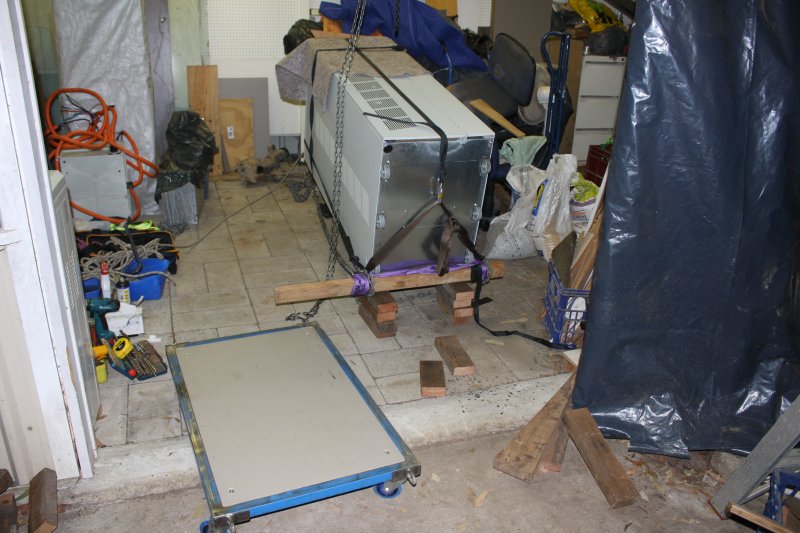
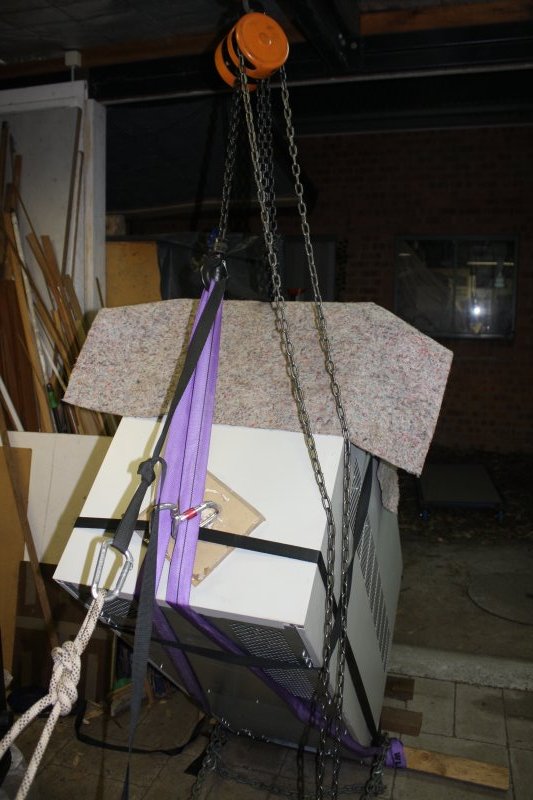
3. Got the dolly out from underneath. Small steps, carefully.
4. The bottom corner down off the blocks, to sit on the ground.
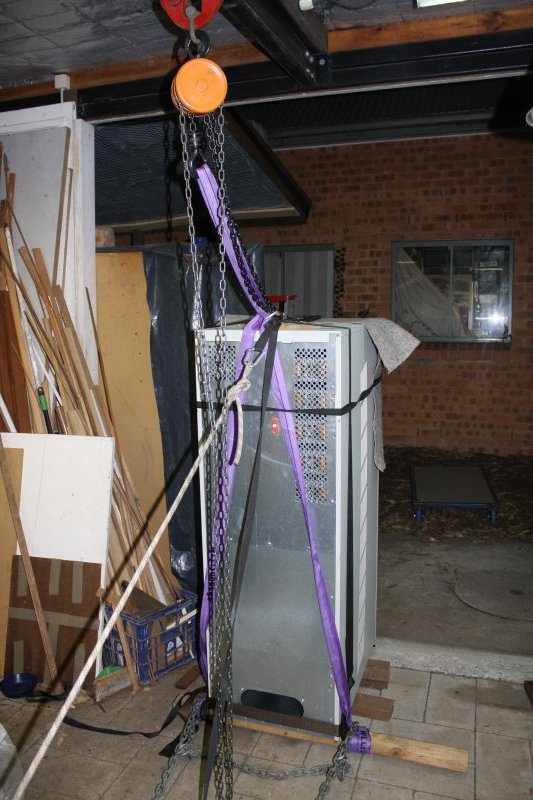
5. Well along.
 |
 |
 |
 |
 |
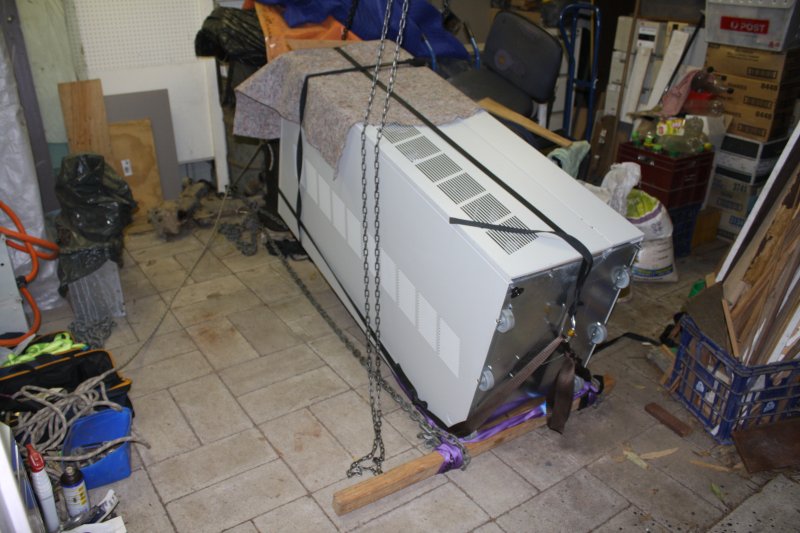
1. Another view.
2. Upright! But still not quite on the ground.
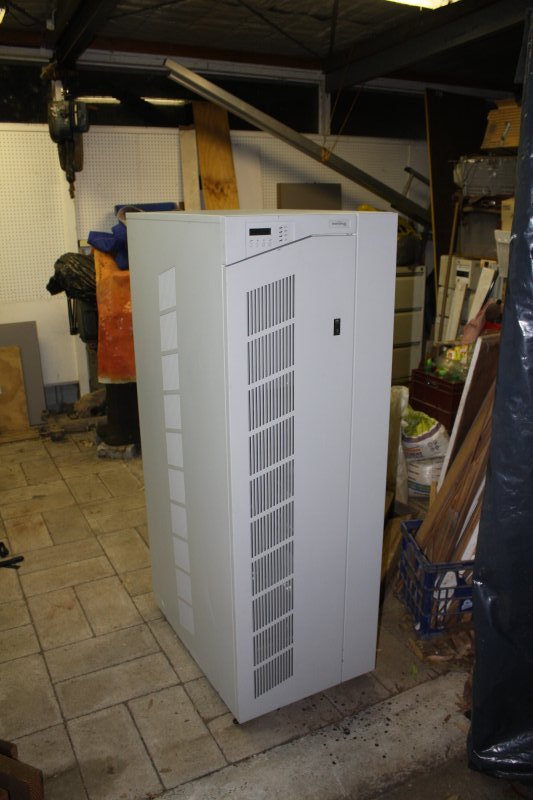
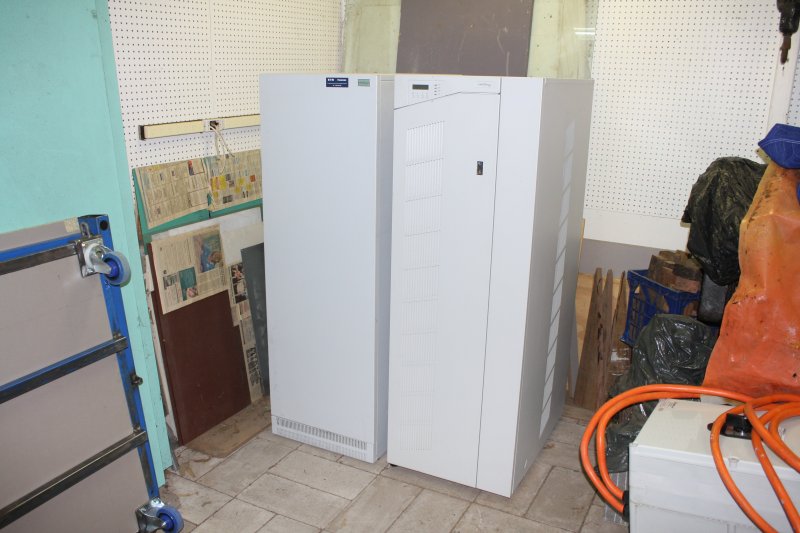
3. Woohoo! Sitting in my shed, on it's own wheels. Great achievement (for me.)
4, 5. The two cabinets sitting where they will stay for a while. This whole shed is unfinished, with much to be done still.
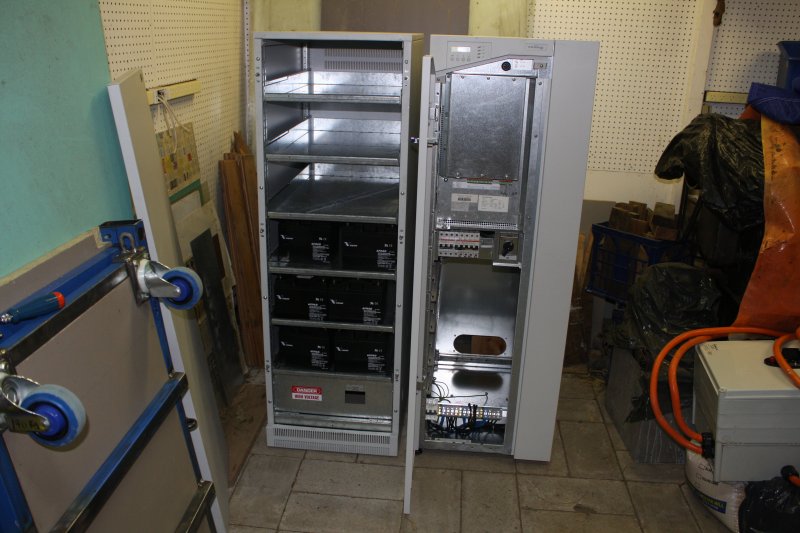
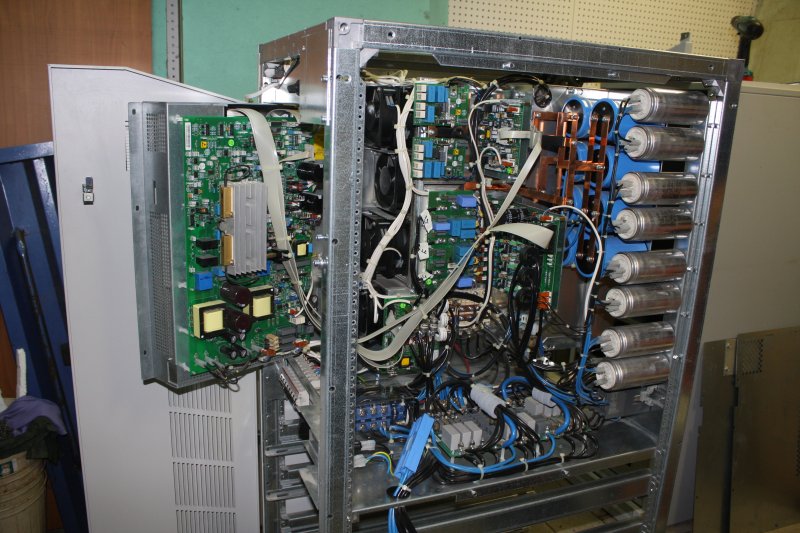
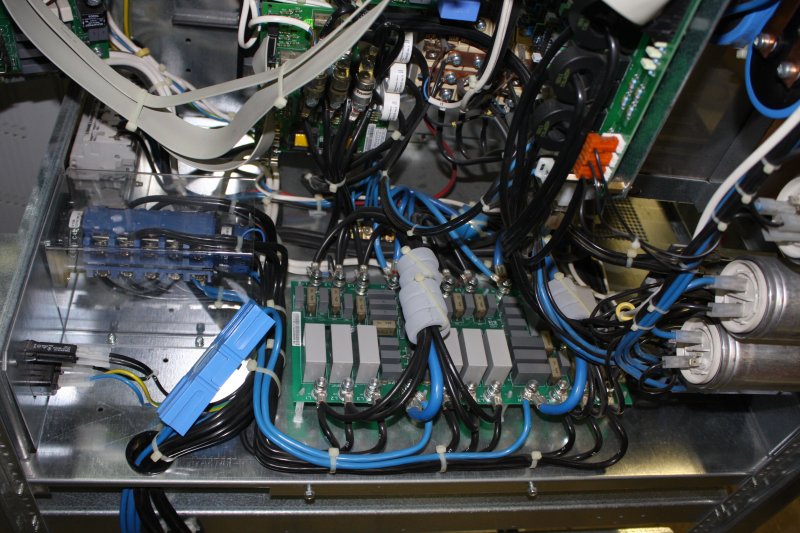
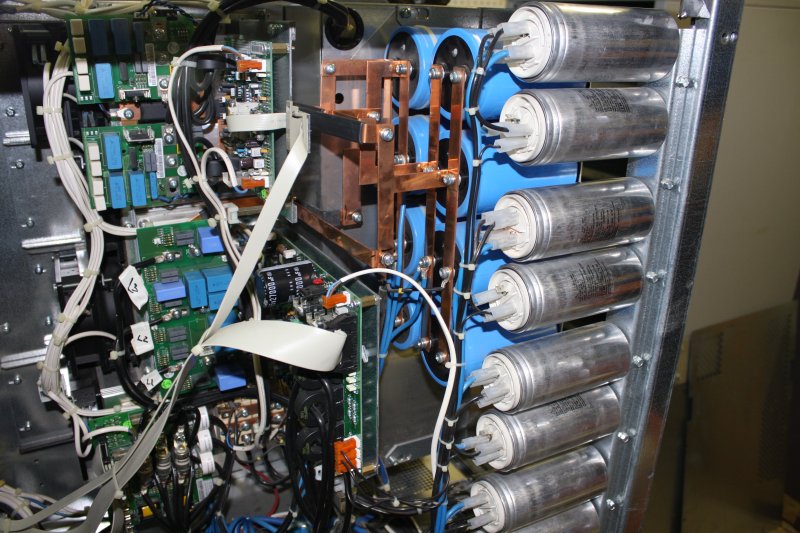
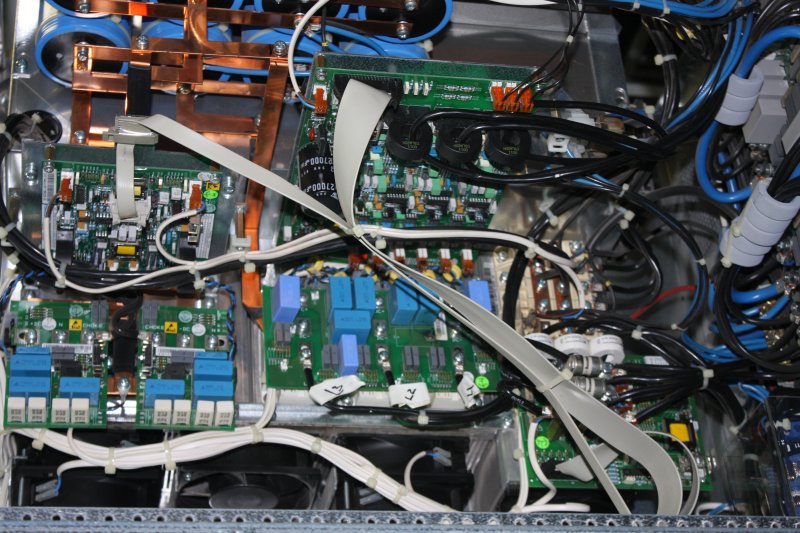
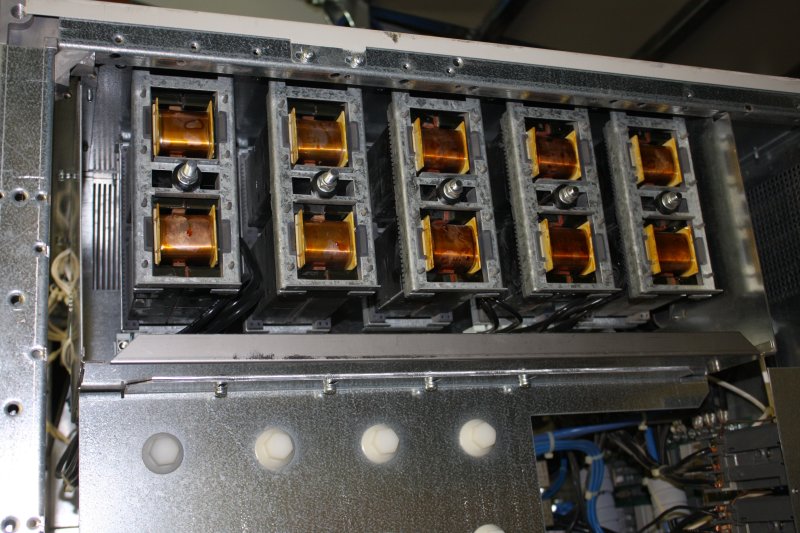
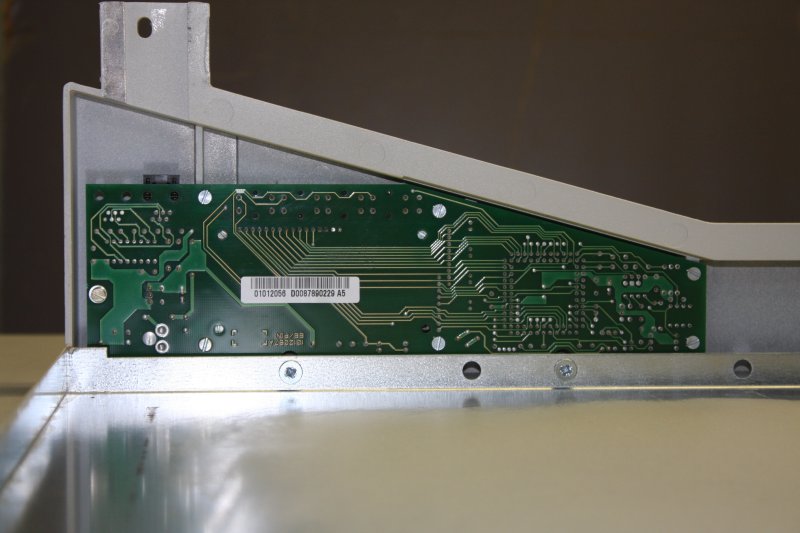
After all that, a few pics of the insides!
 |
 |
 |
 |
 |
 |
 |
 |
 |
 |
The next stage of this project, will be an exploration of the potential for reverse engineering it. Whether (or not) I can substantially modify some aspects of it, including the firmware — that determines which direction this project takes.
Meanwhile, I have a ridiculously long list of queued projects to review, and consider priorities.