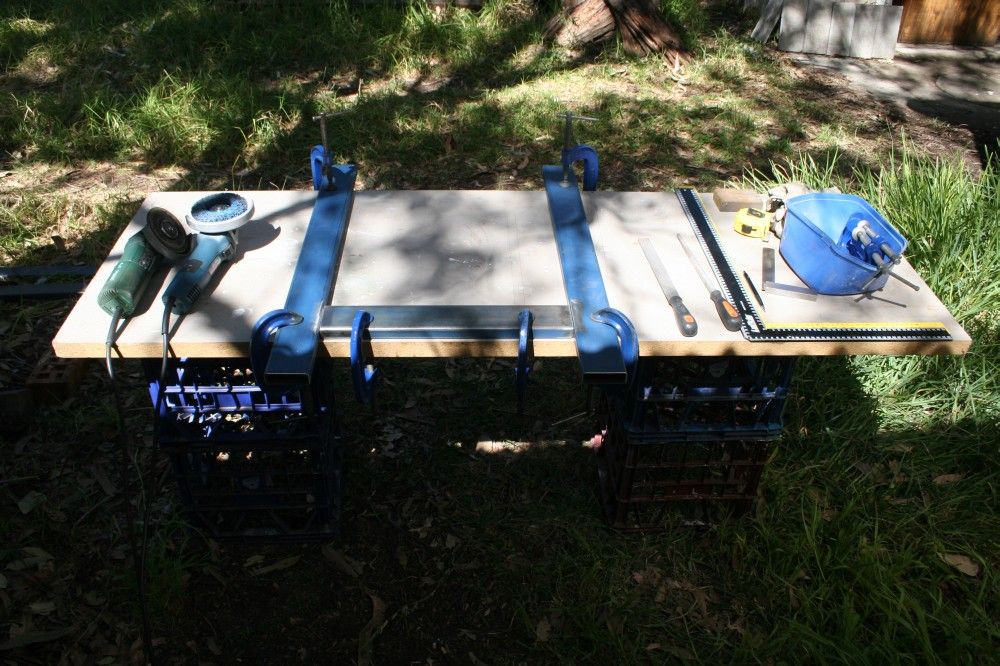
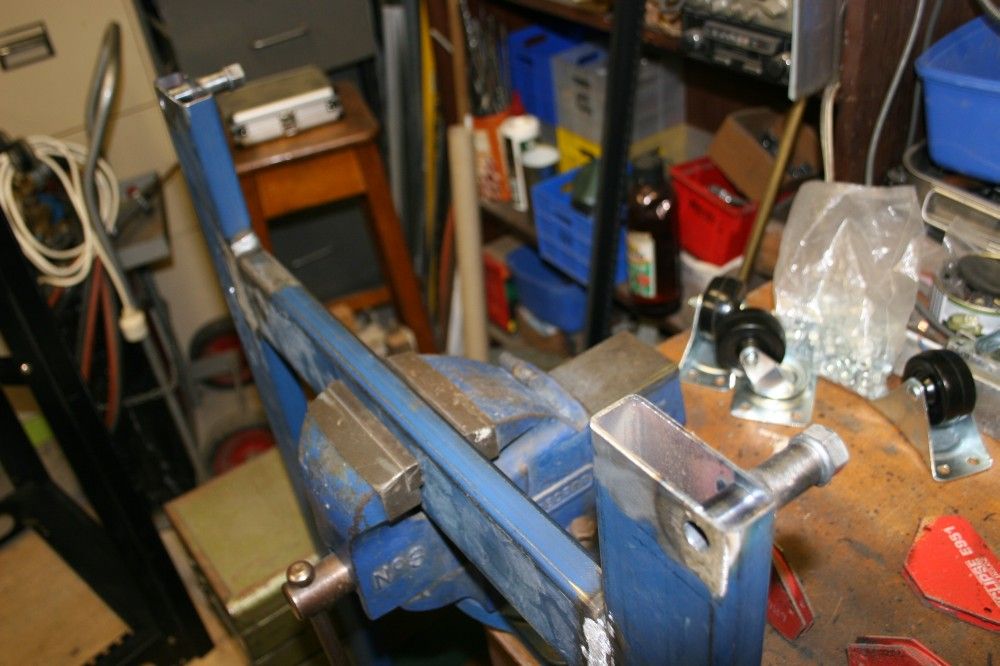
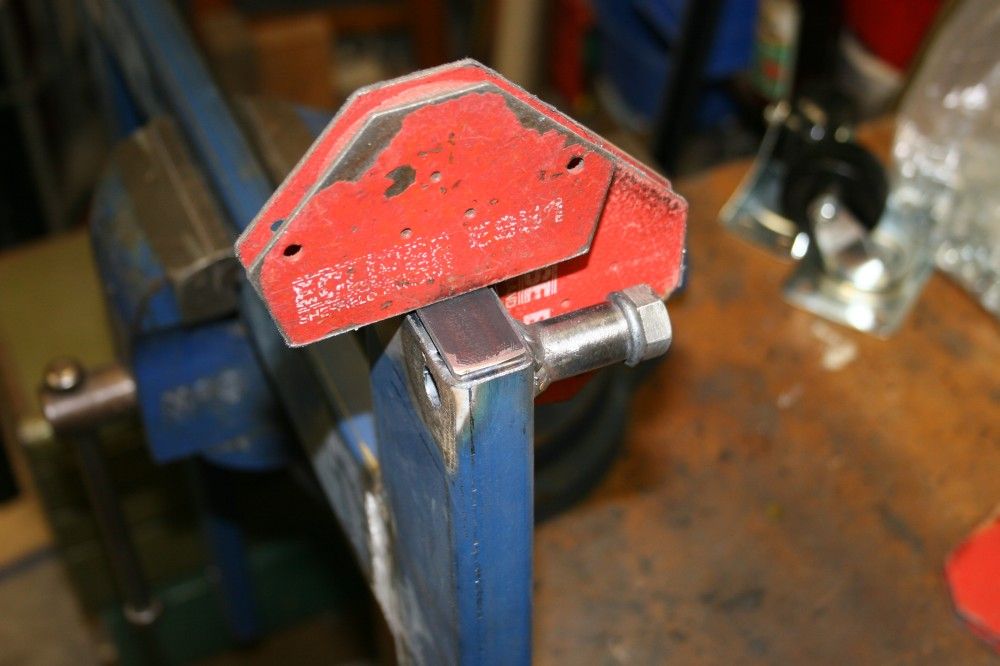
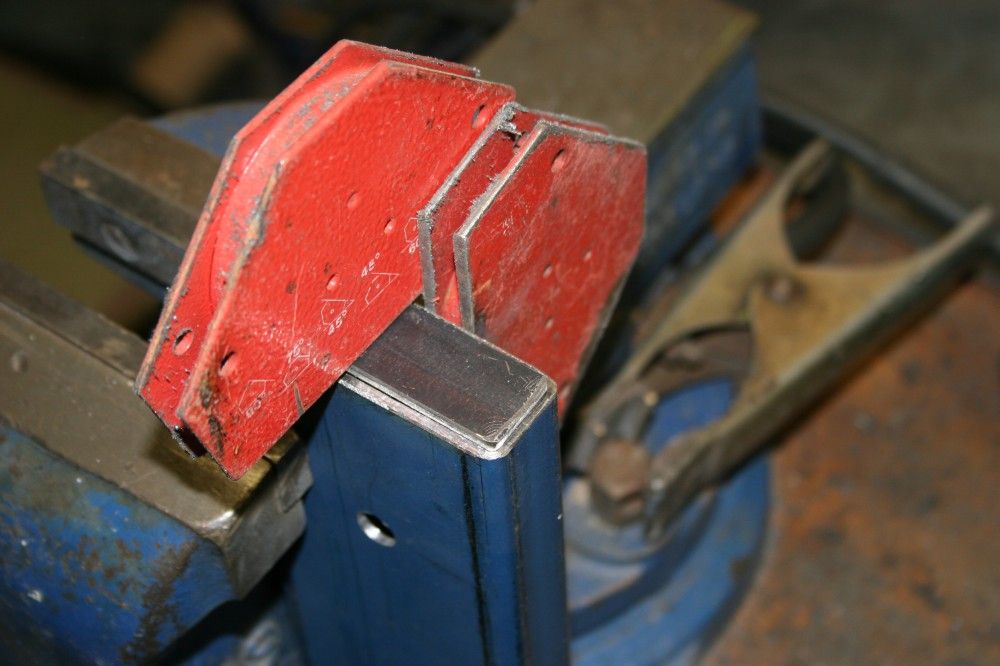
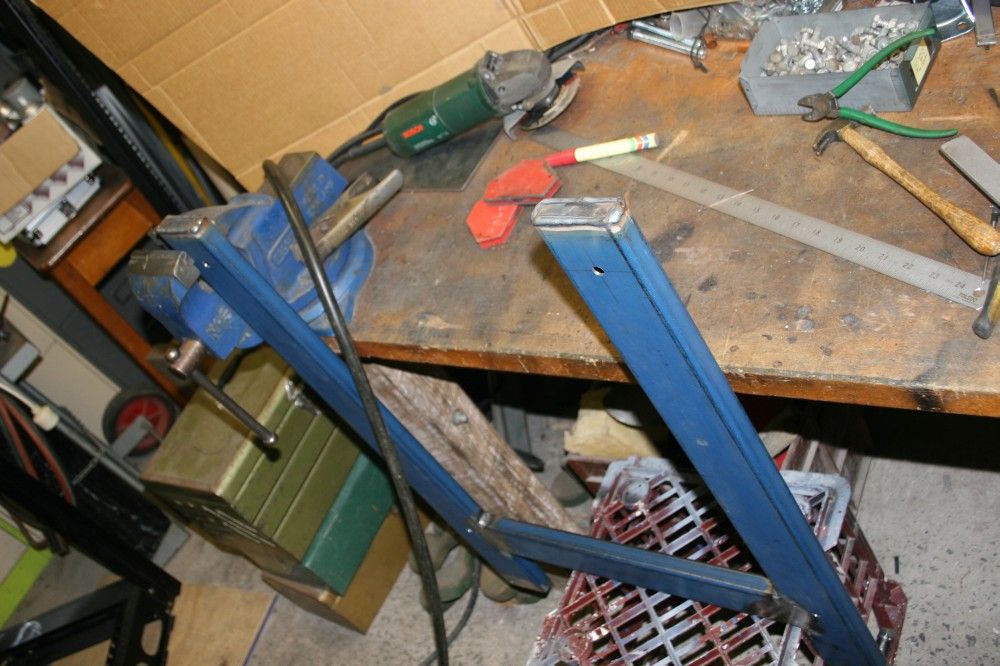
Clamping before welding.
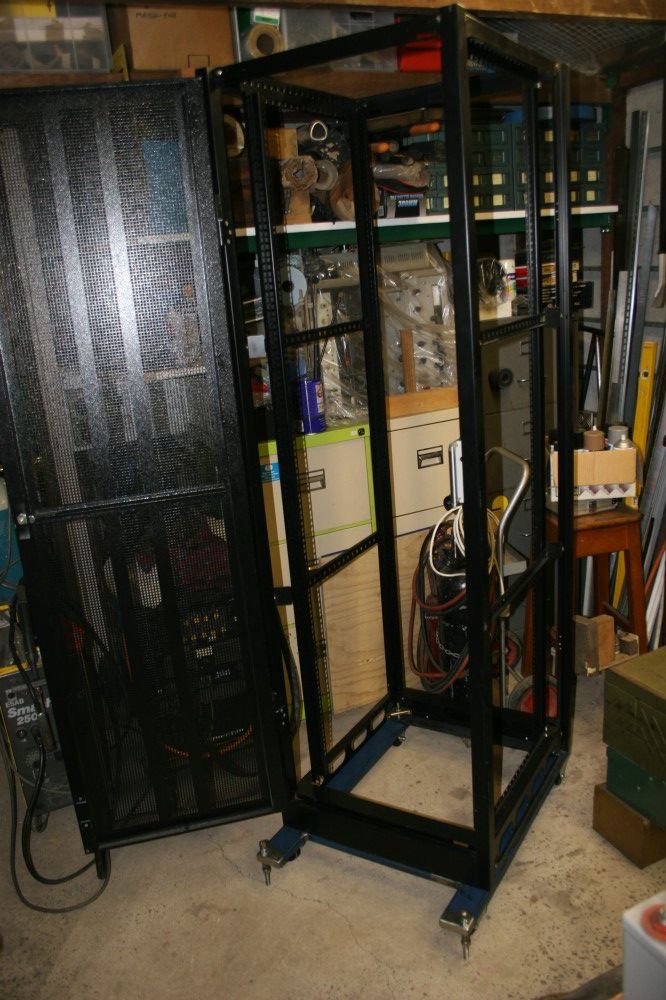
The slimming exercise of my latest 19" rack is complete, and it's now 675mm deep instead of the original 900mm.
But it still needs wheels, and there's no suitable mount point for the castors I have. Also, with the decreased rack depth, the heavy equipment it will contain, and the possibility some gear may be on slide-out rails, the risk of the rack accidentally toppling forward is quite serious. Especially with castor wheels, in which the wheels can be turned to shift the front pivot point even further back.
So what this rack needs is a base frame to attach the wheels to, and also to extend forward a bit with screw-down supports.
It's a nice day outside for some steel fabrication...
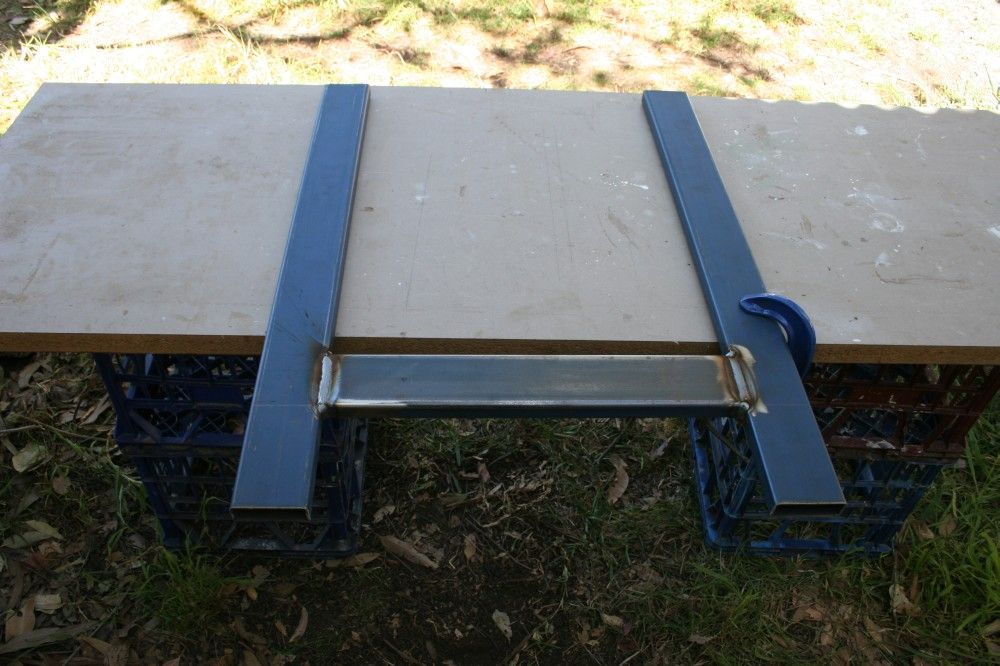
Clamping before welding.
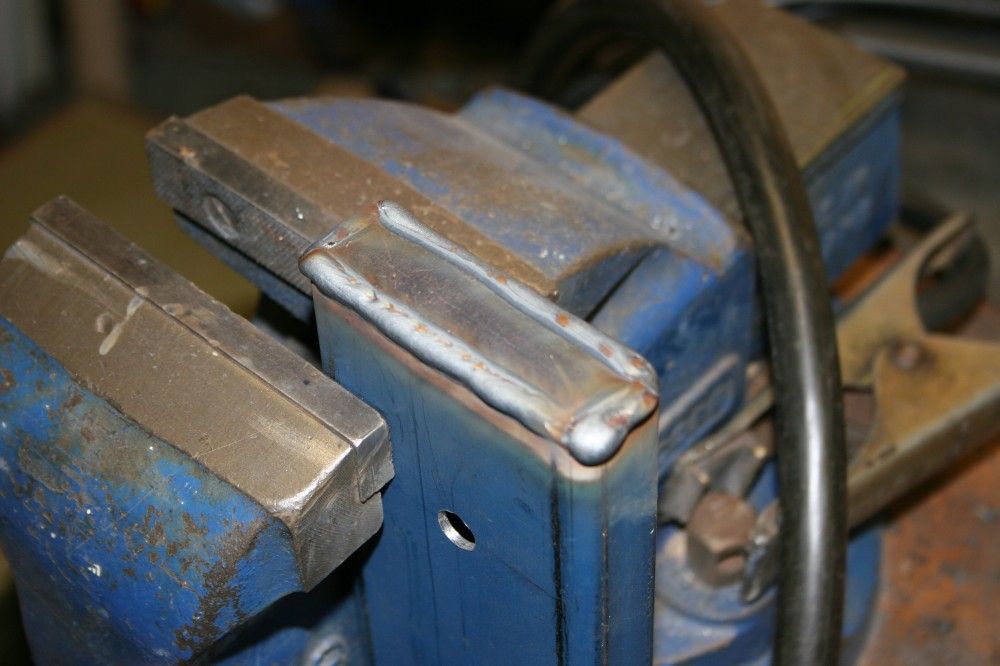
The frame welded.
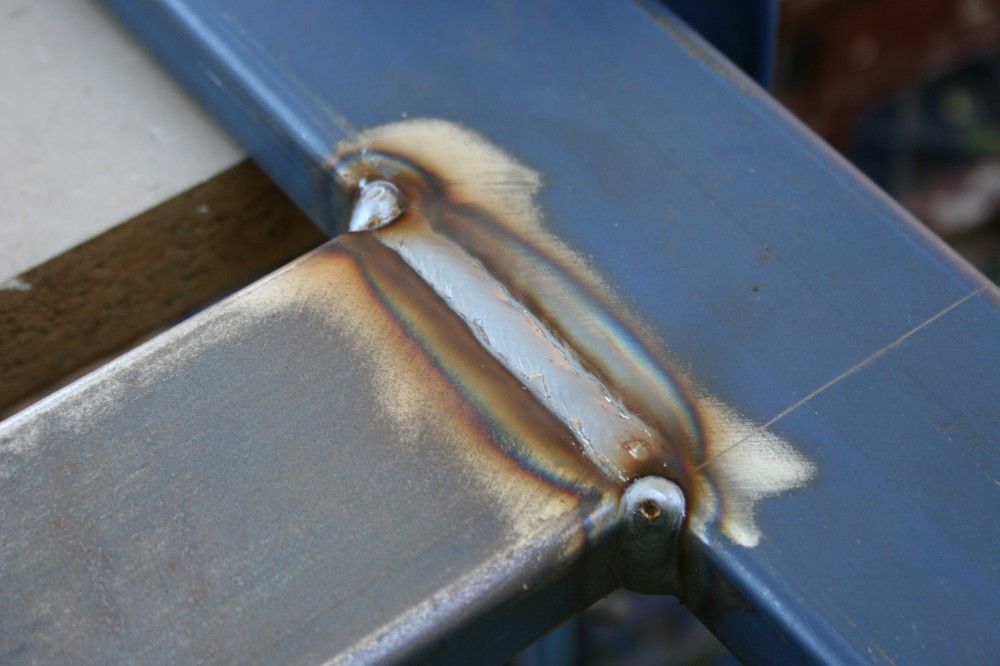
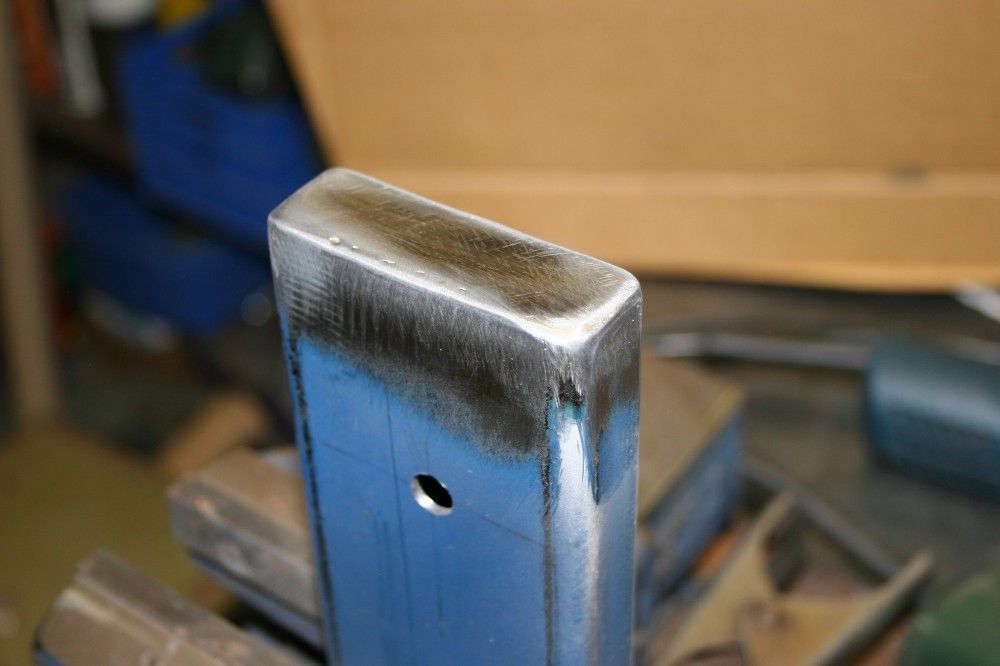
Weld closeup.
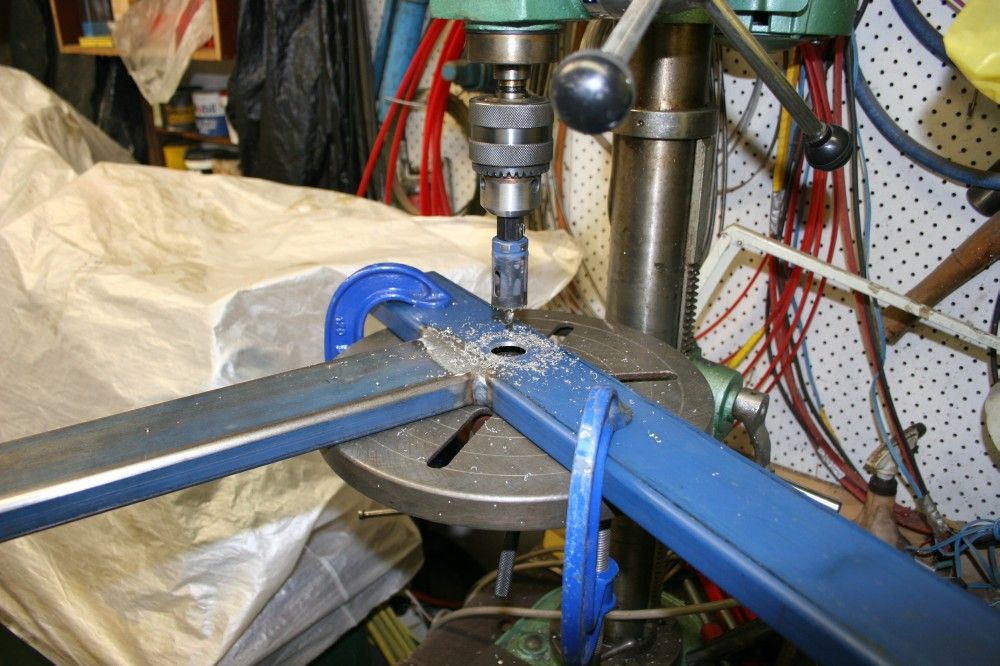
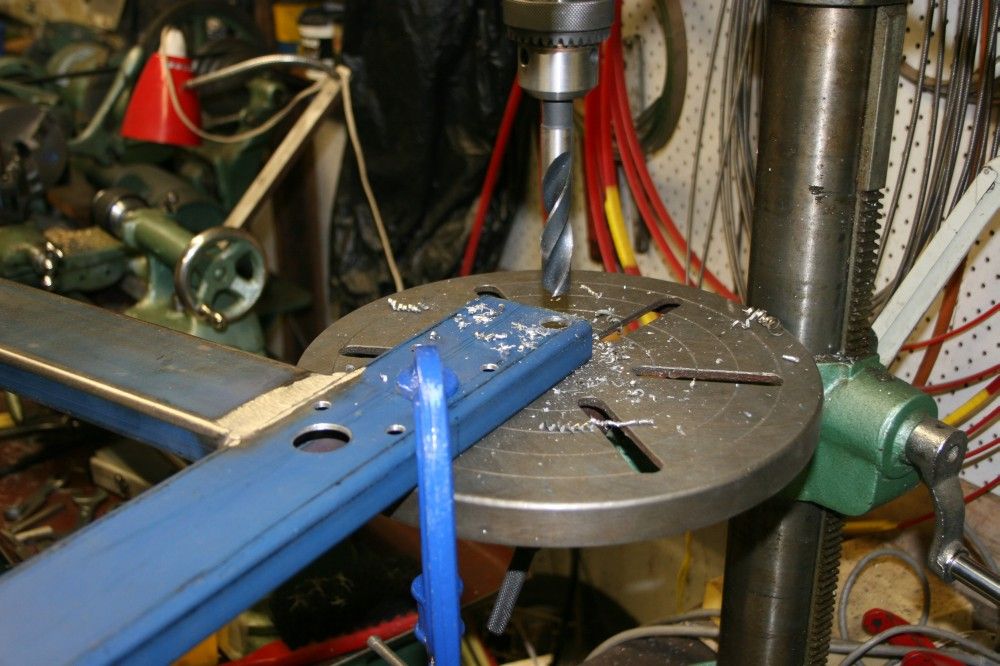
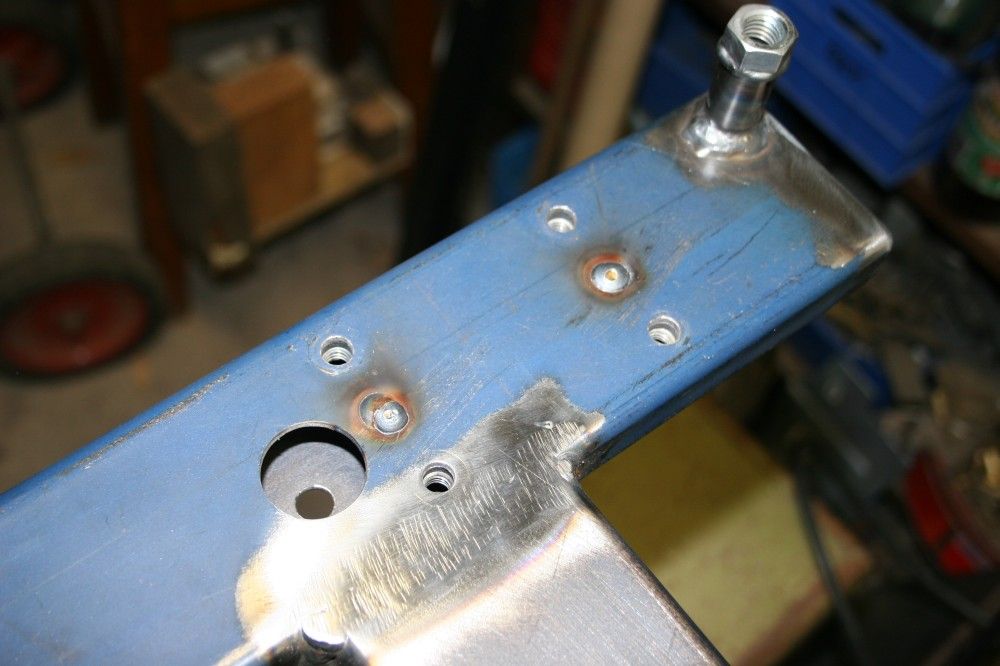
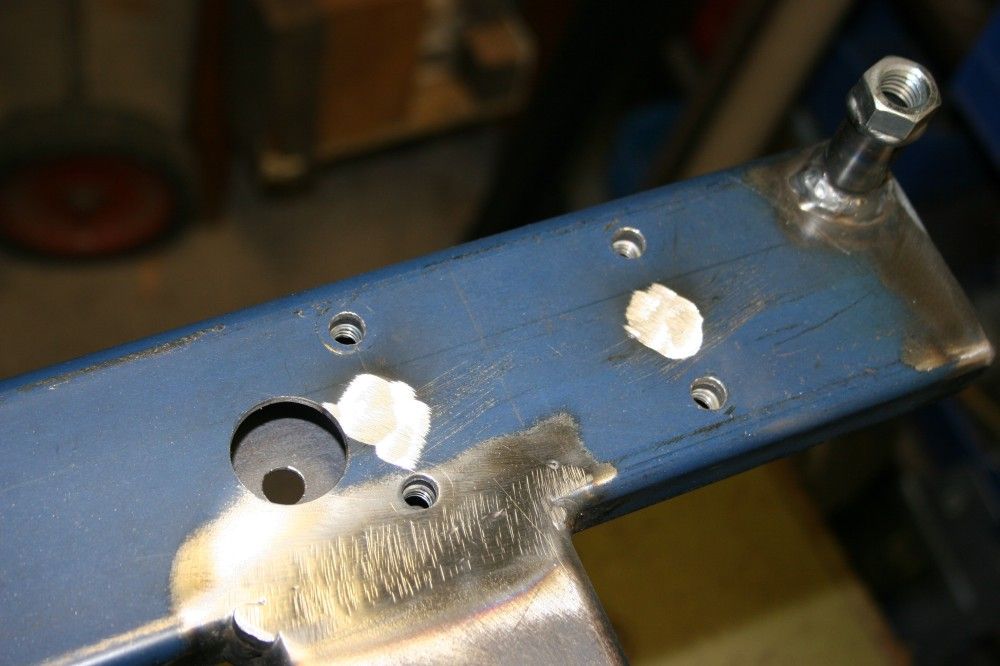
The rack has four solid bolt points, possibly intended for screw-down floor height adjusters. They'll serve as bolt-down points, securing the rack to the base. This is cutting access holes in the base, for those bolts.
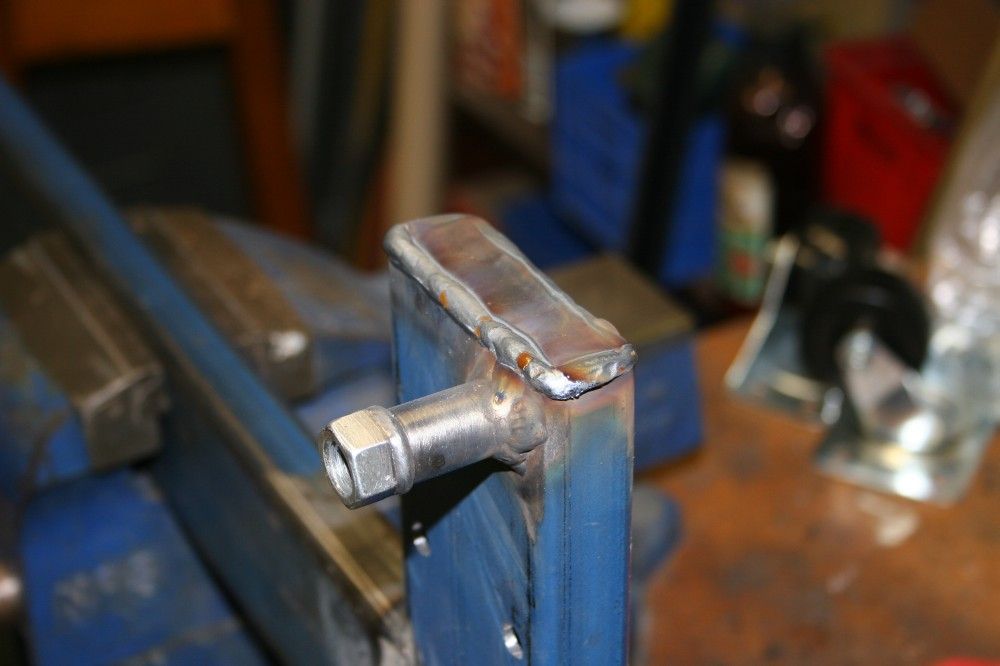
An M12 nut welded onto the end of a steel tube. Neatly. The vertical cylinder is the tip of my MIG welder torch. It's mounted in my improvised pipe welder. (See The Pipe Rotator.)
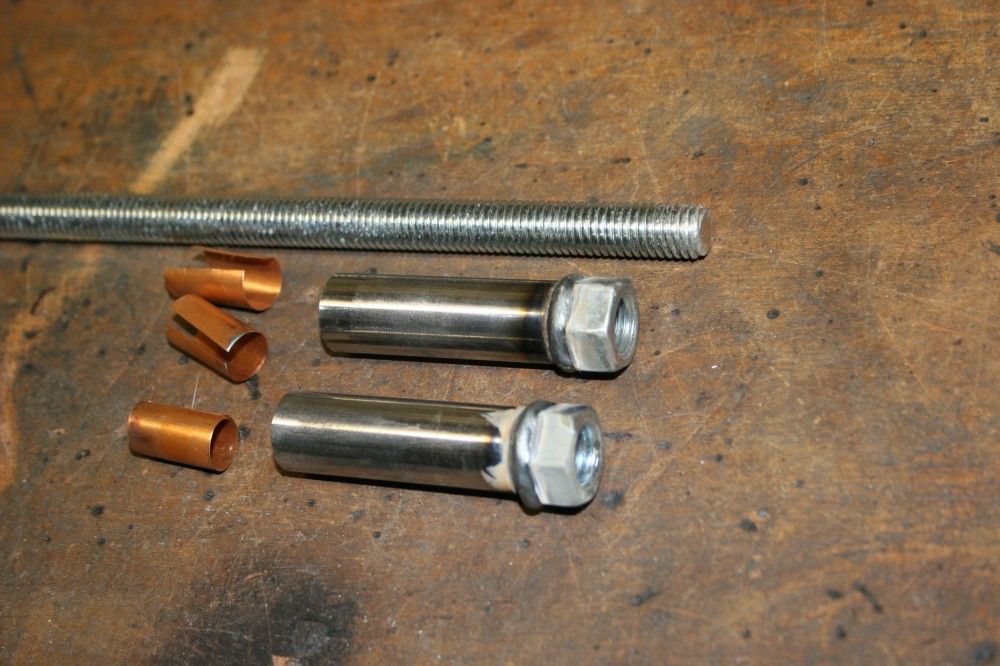
The resulting weld. Copper foil shims were used to space the threaded rod from the inside of the tube, ensuring the rod doesn't bind in the final assembly.
The screw-down 'jacks' at the front of the base need to be very solid. Those tubes with the nuts welded on are to be mounted through the body of the base and welded top and bottom.
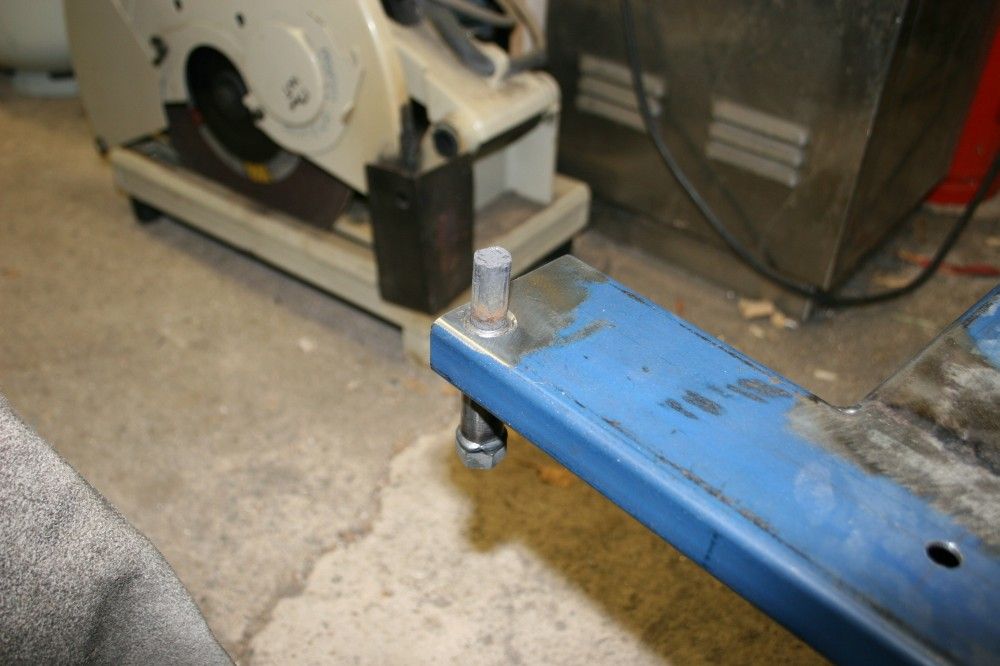
A screw-down in place, before welding.
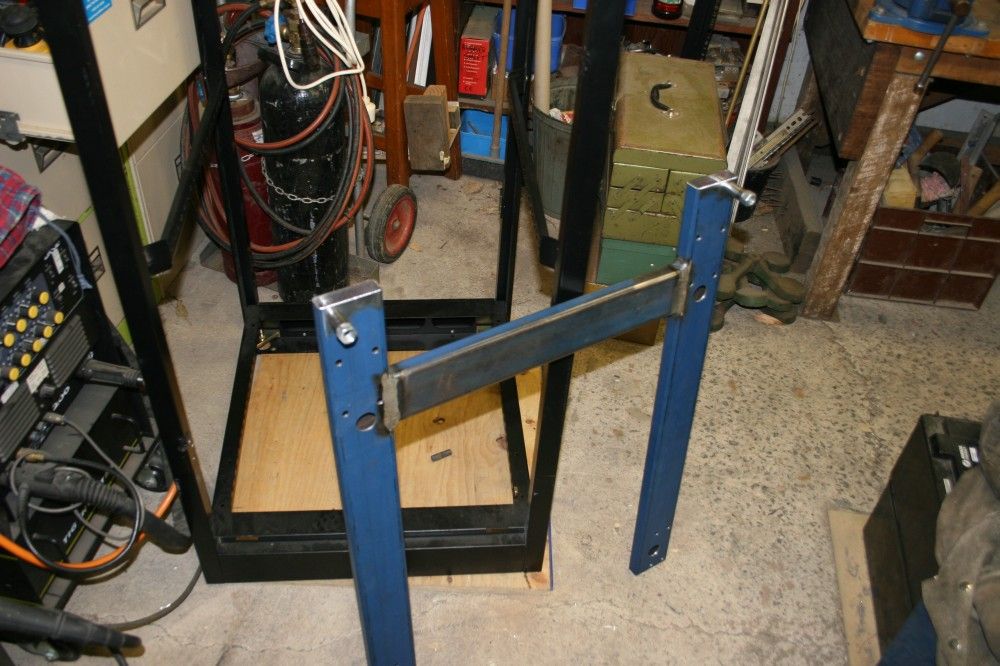
Ditto, showing the overall structure.
When welding the top side of the screwdown, it would be difficult to avoid getting weld metal inside the round tube. So the hole is plugged with a short carbon rod, turned to size in the lathe.
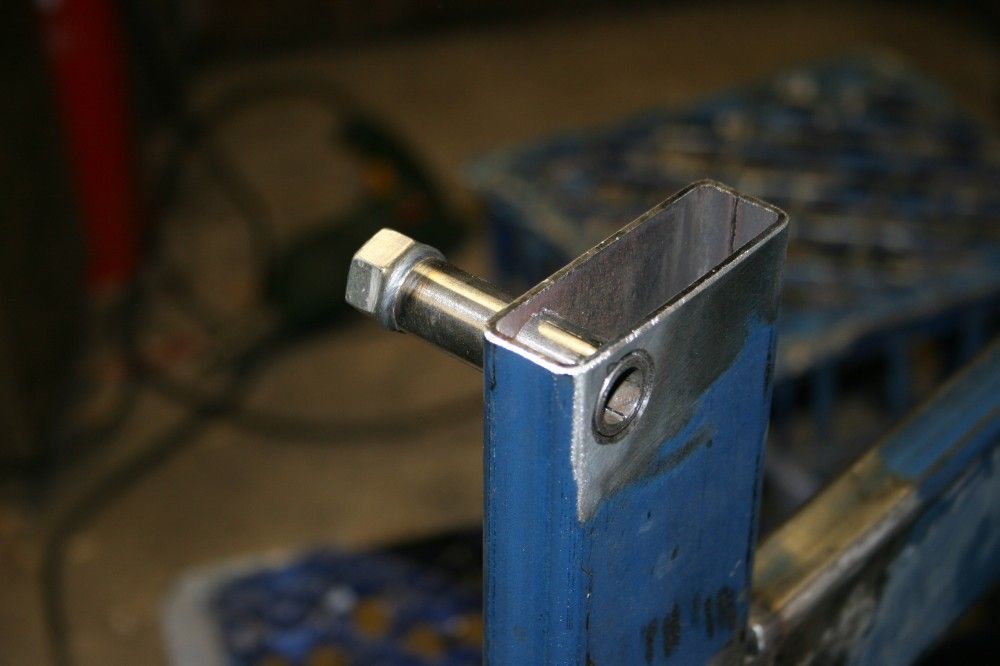
Screwdowns finished, and top weld ground back to a flat surface.
Preparing to weld on an endcap of the frame.
The endcap welded.
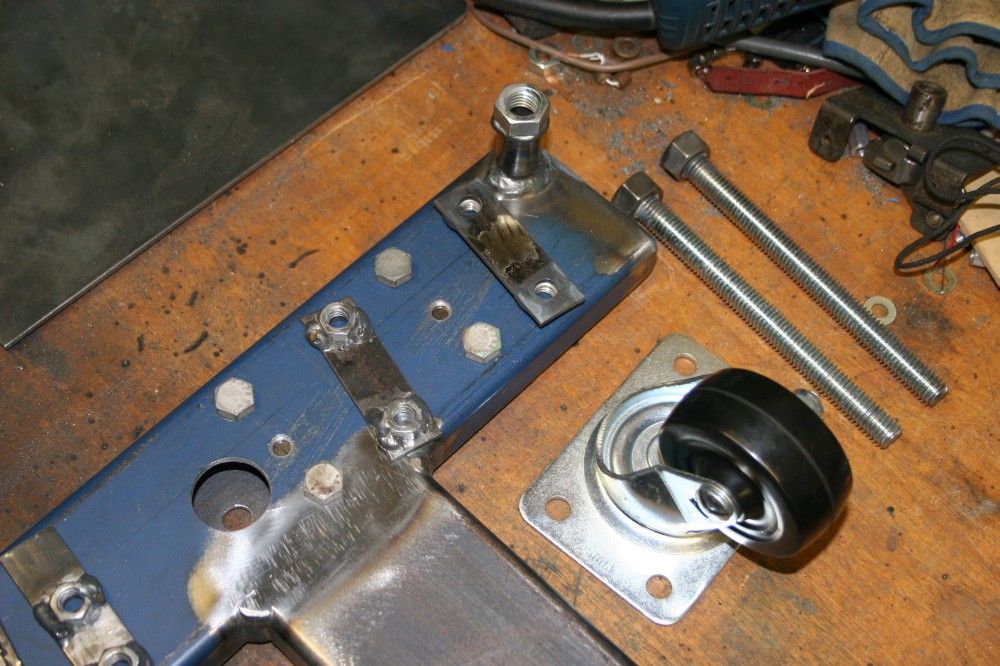
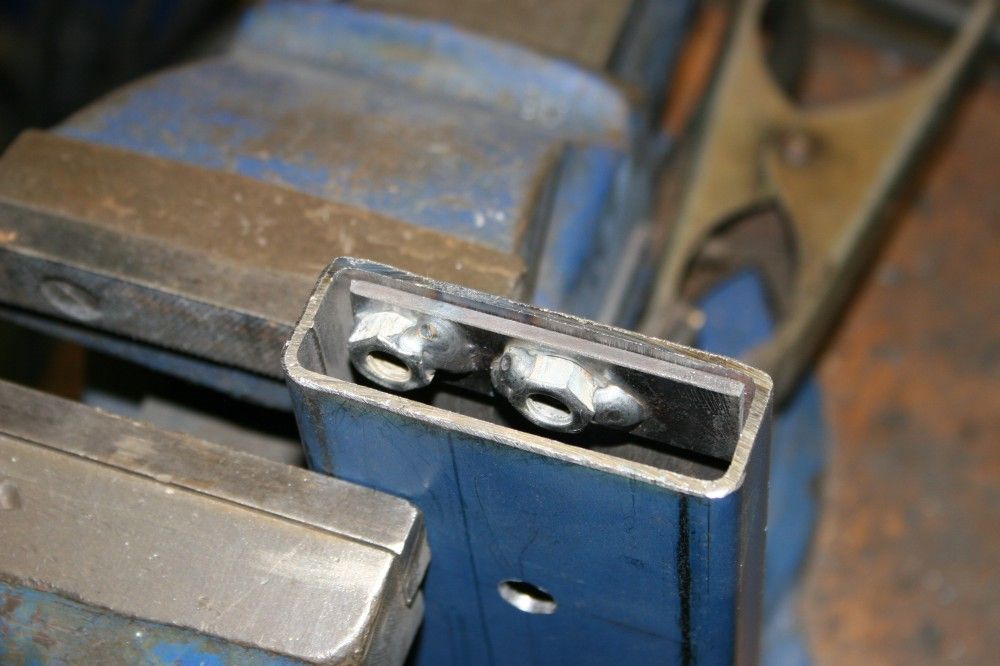
The wheels have to bolt to the frame. I don't trust self-tapping screws given the loads involved, but there's no access to inside the frame to weld on nuts. This is how to fix the nuts in place inside the frame. The small holes are to be 'spot welds'.
The welds holding the internal nut-tabs in place.
The same welds cleaned up with the angle grinder.
One of the frame rear ends, showing the nut-tab welded in place.
Preparing to weld the rear end cap.
The end cap welded on. I was deliberately building a large bead here, since I wanted to slightly extend the flat upper surface of the base.
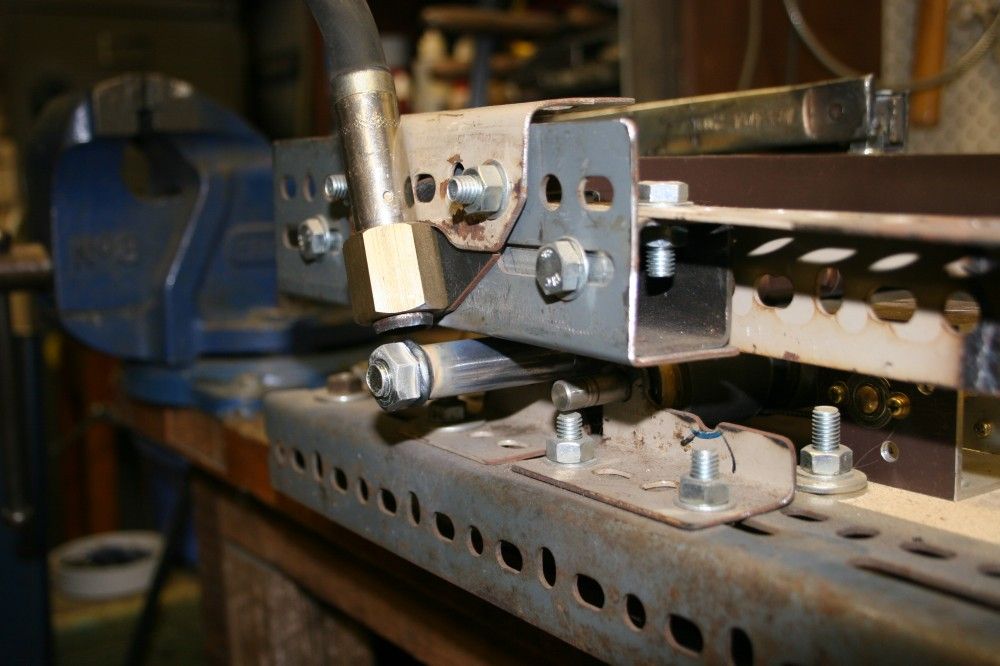
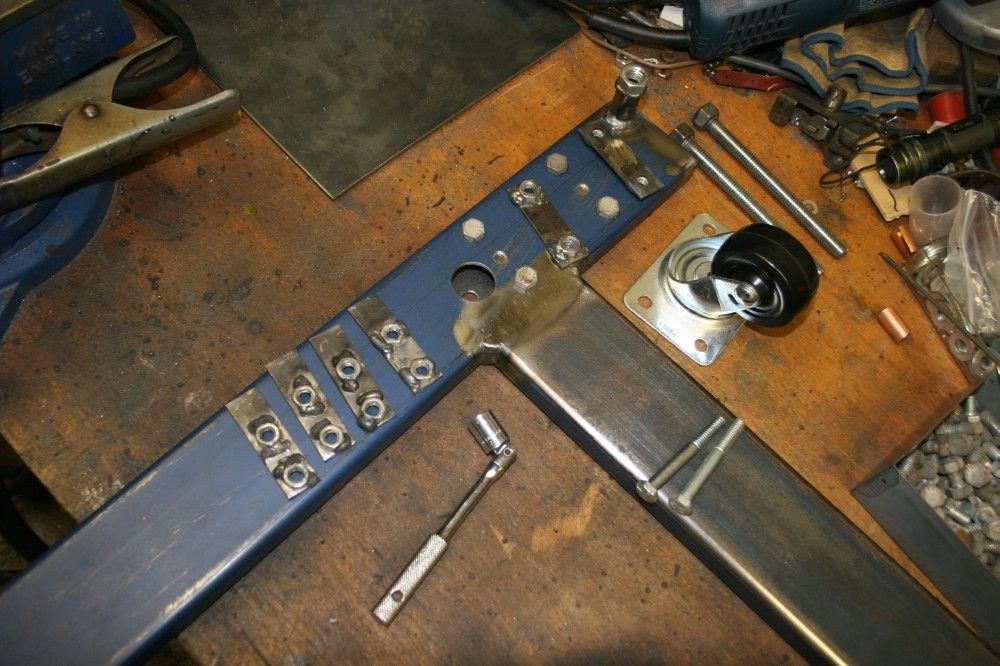
Doing a test fitting before painting. It fits perfectly!

Closeup, showing the screwdowns in place.
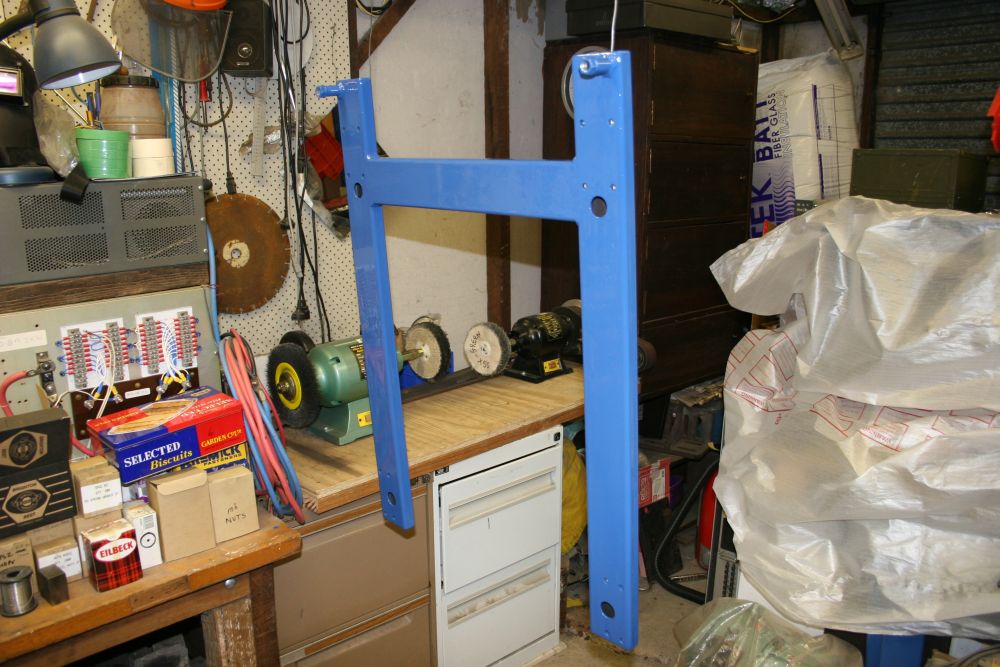
Painted, first coat. The trouble is this tough paint takes ages to dry, so a couple of coats will take more time than the thing took to make. Frustrating delay!