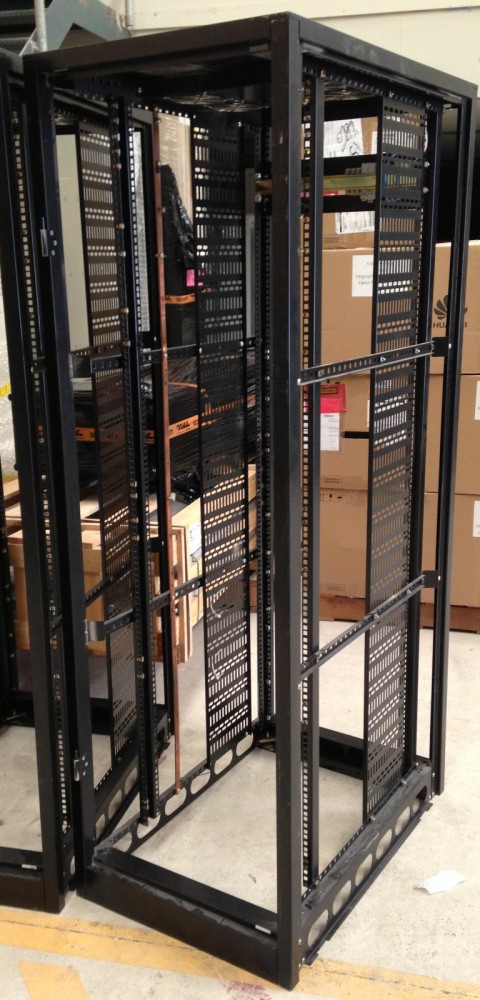
The rack as originally purchased. It's 900mm deep.
Discussion at eevblog:
Recently I bought a 2nd hand Tektronix TLA 614 logic analyzer. As mentioned in 'New toy' it works BUT... it's one of those things where Tek made one acquisition board with all the options, and you pay money (lots of it) for a software key that unlocks options above the base model.
Skipping over the morals of that behavior, it appears that they implemented the 'key holder' data store in a Dallas DS1225AD nonvolatile SRAM aka 'RAM-in-a-box'.
So what? Well those contain a small battery. The Dallas data sheet says '10 year lifetime'. It's been about 10 years since this TLA 614 was made. And so since mine is an 'option 1S' ie not base model, and the software keys are no longer available from Tektronix even if by some bizarre twist I'd actually go along with that extortionist scam (or could afford to)... it's kind of urgent to get the DS1225 out of the PCB and back up the data.
But there's a problem. For one thing, it's soldered in, not socketed. Second, I have some background in both designing and cracking 'secure' systems like this, and have seen (and used) a few nasty tricks. The general idea when you're implementing electronics that's supposed to keep expensive secret data secret, is to lay traps that destroy the data when anyone tries to get at it. Seriously, I can tell some funny tales about that. But another time.
The point is, I'm feeling a great amount of unease in going up against whatever Tek may have done with this NVRAM. Maybe nothing. Maybe... I can think of at least one bastard of a thing I would definitely have done if I was them.
When faced with such a challenge, there's only one thing to do. Procrastinate.
Another issue with the TLA 614 is where to put it. I've run out of test bench space. Time to do some rearrangement. As part of this change I recently bought (cheap) another second hand 19" rack. But it's too deep for where I want to put it. Which makes for a perfect Procrastination Project. Something to do when you're avoiding doing something else.
How do you shrink a 19" rack? Simple! you cut it in half (removing some of it) then weld it back together. Which is where my weekend went.

The rack as originally purchased. It's 900mm deep.
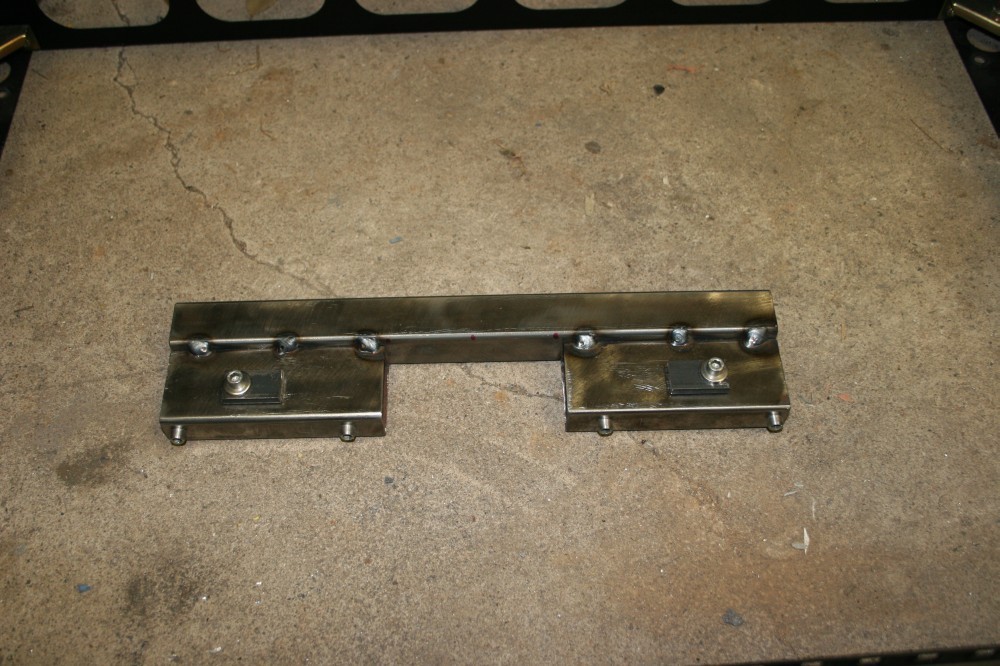
The cuts and welds are going to have to be precise, to keep the thing square. So a cutting/welding jig needed to be made.
This. The four small studs fit tightly in the rack's cage-nut holes, for precise repeatable allignment. The two short black-steel stubs are end stops for scribing cut lines on the rack.
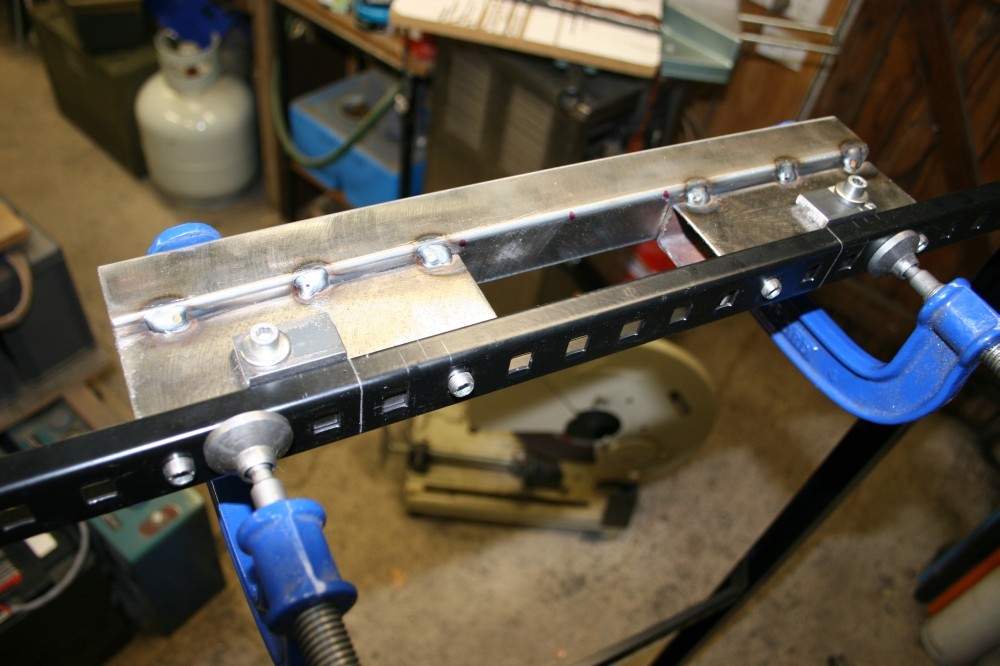
Scribing lines to cut away a section of the rack.

The jig moved, and used to hold the sections in place during the cut. Which was made with a thin abrasive cutting disk in an angle grinder.
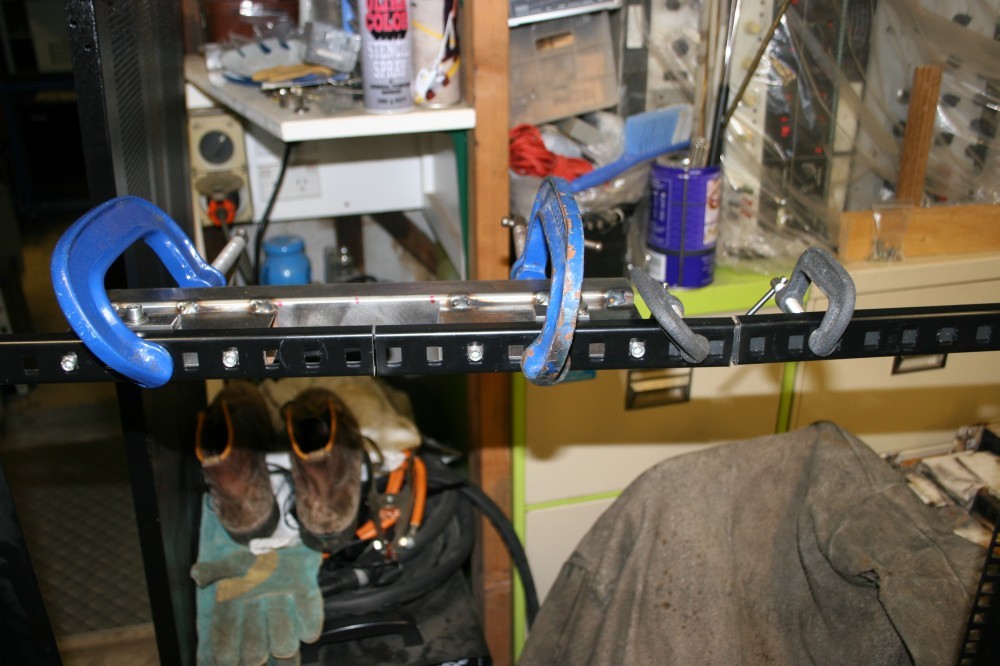
The 2nd cut on one section. Again clamping everything so it doesn't move during the cut.
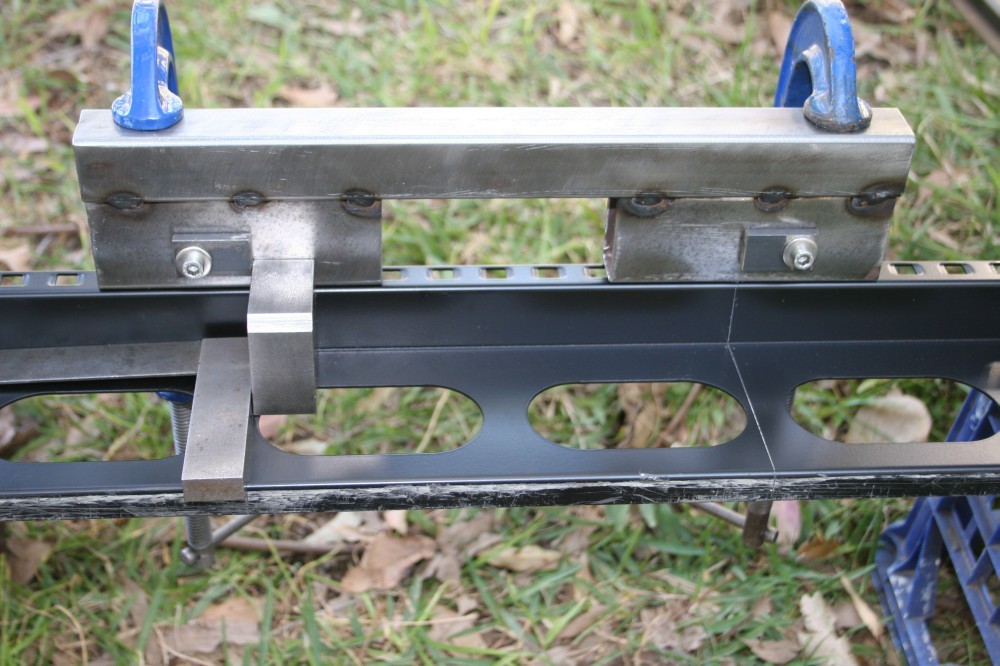
Now the same size piece to be removed from one of the rack base sections.
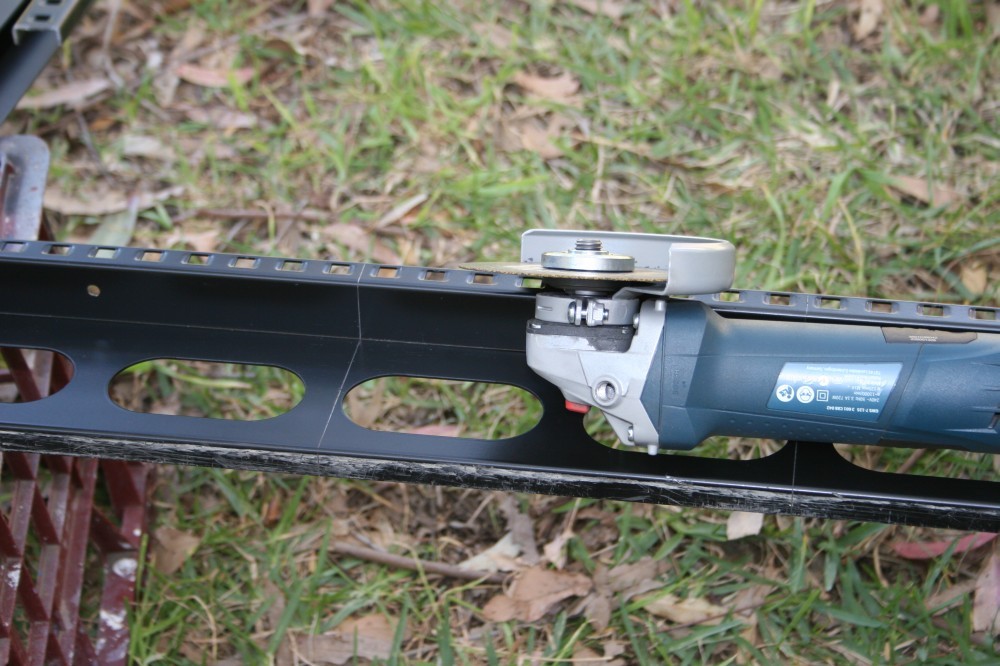
Showing the cutting disk. I love these! With these and a welder, steel structures are easy to hack any way you like.
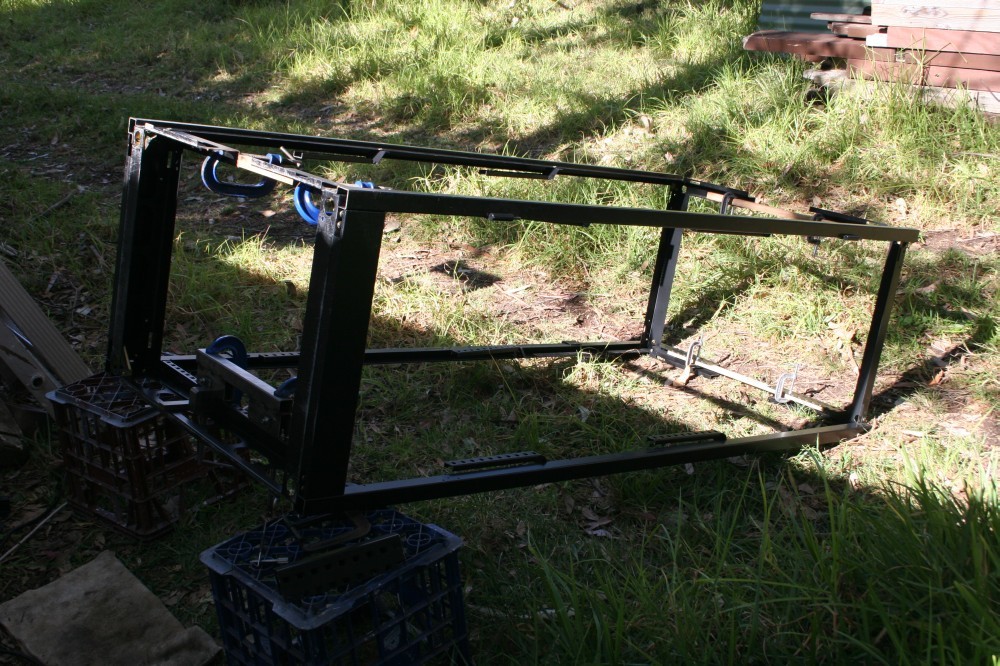
About to make the last cut. All other cutouts are clamped to keep the rack structure rigid.
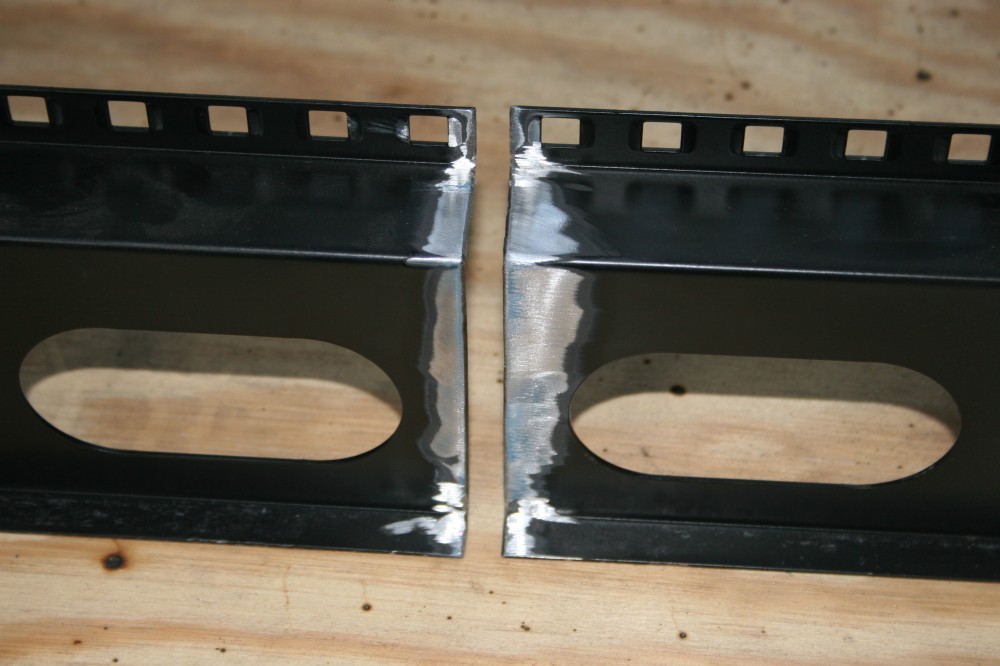
Weld preparation. Paint does not weld well.
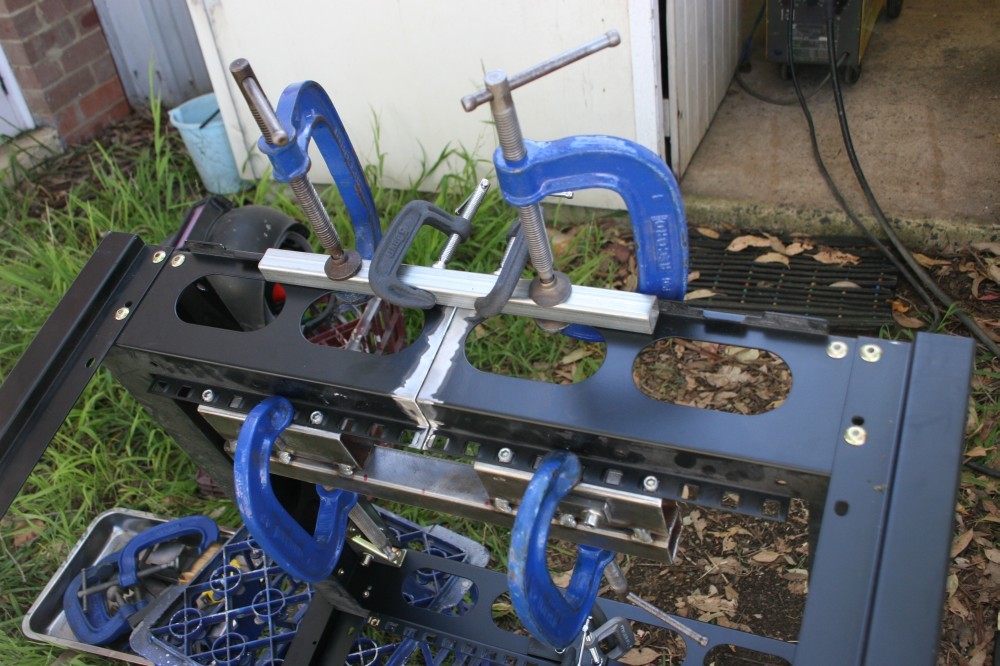
Clamping a joint prior to tack welding.
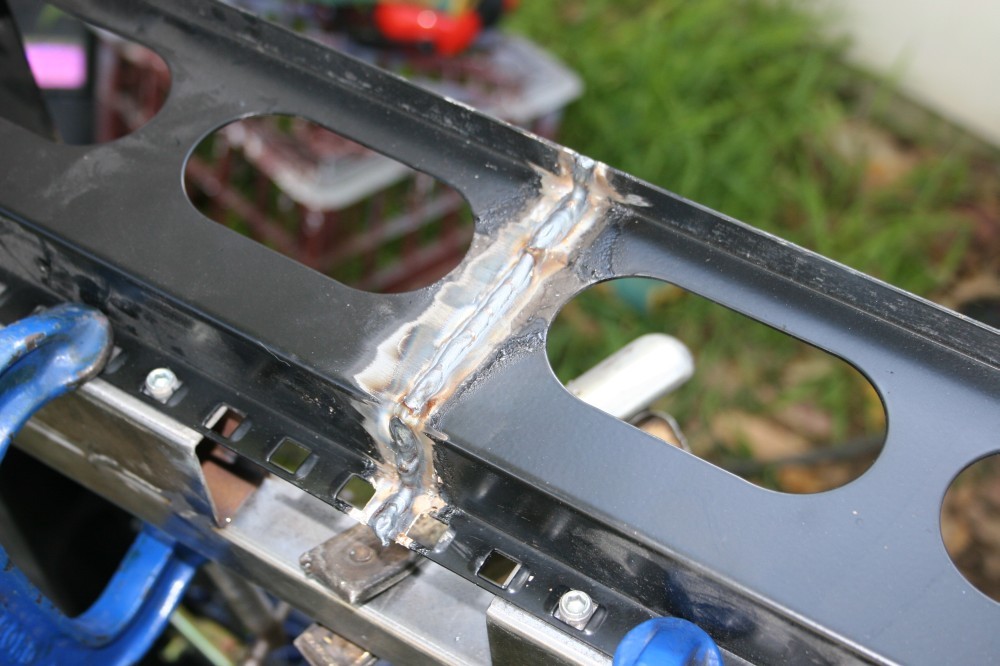
A typical seam weld. Yes, I know my welding is poor.
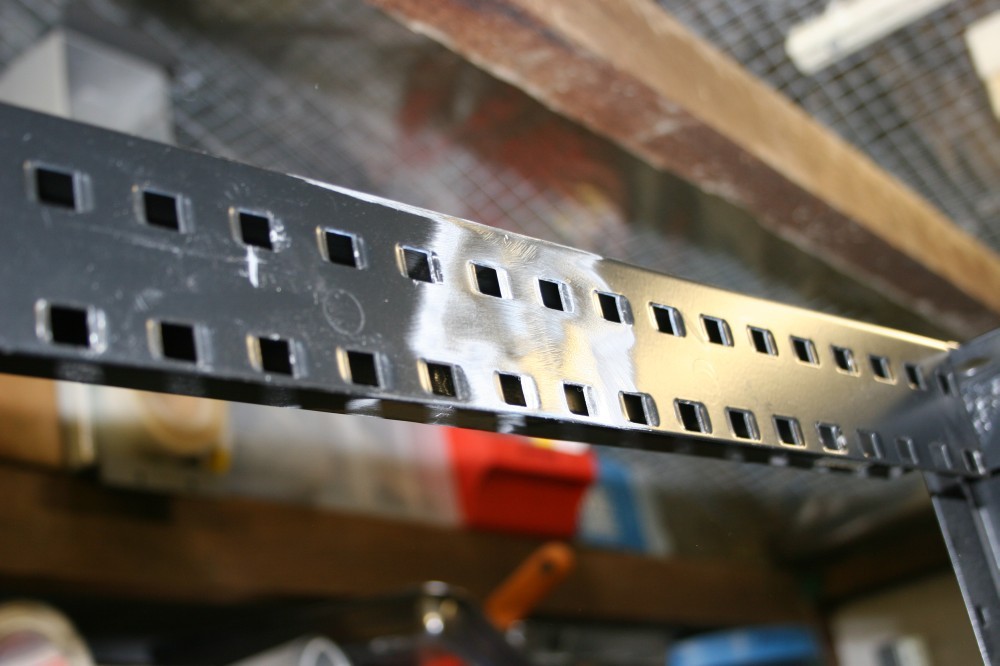
A welded joint after grinding flat.
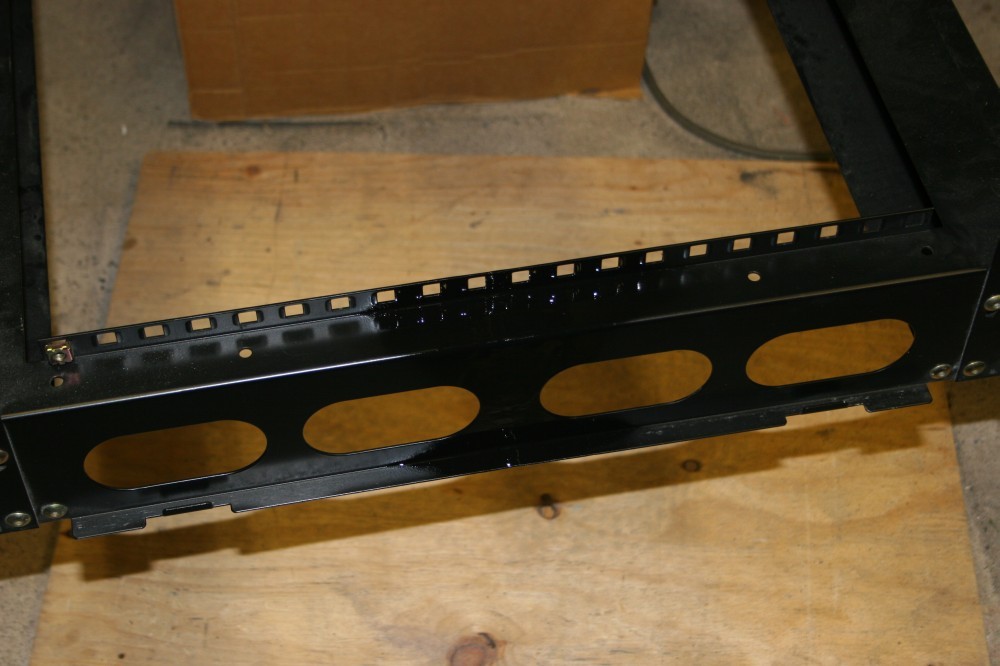
After painting.
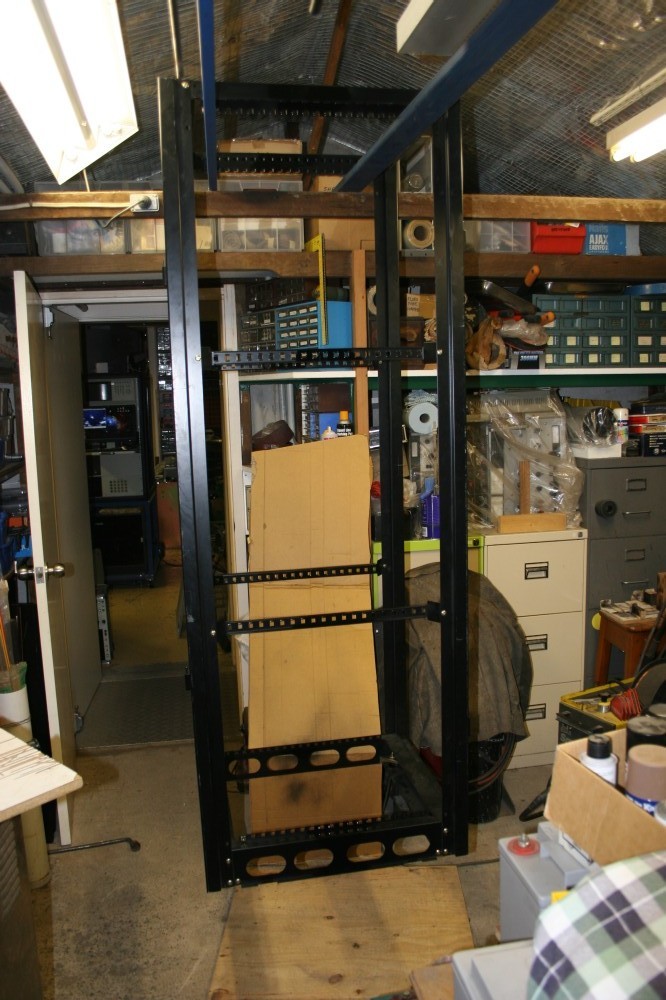
My new smaller rack, hung out to dry.
Yeah I know, it's not electronics. I don't ever seem to get to do any electronics these days, and haven't for a long time. All mechanical and building construction. But this is going to hold a lot of electronics. Close enough?