Fig 1. Hewlett Packard HP 1000 E-Series Computer - HP 2109B and HP 2113B Operating and Reference Manual
Temporary DRAFT COPY - incomplete
Now and then I scan some old technical documents, for public archiving. So far this has mostly been an exploration by doing of the techniques required. There are many old books and manuals I'd like to preserve in digital form, but there's no point starting in earnest until I'm better at it and can reliably achieve acceptable quality. If there's one thing worse than the tedium of scanning and post-processing, it's having to do it all over again when you realize the end result wasn't as good as it could have been, and you decide the flaws are unacceptable.
The whole thing has certainly been a learning experience. I've been taking notes, as a 'how to' %%% article on the techniques of scanning. Meanwhile, this post is more about a particularly troublesome obstacle I've encountered with scanning documents.
A while ago I started a project to restore an old HP 1000 Minicomputer. Some original paper manuals I have for that machine don't seem to be in the online archives yet, so they need scanning. Unfortunately the first and best one has some difficult characteristics that stalled progress for quite a while. This is a discussion of those problems, and where I'm up to in overcoming them. If anyone can suggest other solutions, I'd like to hear them.
I'm quite familiar with scanning technique, characteristics of various image file formats, compression schemes, etc. I'm also able to use photoshop, irfanview, etc to do a reasonable job of cleaning up page images and scaling them for the final document. For example, a few I've done in the past.
This is the manual under discussion here:
Fig 1. Hewlett Packard HP 1000 E-Series Computer - HP 2109B and HP 2113B Operating and Reference Manual
Printed only 30 years ago, in 1983. And yet there seem to be few enough copies around now that so far no one has scanned it. Or perhaps the reason is that everyone else encountered the same problem in scanning it to a reasonable-looking digital version?
It has around 126 pages, all finely printed on thin glossy paper. Almost every page uses two different inks. One is black, for the text and images. The other ink colour is a yellow-tan. Here's an example of an 'easy' page:
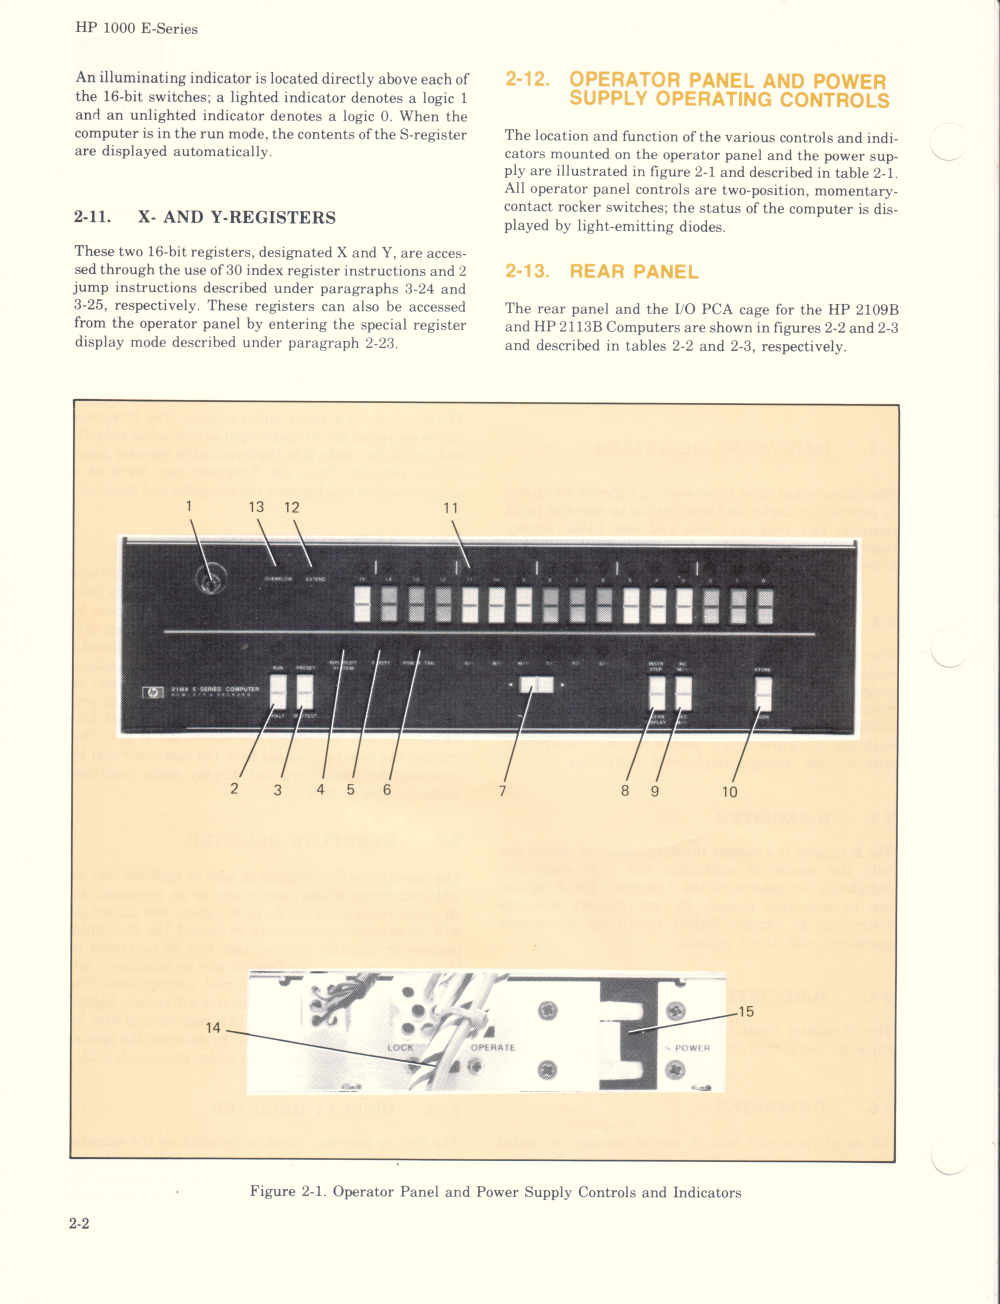
Fig 2. Sample page.
That is the raw scan, with no processing apart from scaling down from 5104 to 1000 pixels wide. This example shows several typical minor scanning problems: The scanner colour accuracy is off; the paper is much whiter than that. The text is slightly skew, there are a few dirt specs, a small paper crease, and the contrast is far from ideal. But those flaws are all easily fixed in post processing. There is also bleed-through of the text on the other side of the paper — the best way to eliminate that is to re-scan with a black backing sheet.
None of those problems are show stoppers. In fact there's a far more serious problem with that page, which isn't even visible in the Fig 2 image.
As we'll see later the light tan area around the photos has the exact same ink as the darker text headings, using a less than 50% screening mesh. Also the photos are screened with the same black ink as all the lettering. Throughout the manual both the black and tan colours occur in solid ink areas, and also screened lighter or shaded areas. It's the shading, and that the shading is intermixed with sharp-edged solid colour details, that presents problems.
To understand why this is a problem, it's necessary to understand screening and the simple method of dealing with it in documents to be scanned. The 'simple method' that fails with mixed screening and solid elements, like the above.
To achieve what is effectively an optical illusion of shading, the offset printing process uses a technique called 'screening'. Where shading is required, one or more of the inks is printed in a regular grid of fine dots. The dots are the solid ink colour, but the size of the dots varies, giving a perceived tonal range anywhere between the colour of the base paper (dots shrunk to nothing), and the full colour of the ink (no gaps between dots.)
With quality printing the dots are small enough to be invisible to the eye, unless you look very closely or use a magnifier. So screening uses the human eye as a low-pass filter, to hide a high frequency binary colour mark-space ratio modulation in the image. The result is a perception of analog tone, although the signal is actually binary. For gray scale images the 'ink signal' is truly binary (using only 'ink or no ink'), while for colour images it is the same, but with each different ink used providing a separate channel. The eye mixes these to produce a perception of continuous colour shading, but it is an optical illusion.
By the way, where images in this article are intended to show a particular effect, they will be presented in non-lossy PNG, so as to not introduce even more image artefacts such as JPG's lossy edge-mangling.
Here's an example of a printed 'gray scale' photographic image, enlarged so the screening is visible. It's a section from the manual cover in Fig 1, seen in the full resolution (600 dots per inch) of the original scan file. This was sufficient to accurately resolve the dots of ink on the paper. Note that encoding all those dots makes the file size huge: 1.1 MB just for this small extract. The full scan file of the cover is 70 MB.
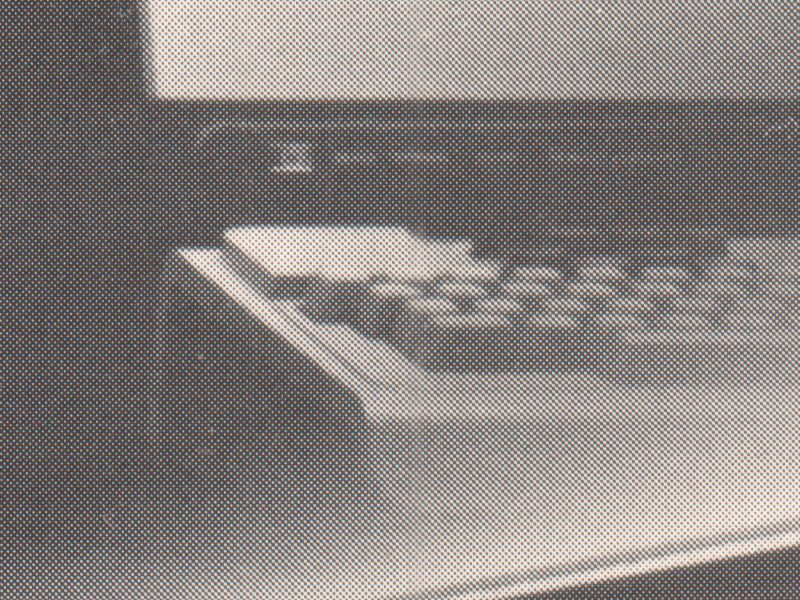
Fig 3. Offset printed screened B&W image.
If a printed screened image like that is scanned at a resolution near to or lower than the screening pattern spacing, the typical result is an introduction of repetive Moire patterning. This severely ruins the image quality. The visual effect is horrible and the information loss is irreversible. Worse — so long as there's any remaining regularly repeating variation in tone, further image rescaling operations will likely introduce yet more Moire Pattern artefacts, as the resampling spacing creates beats against the existing patterning.
Fig 4. Moire pattern due to beats between the screening and sampling.
Simple images like Fig 3, with clean rectangular borders, are relatively easily converted to a continuous tone digital image. The method is to scan at a resolution high enough to cleanly resolve the ink dots, then using a graphics editor apply a blur filter to the the image. The radius of the blur filter averaging is adjusted to a value of a little over the spacing of the ink dots. The optimum value can be found experimentally by eye, using the filter effect preview zoomed in so the screening mesh is visible, and adjusting the blur radius to the minimum value that eliminates the screening, but no more.
Once the digital image consists of smooth gradations of shades, it can be rescaled to final size without introducing further Moire Pattern artefacts.
For example here is Fig 3 again, descreened using Photoshop Gausian Blur, radius 2.5 pixels. Now that the dots are removed the file size drops to 264 KB, compared to 1.1 MB of Fig 3. Less than one third, even in PNG format.

Fig 5. Descreened using Blur.
Where the photos are on a page with other details such as text that would be visually degraded by bluring, then the image can be selected in the editor and the blur effect applied only to it. Nothing difficult about that, unless there are hundreds of such images that must be individually selected and de-screened. But even that's not too bad.
The worst case is when relatively fine, sharp-edged text and lines are directly overlaid on screened tonal images. Looking at the printed page, the eye is fine with that. The screened images look like continuous tonal shading, the lines look like clean lines, and the text on the images looks crisp and clear. If you blur the images to remove the screening pattern, at near true scale the resulting images look identical to the screened originals. But the lines and text are wrecked by that same blur, and look terrible to the eye.
Here are some examples.
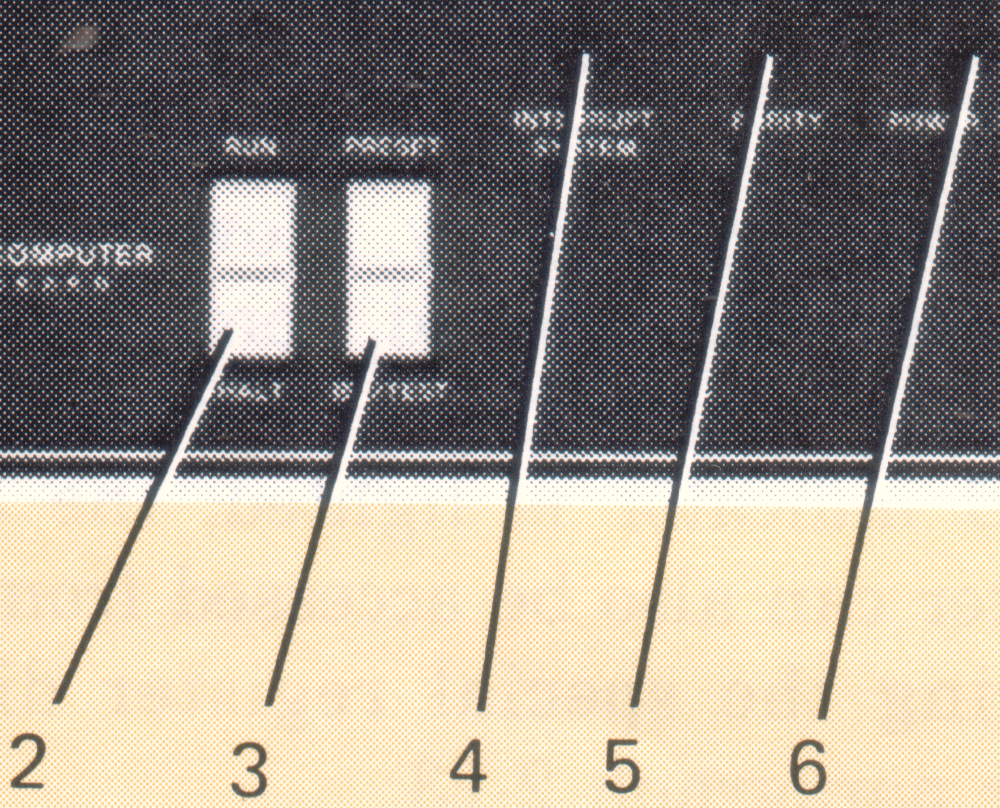
Fig 6. Lines and text on Screening.
%%%%% same image descreened with blur. Yuk.
%%%%% reduced to typical final size. Still looks bad.
In this HP manual there are only a small number of images like this, and it's painful but feasible to deal with them by 'brute force photoshop', as I have with similar cases in other manuals. It would be nice if Photoshop could recognise screening, and allow selection of just the screened areas. Then one could blur the selection only. But so far I've never found a way in Photoshop to create such a selection, with enough accuracy to not damage things like text in the screening areas. The problem is that the screening dots really are the same ink colour as the text and lines, so Photoshop's 'colour range selection' is no use. For those lines in Fig 6 for instance, one can create a mask for them by drawing identical overlapped lines on a scratch layer, selecting them, then subtracting those from a mask of the area of the photo to be blured. If there are just a few instances of text overlaid on the screening, it's possible to add them to the mask by finding a closely matching font and adding duplicate text to the mask.
Obviously such detailed fiddling is not feasible for very many images.
In this manual's case, it's worse. There are very many pages like this:
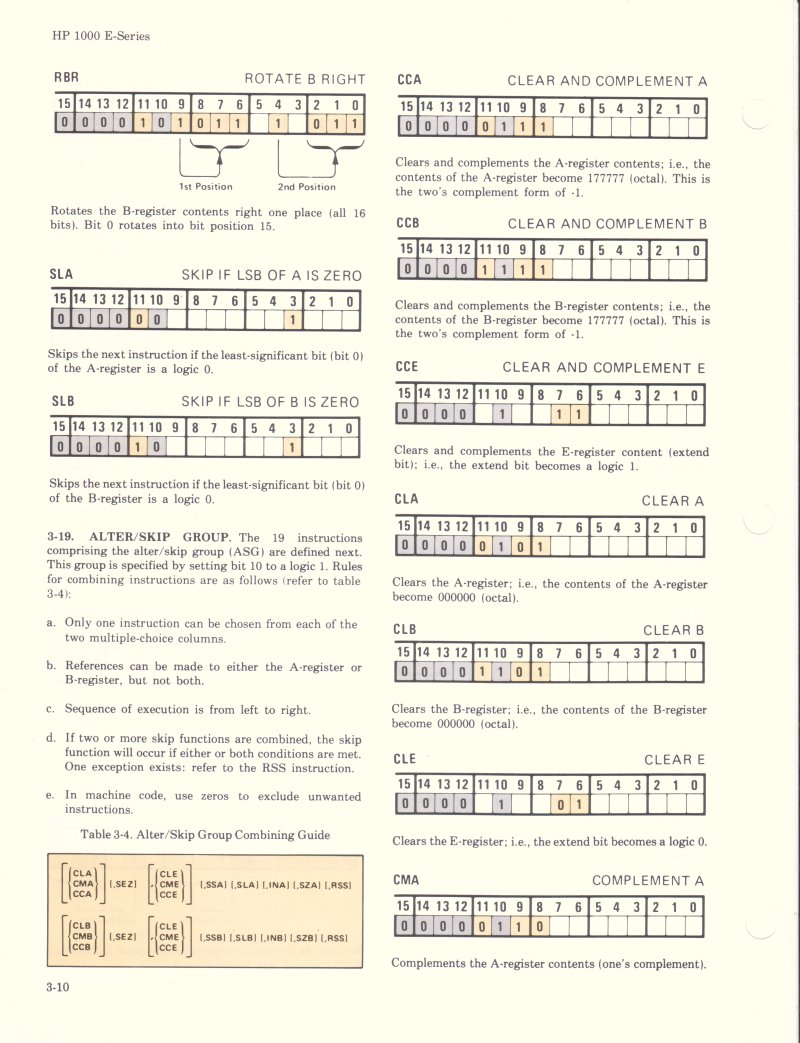
Fig 7. Lots of little boxes.
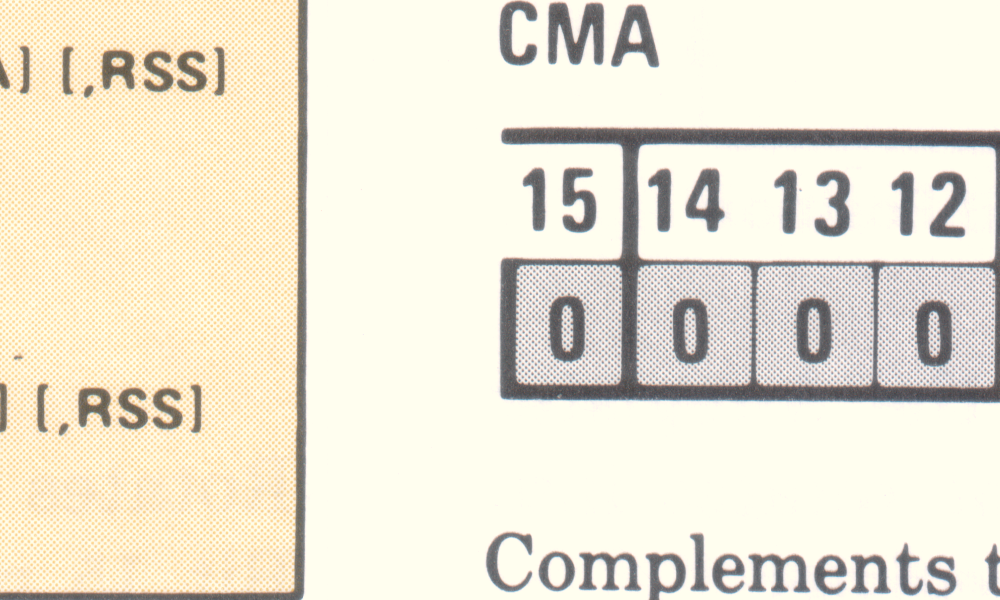
Fig 8. In the boxes, mixed screening and text.

Fig 9. Screening and text mixed everywhere.
I can't just use overall gausian blur to remove the screening, like I can in plain B&W photos, because that also blurs all the text and diagrams unacceptably.
If I just leave it, on image reduction to the final page size (1200 pixels wide) there is some trace of moire pattern on the screened areas.
This is bad because it looks bad, but much more significantly it greatly increases final file size. The non-lossy PNG compression has to preserve the patterning, and the tonal variation is enough to prevent a clean colour range selection and replacement with a flat colour, in order to achieve optimal image compression.
Is there any utility that can automate those operations?
I'm hoping that any suggestions of solutions to these problems involve freeware. I can't afford to buy anything much these days, and prefer freeware anyway. The Photoshop ver I have is a very, very old one, Ver 5.5. (That was before I grew to hate Adobe.)
But I'd still like to hear ideas that involve CS6 or similar.
%%%%%%%%

The story of searching for a 'descreen' utility.
 General lack of info in net.
 Astonishing lack of mention of the general problem in Adobe photoshop docs.
 Asking around, and demonstrations that even many people accustomed to photoshop editing don't understand image quality or descreenign.
 Finding and buying photoshop plugin from www.descreen.net
   Discussion of it's actions and defects.
     - often can't find the screen, if small proportion of the total pic.
     - Blurs ALL the pic.
     - Still can't 'select screened area'.

 Then _after_ buying descreen, discovering the Filter -> Blur -> Smart Blur in CS6.
 It's so close! Also so totally unexplained, and no mention of descreening.
 But still can't select screened areas...

Still W.I.P.