This was a quick one hour project with little purpose, because what the heck?
After finishing a few other minor projects, I'd been updating my 'list of things I'd like to get done before I'm too much more ancient.' Mostly that's an exercise in checking the interdependencies of wedged projects, to see what can be pushed a bit further at the moment.
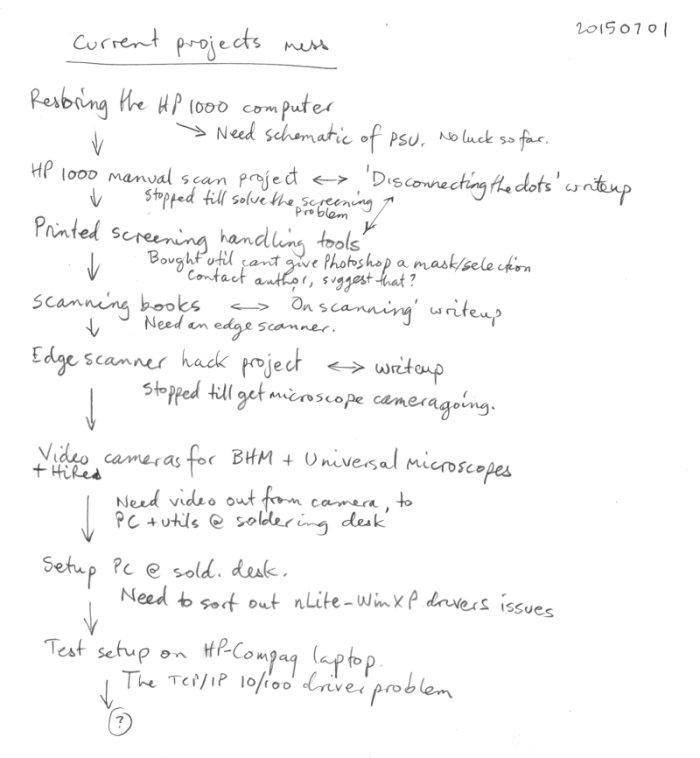 It's complicated enough that I actually do have to make lists and draw arrows with notes between items, or I lose track.
I'm supposed to be retired, not juggling several fairly complicated development and construction projects at once.
At left is just one page of several. That's one chain of wedged projects which is now 8 levels of wedgedness deep. All those things are meant to be casual interest fun projects. Nothing to do with my primary projects and construction efforts. It's rather depressing.
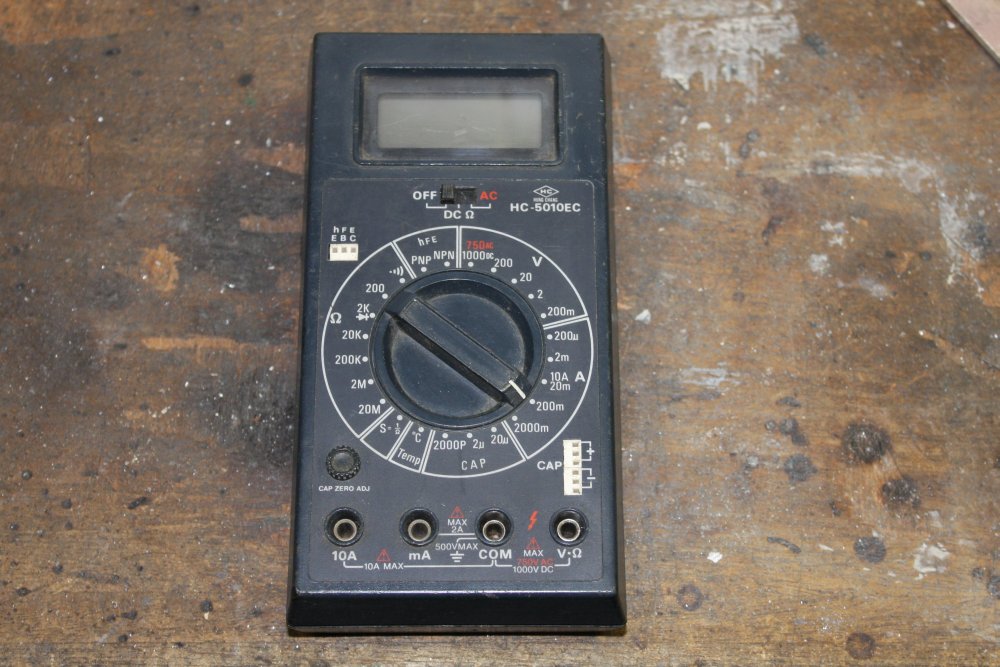
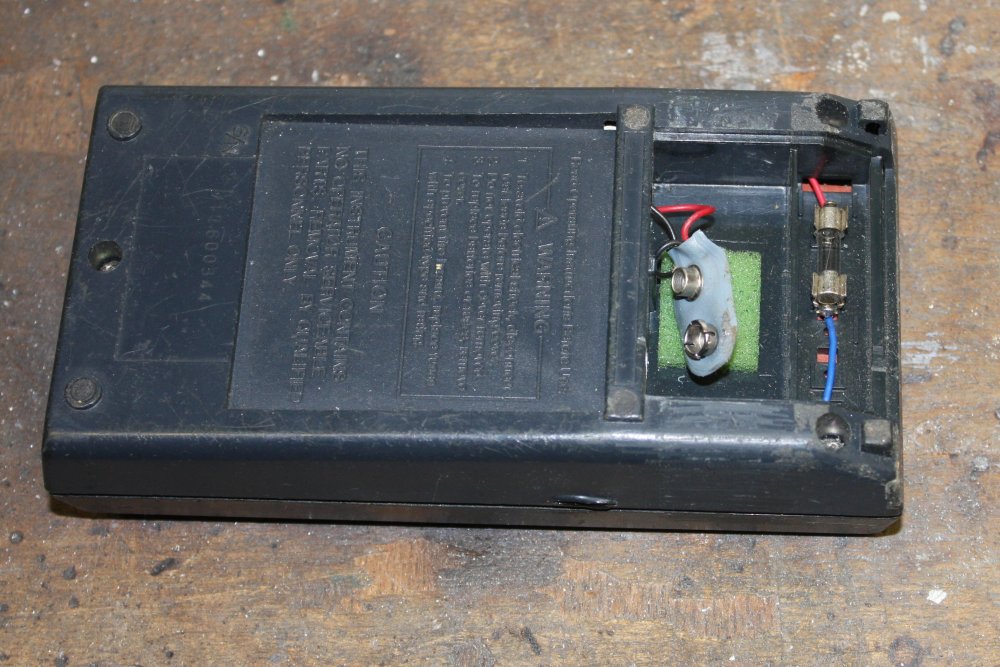
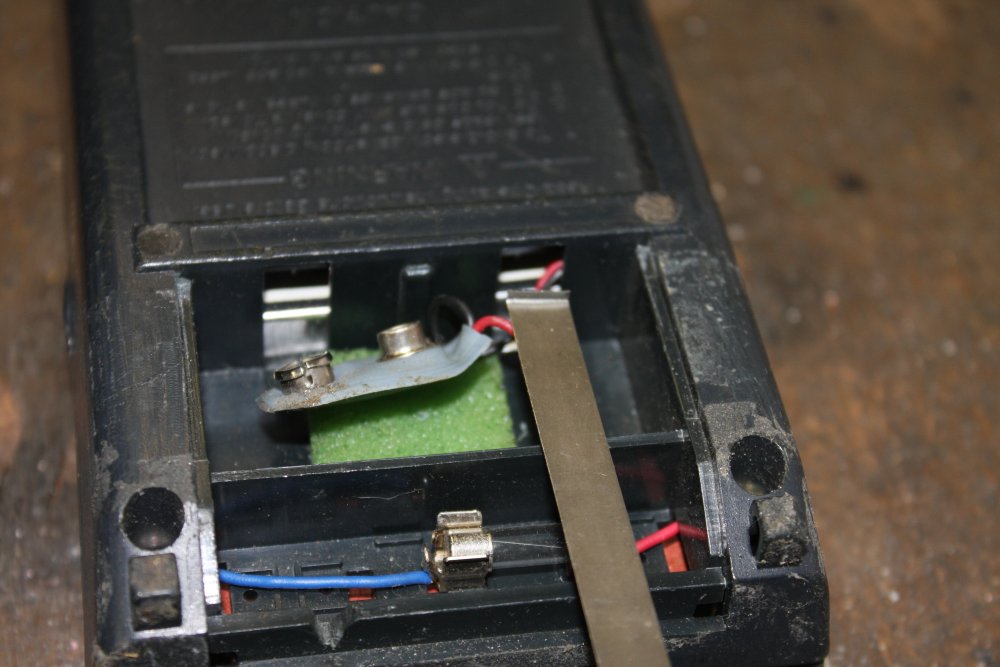
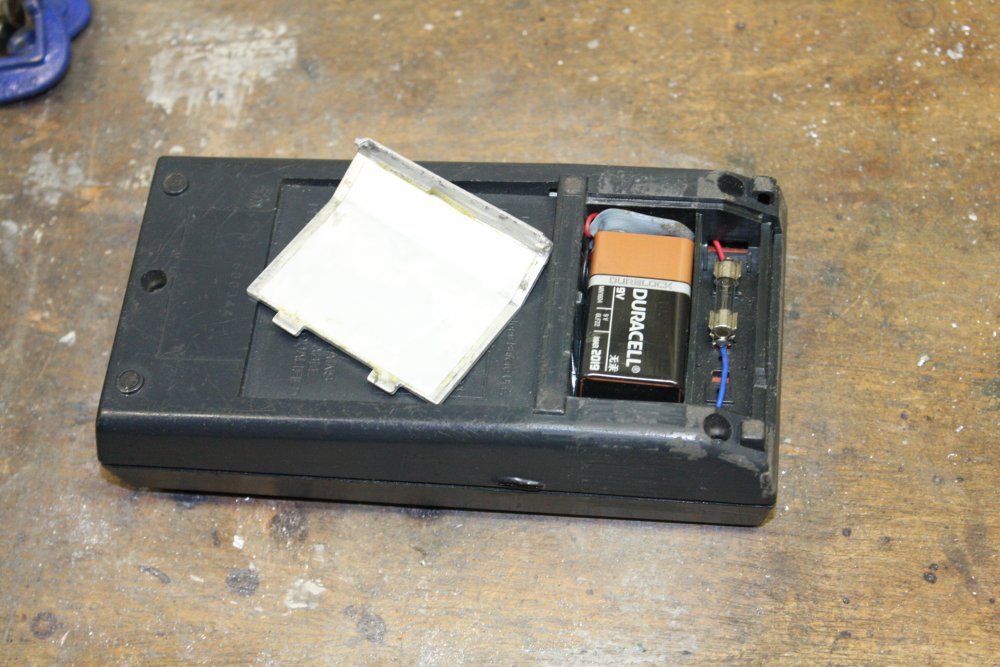
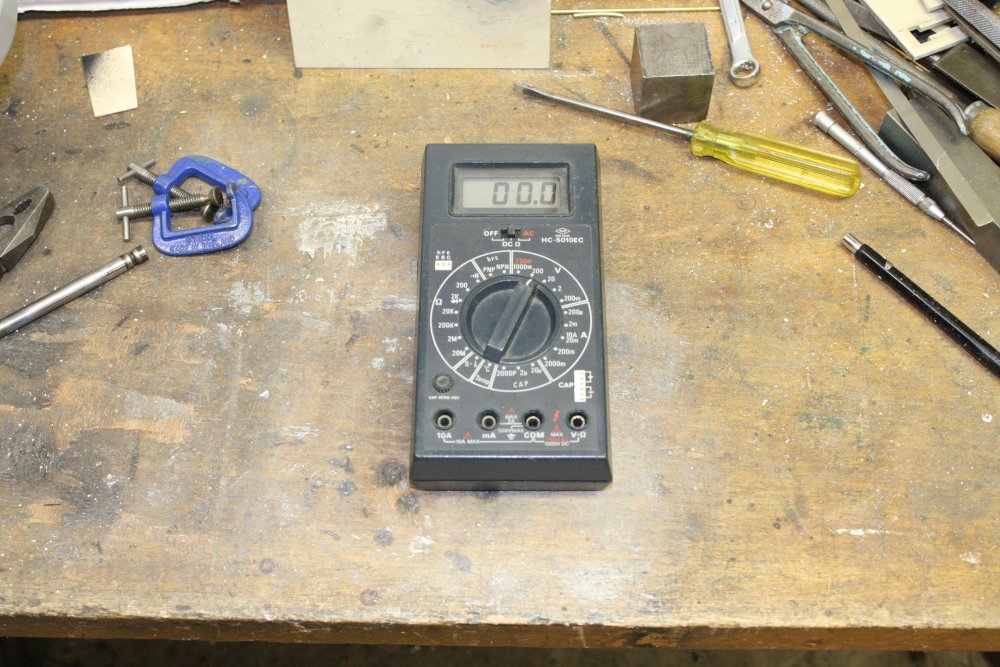
At the same time I was fiddling with those 50W LEDs, and had needed another multimeter at my bench. A couple of others are elsewhere atm, so I'd rummaged in the drawer and came up with an old multimeter someone gave me ages ago. It works, but they'd lost the little panel on the back which holds the battery in. I connected a battery and used it with the battery hanging out. Nothing special about the meter, and later I was about to store it away again when I thought F*ck it. All these projects that take ages to complete, let's do a quick one for a change. I'll make a new back panel for this meter.
 |
 |
 |
 |
 |
1 & 2. The meter. Lacking a 3D printer, I can't make a panel out of plastic. It should be plastic, for electrical isolation. But it's going to be metal, with an inner insulating layer. I'll just avoid using it on high voltages.
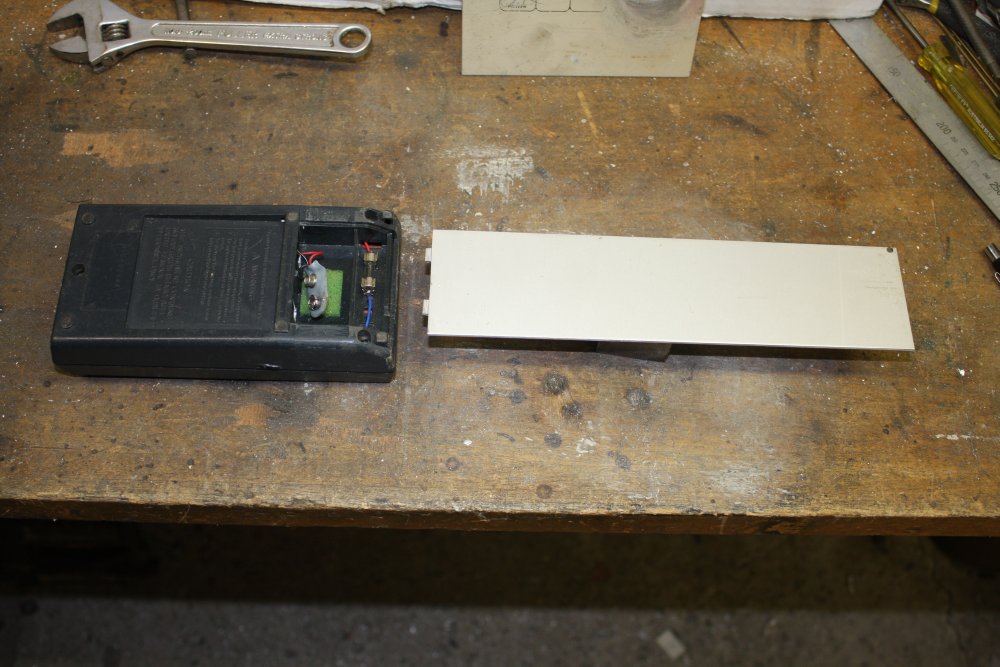
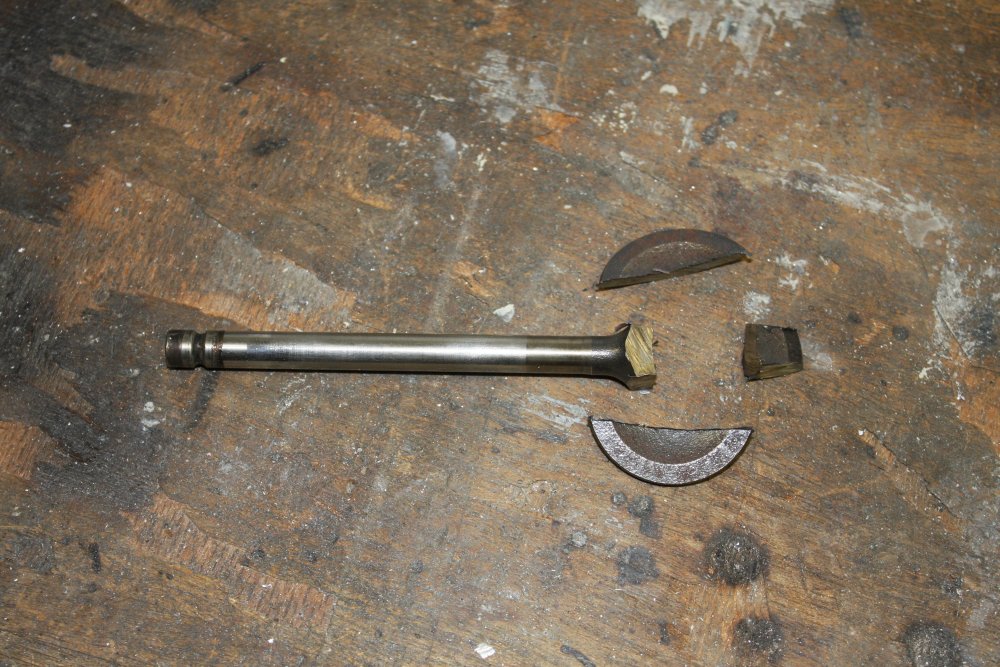
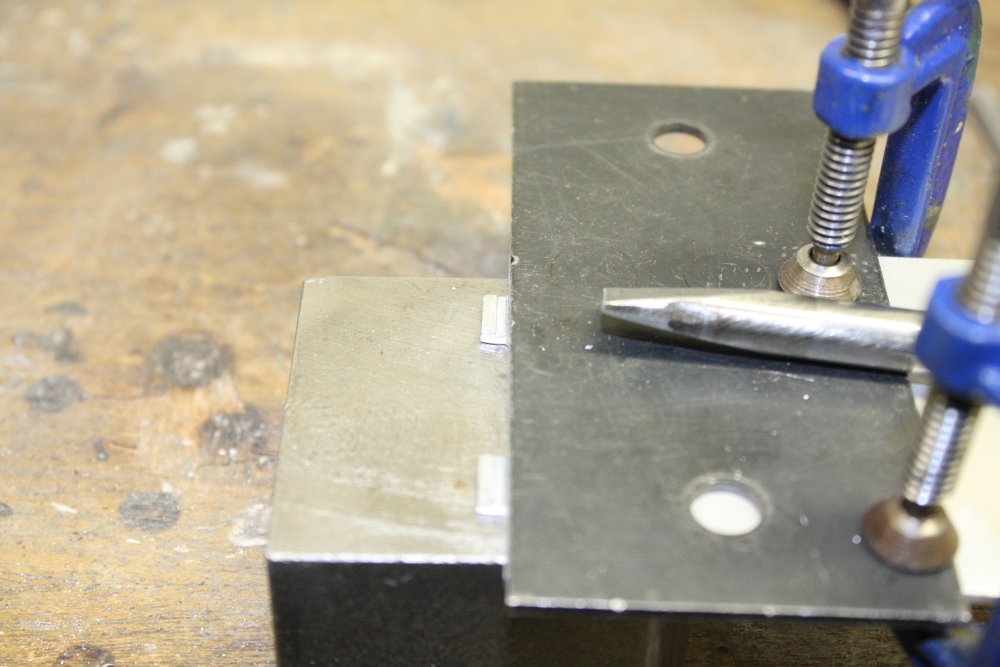
3. I cut a strip of aluminium from a scrap sheet with the guilotine, then filed a profile on one end to fit the slots in the meter case.
4. Using a little strip of springy steel, I made a feeler to judge the depth of the detents inside those slots. The edge is about 2mm in from the front.
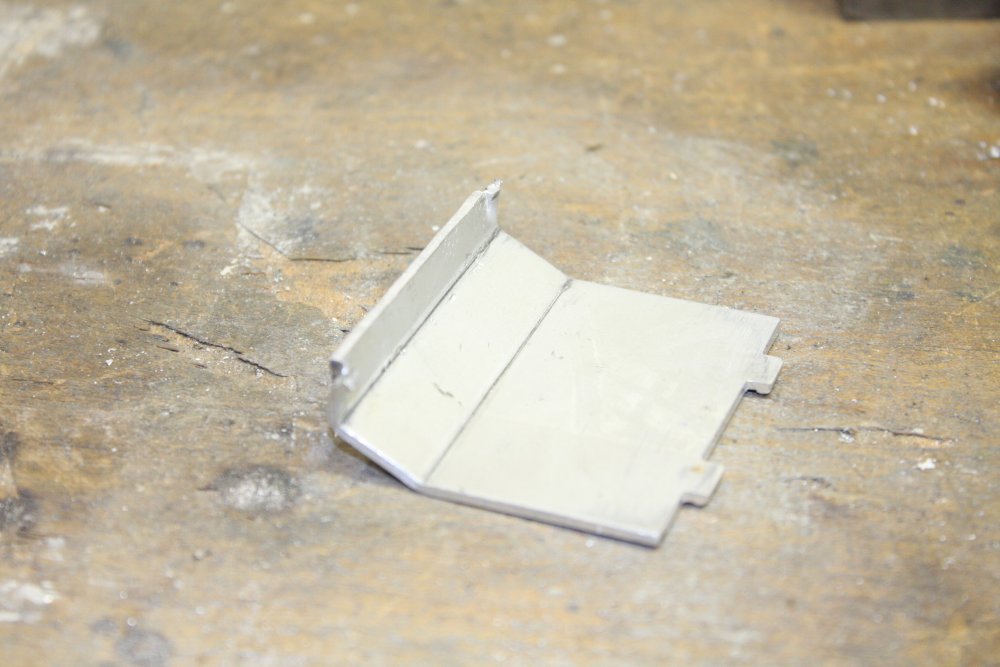
5. The strip in place, but with no 'click' detents yet. I needed to precisely make small surface depressions in those tabs on the cover strip.
 |
 |
 |
 |
 |
1 & 2. The best way to make the clean-edged depressions seemed to be with a punch, whose end was the right shape.
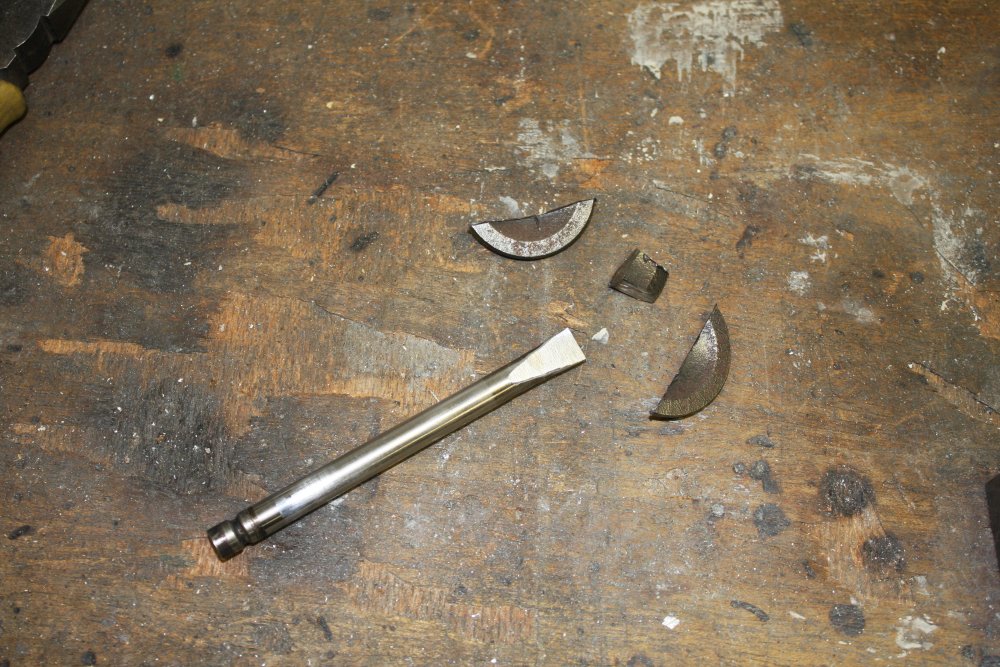
And so, I cut up an old engine valve. The rough cuts are done very quickly with a thin cutting wheel in an angle grinder, then careful shaping is done on a bench grinder. The result is a sort of 'flat ended chisel.'
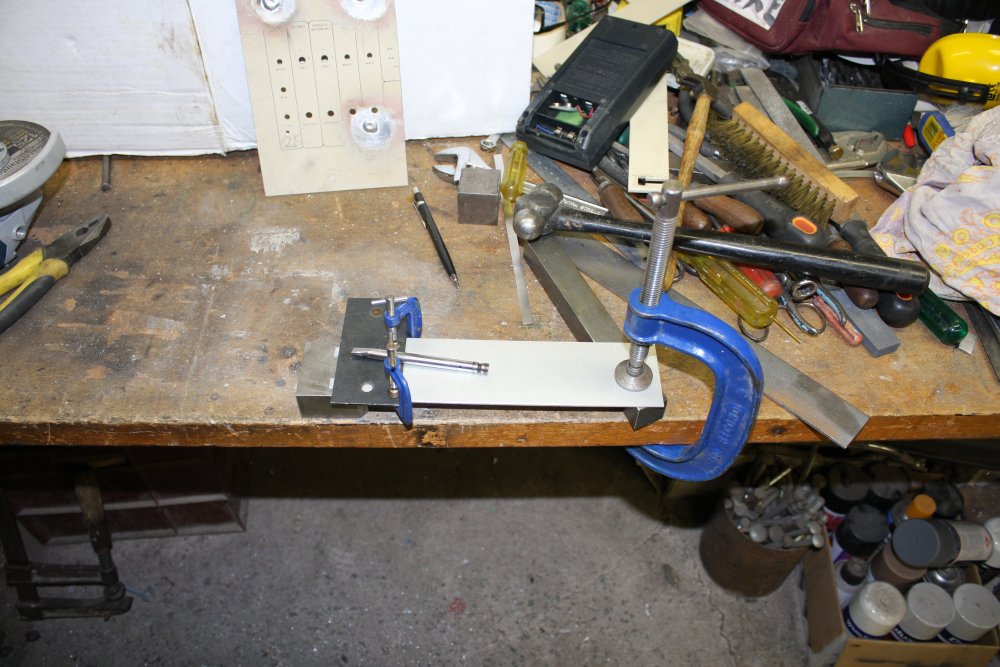
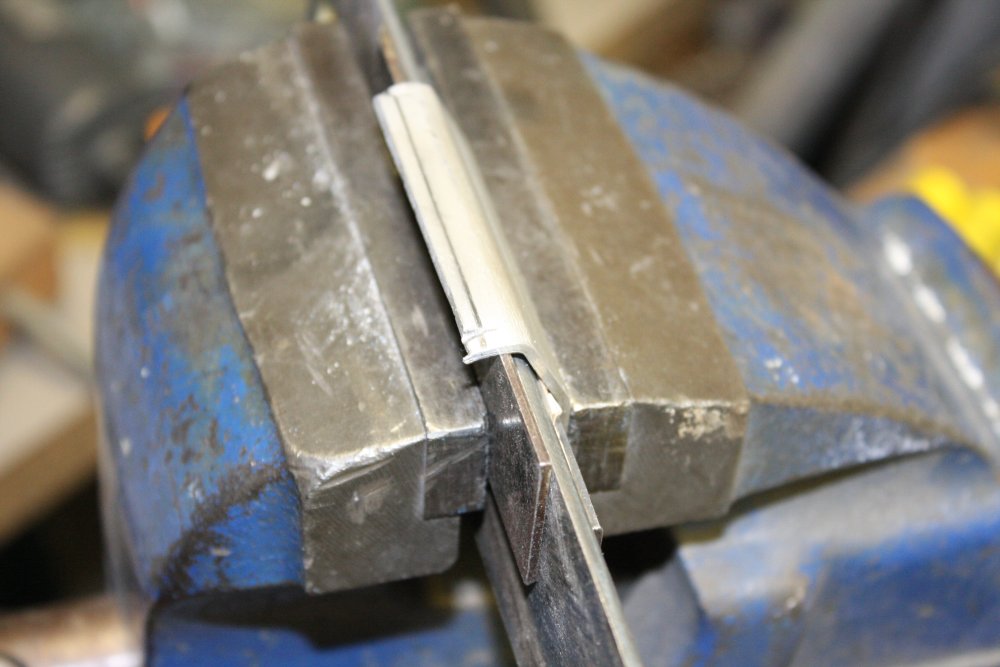
3. The strip clamped with an edge to lay the punch against.
4. The depressions punched in. Sorry, crappy photo.
5. A couple of bends in the sheet metal folder. Plus starting to form the bend-in retainers on the other end.
 |
 |
 |
 |
 |
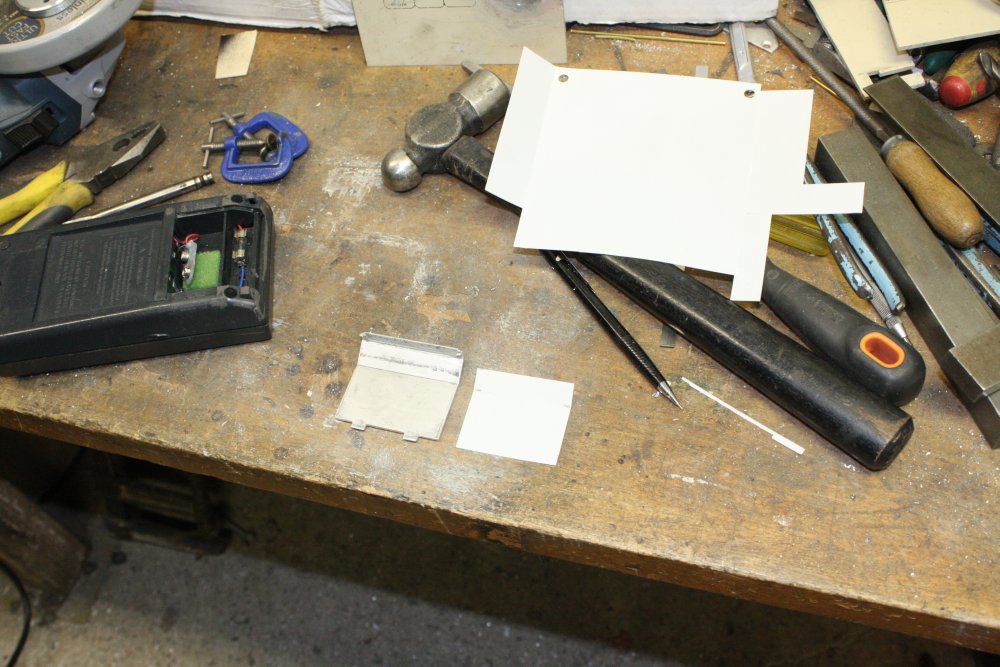
1. Clamping to use a hammer and punch to get the tight radius bends on the two retainer stubs. The metal to the left of the pencil line also has to be cut off. Once the stubs were bent out of the way I could use a pair of fine tin snips for that.
2. The metal cover completed, now cutting a piece of thick electrical insulation film for the inside.
3. That film glued in place.
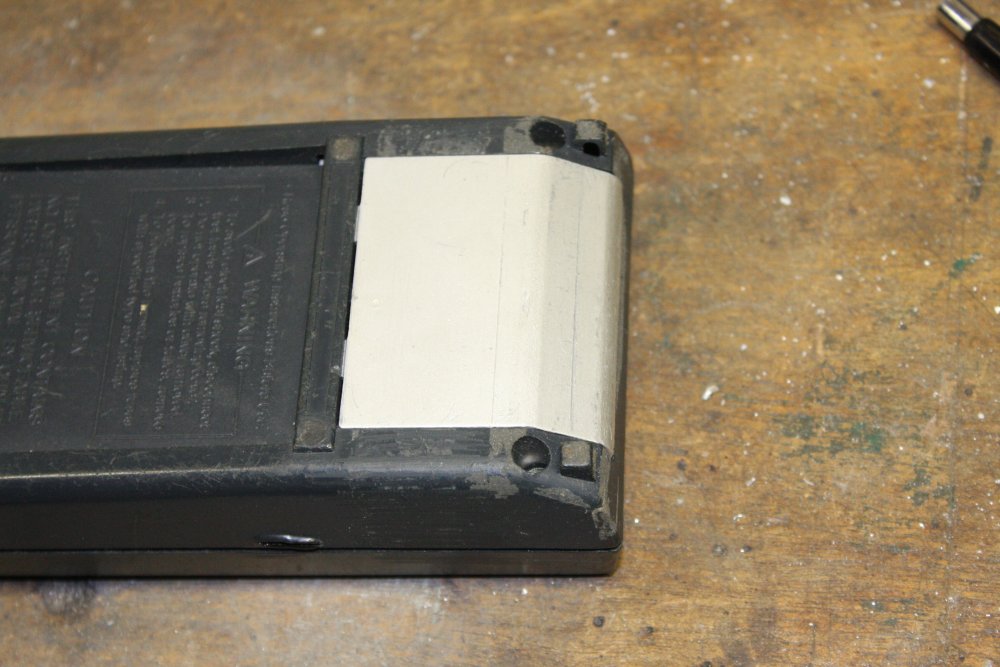
4. The panel in place. Yes, the back end is a leeeetle bit not flush. Also I realised when I looked at the photo the whole panel isn't pushed in as far as it can be. It does fit better than it looks there.
5. Done. Yes, I have spare meter leads somewhere. I hadn't dug them out for the photo.
Well. I could probably have bought a new meter of better quality cheaply enough. But doing something like this makes me feel better. I didn't throw out a working meter, the original panel probably got lost because the tabs broke off — and I hate planned obsolescence like that.
Best of all I didn't spend any money. Priceless!