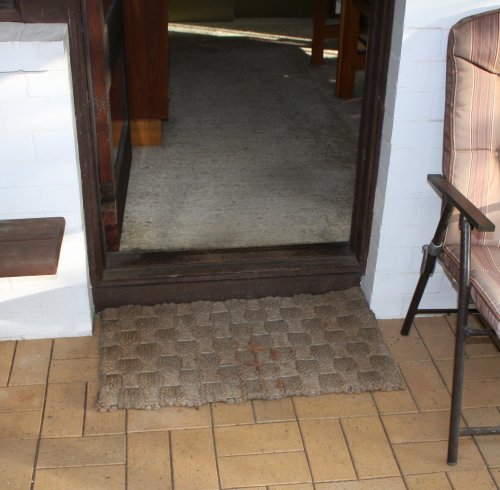
 This step.
It's at my mum's place. She's become very frail lately, and uses a walker to get around. Lifting the walker to get up or down this step is too much for her now.
And so it's time to take steps.
Specifically, time to take this step away.
With a ramp.
 |
 |
 |
 |
 |
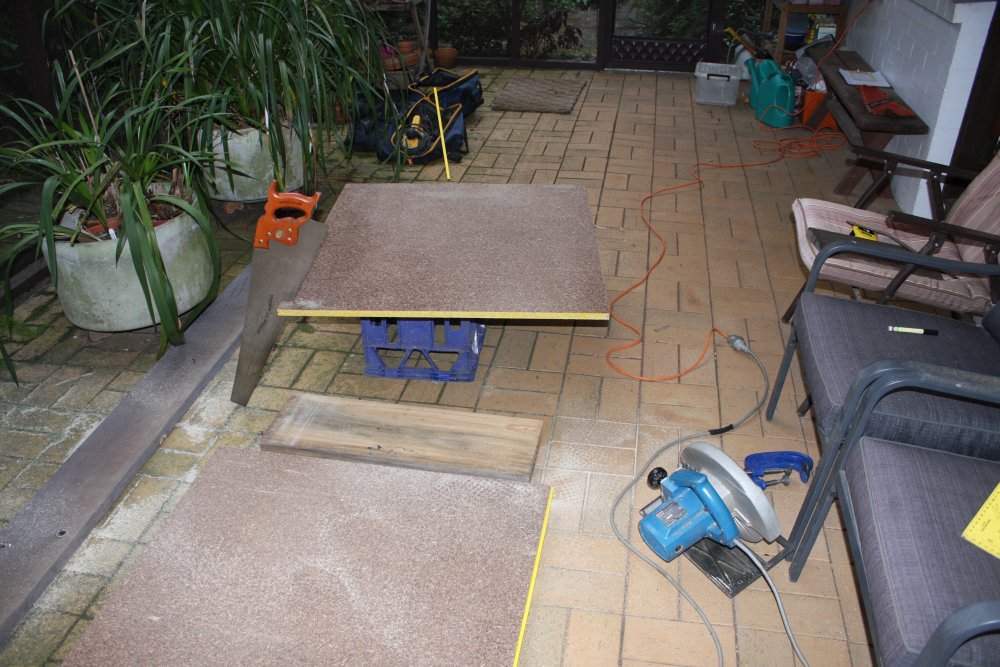
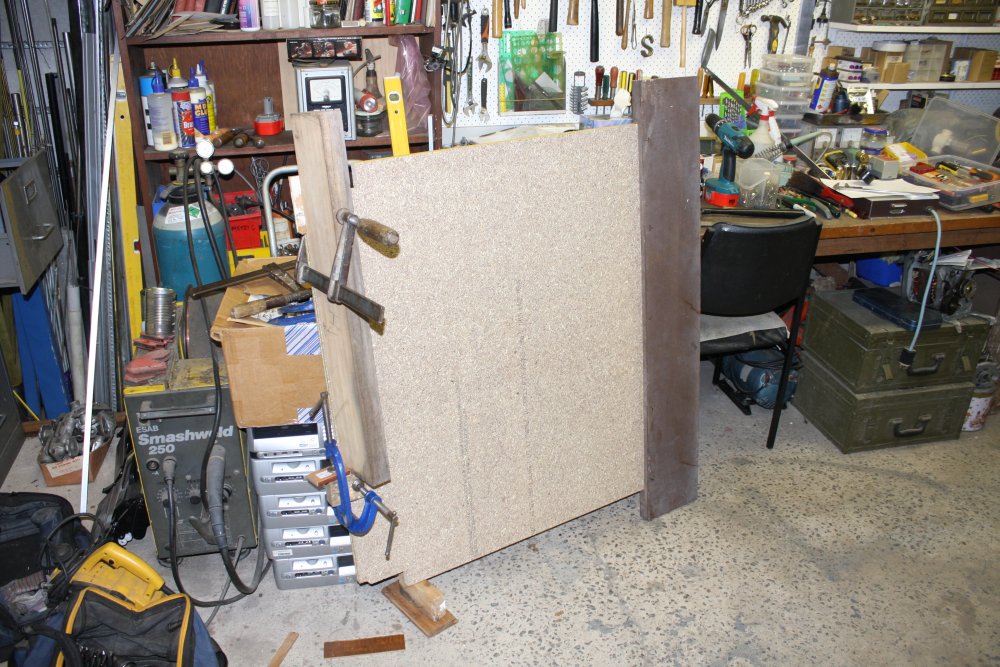
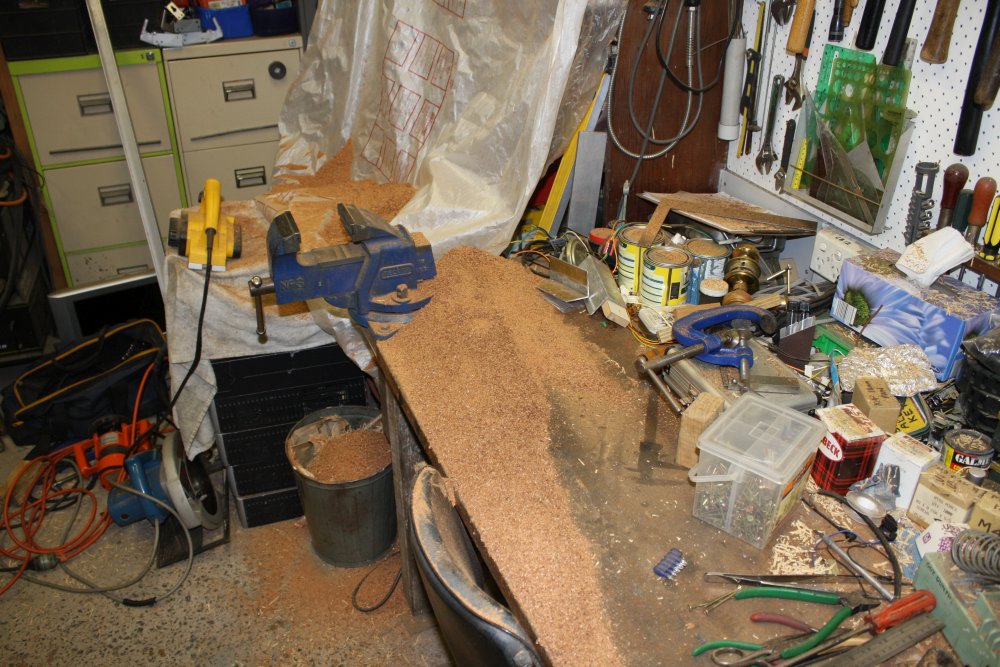
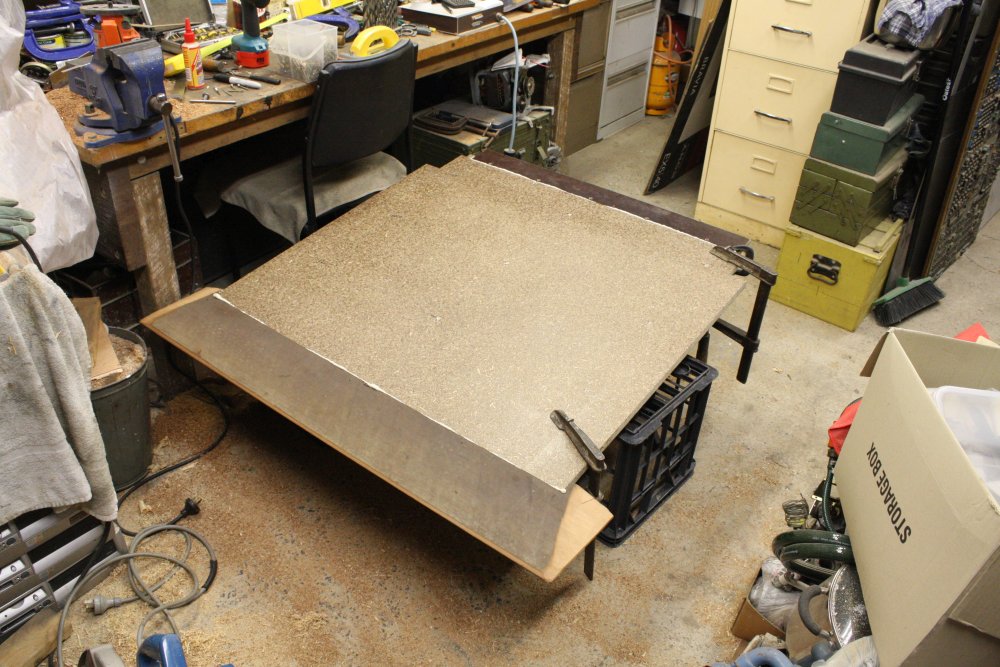
1. I'd hoped to be able to buy an offcut of floor sheeting. But no, full size one or nothing. Man those things are heavy! Supposed to be a two person lift, I can barely carry one by myself. Here it is with the ramp piece cut off.
2. Fiddly corners to match the door frame and walls, and a rough cut of the rear support.
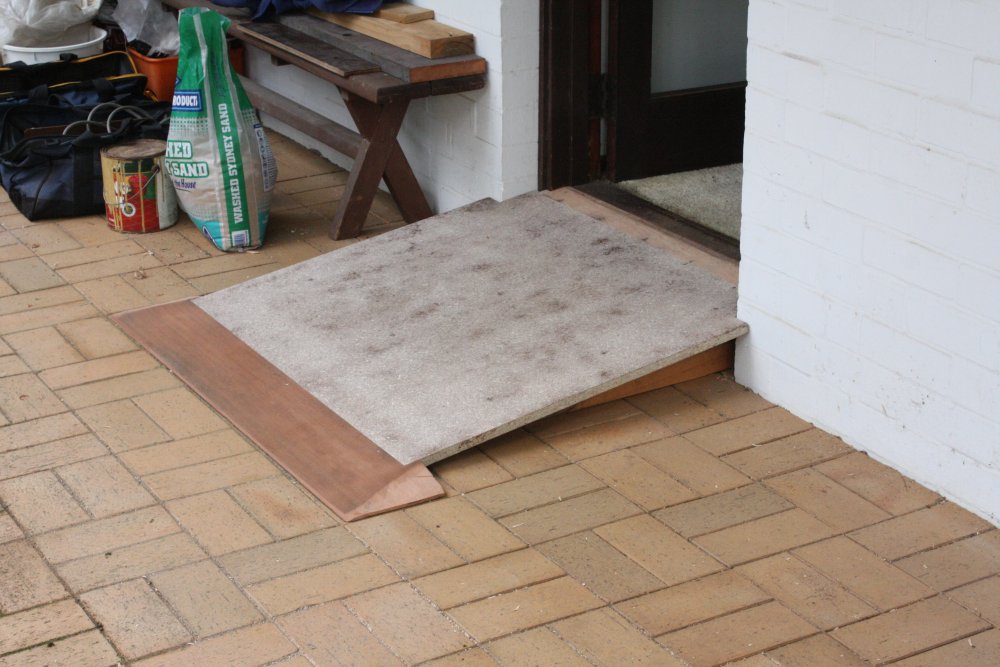
3. Test fitting. Obvious problem is obvious (and anticipated.) There's an undesirable lip at the lower end of the ramp. I don't trust this chipboard stuff to hold together if I just plane the edge to a bevelled point. So the plan is to add a real wood edge piece. I'd allowed for that extra ramp length when cutting the flooring sheet.
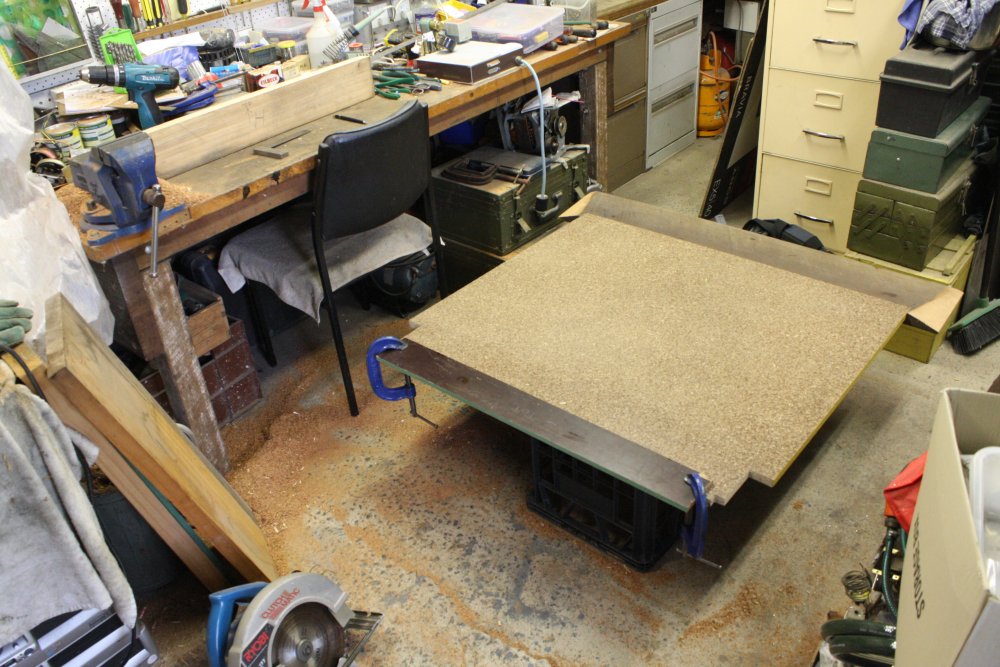
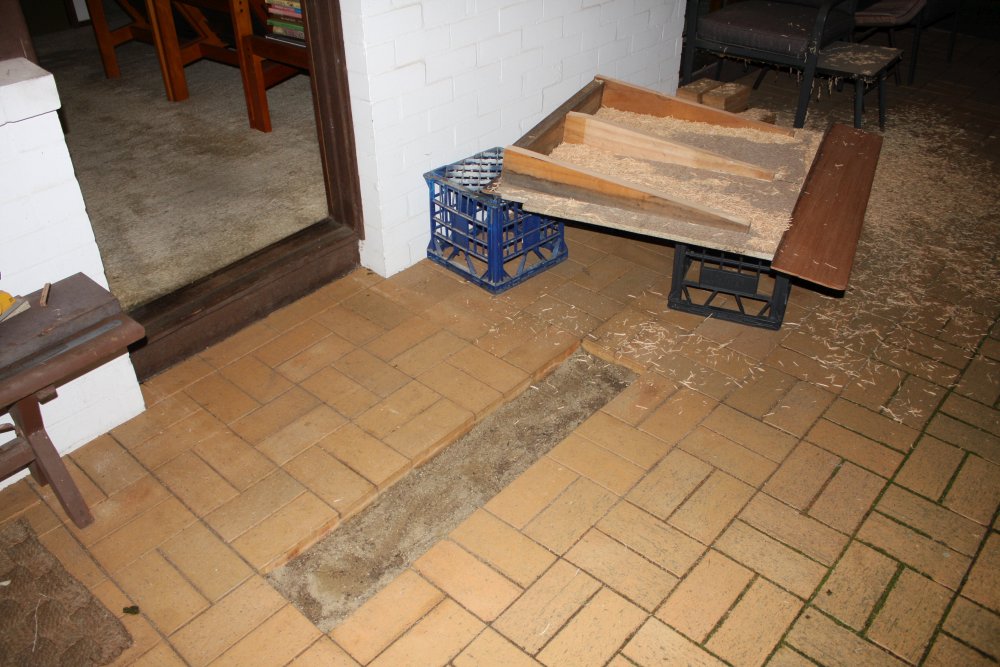
4. Back at the ranch workshop, the trick is to derive the angle at which the lower end wooden wedge has to be planed down. It's a bit of a fudge, since there are surprisingly many variables. One is that even with the wooden trim, I still can't plane the wood to a sharp edge. It would just break in use. So what I'm going to do is lower a row of the paving bricks, to allow the wood edge to be reasonably thick, yet still present a continuous line from the pavers ground level.
Also of course pavers are never actually in a perfect, level plane. This way I can adjust the pavers under the ramp end to line up with the door sill, and not have to make the ramp some funny trapeizoid shape.
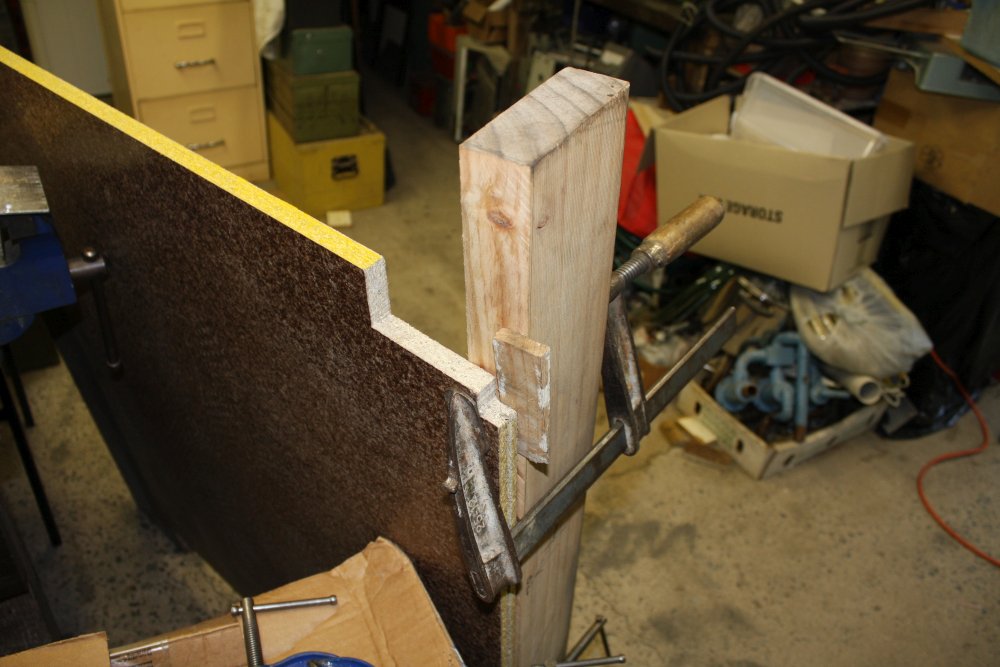
5. Fudges, fudges everywhere. That top end support has to be planed to an angle too. Then the bottom end projects (with a long ruler) to give the line for planing the ramp bottom end wedge.
 |
 |
 |
 |
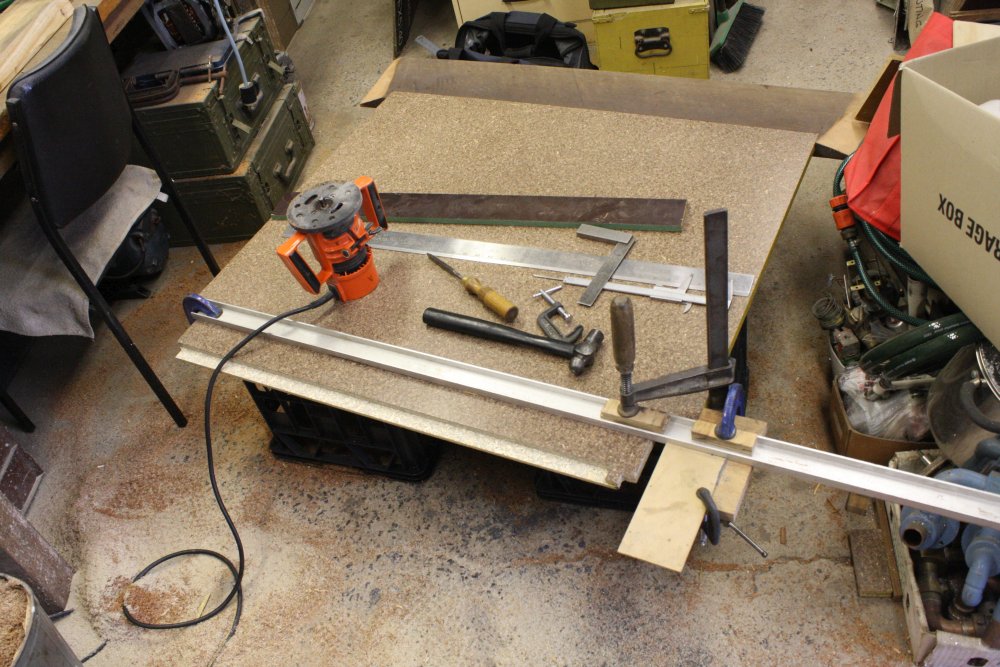 |
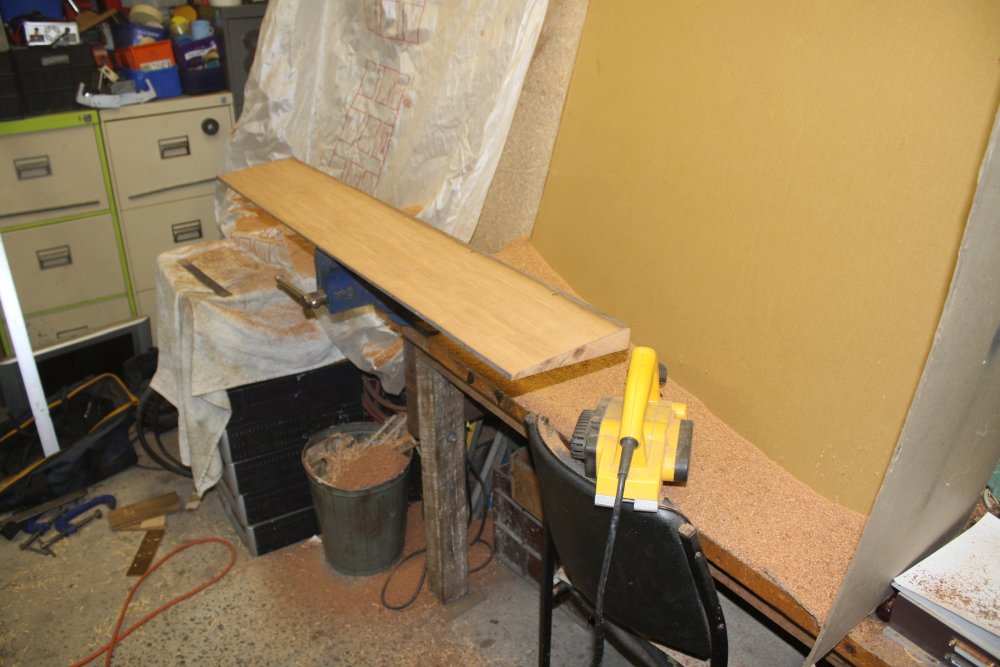
1. Angle lines drawn on the end of this plank, then power planed. This is the bottom, so it doesn't have to look perfect.
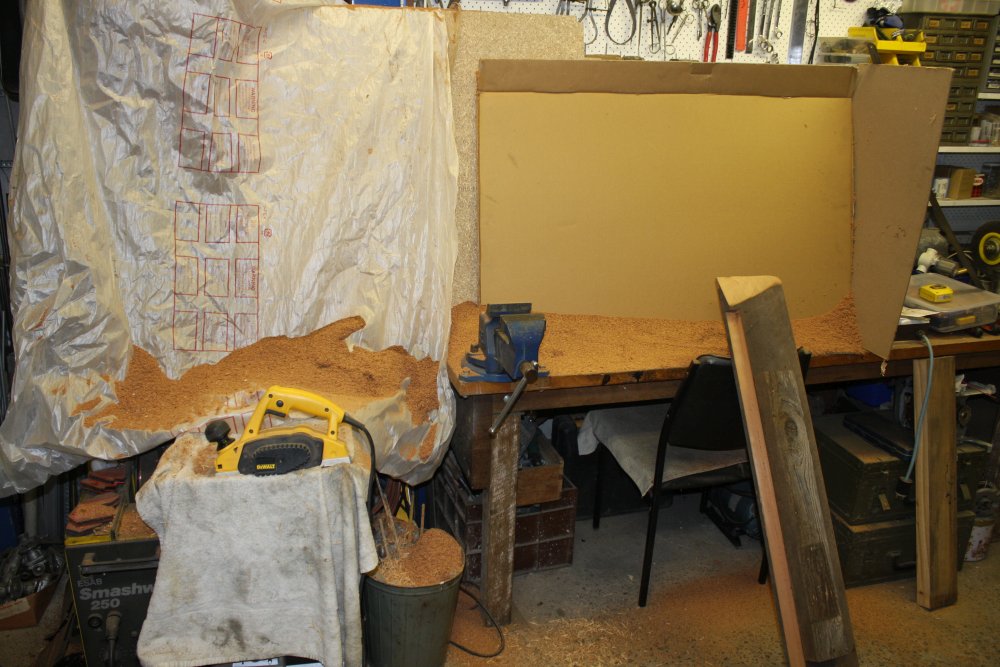
2, 3. Lots and lots of sawdust. I wasn't happy about doing this in my workshop, knowing it would get everywhere. Attempts at sawdust barriers have some effect but not enough.
4, 5. To get an even profile at the door sill end, there has to be an inset to fill up a rebate for a screen door (which isn't there, since there is a screened patio.) Because it's thin this has to be plywood, and a rebate routed into the ramp for it.
 |
 |
 |
 |
 |
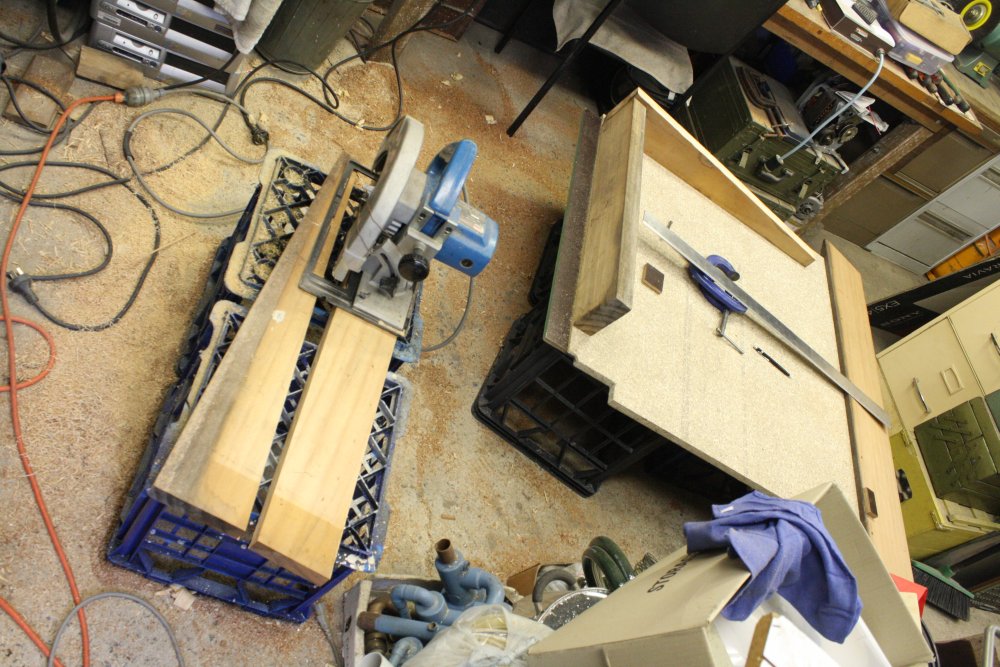
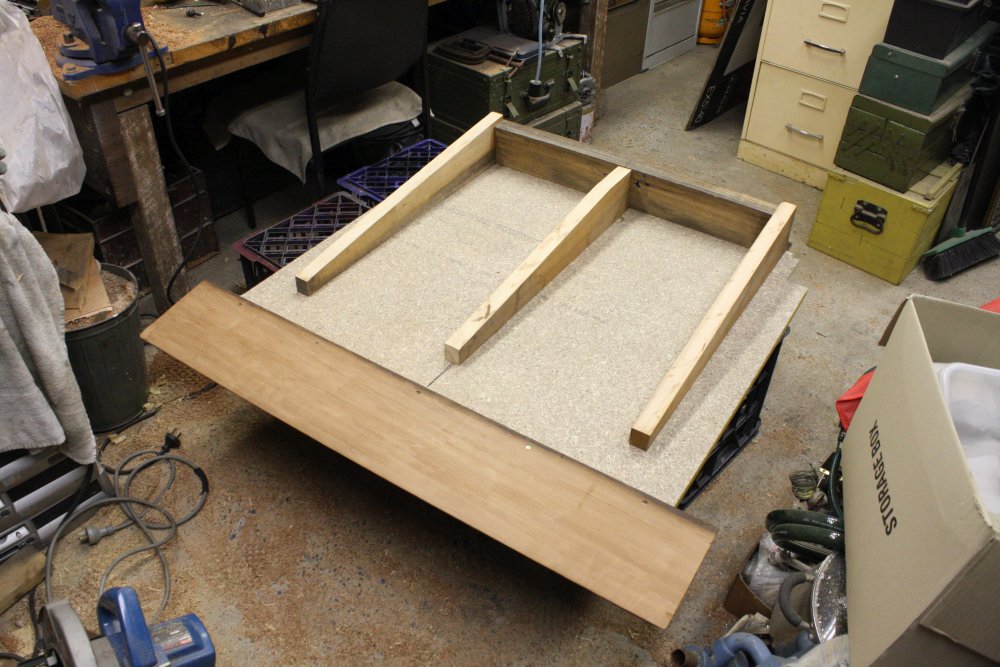
1. Glue and screwing on the upper end support, about to attach the door inset too.
2. More supports. These are oversize since they have to be planed down later to match the pavers irregularities.
3, 4. Those get glued and screwed too. Using Urethane glue because it's strong and waterproof.
5. Back at mum's place, planing the supports after rough felt-pen transfer of the pavers profile to the wood.
 |
 |
 |
 |
 |
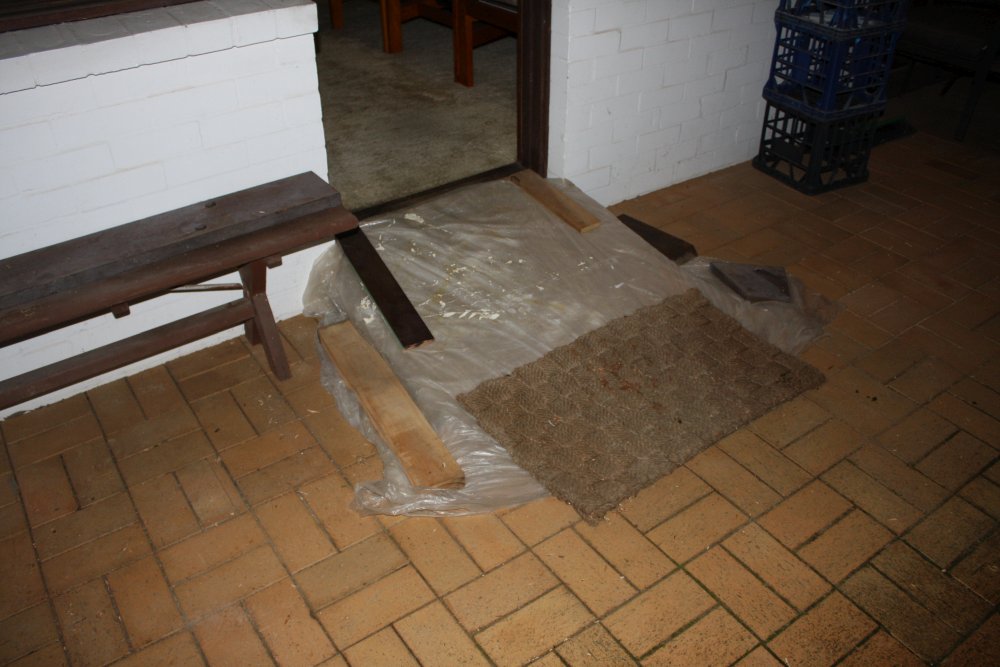
1. Had to leave it overnight, and it's raining. Lightly, but if it gets windy the rain could blow in and get the bare ramp timber wet. Then I couldn't paint it for days. Hence the cover.
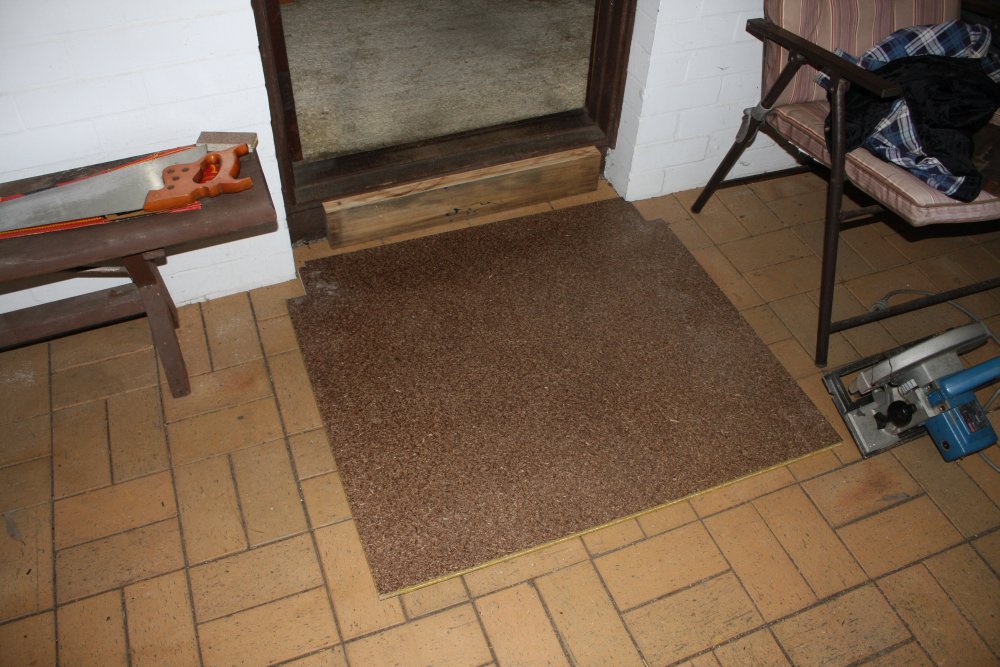
2. Next day a final fit check, before painting.
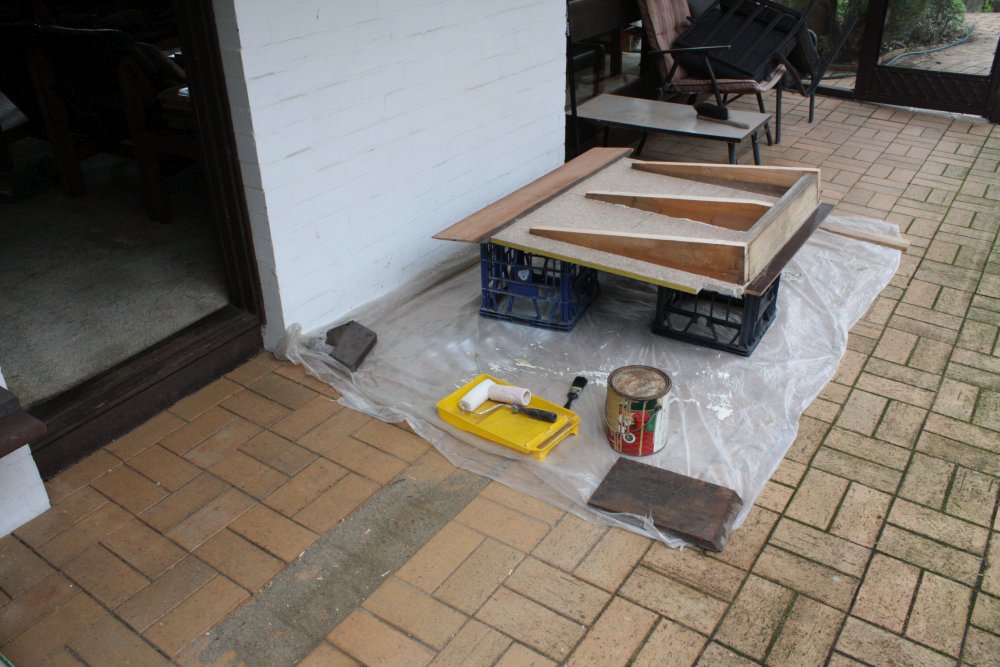
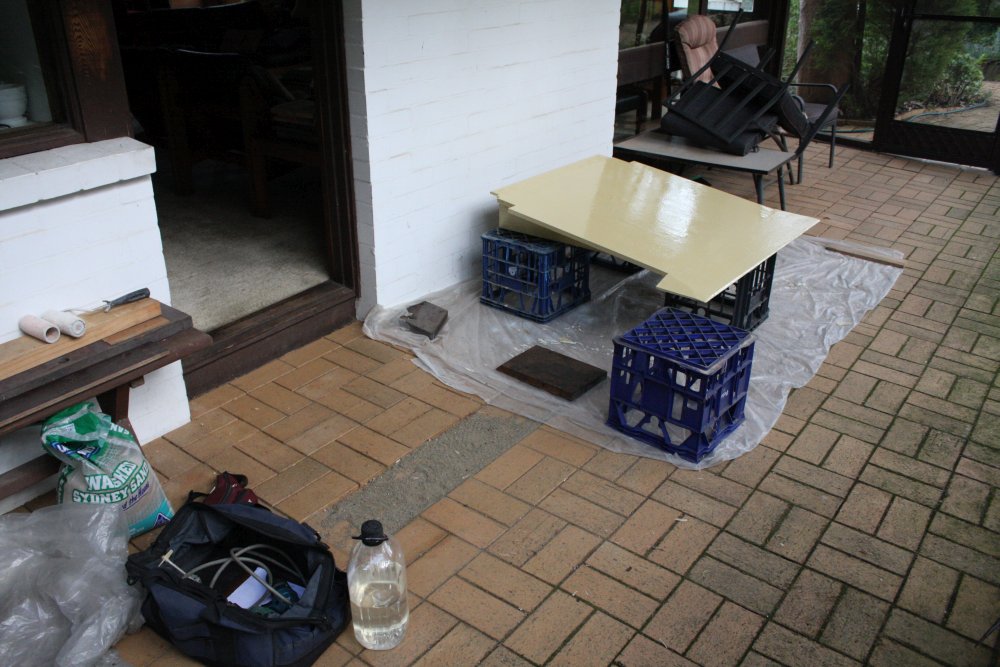
3, 4. Painting, two coats. I was lucky I had an old tin of oil-based paving paint from a while ago, with enough left.
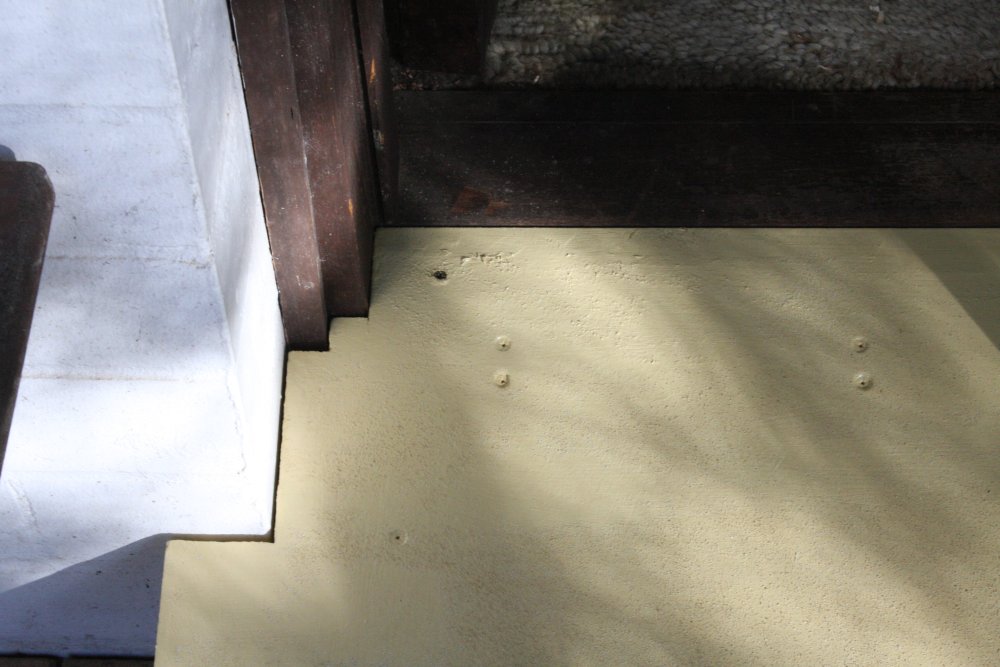
5. For a non-slip surface, dry white sand is sprinkled onto a fresh wet paint coat. Can always add more sand and paint in future as it wears down.
 |
 |
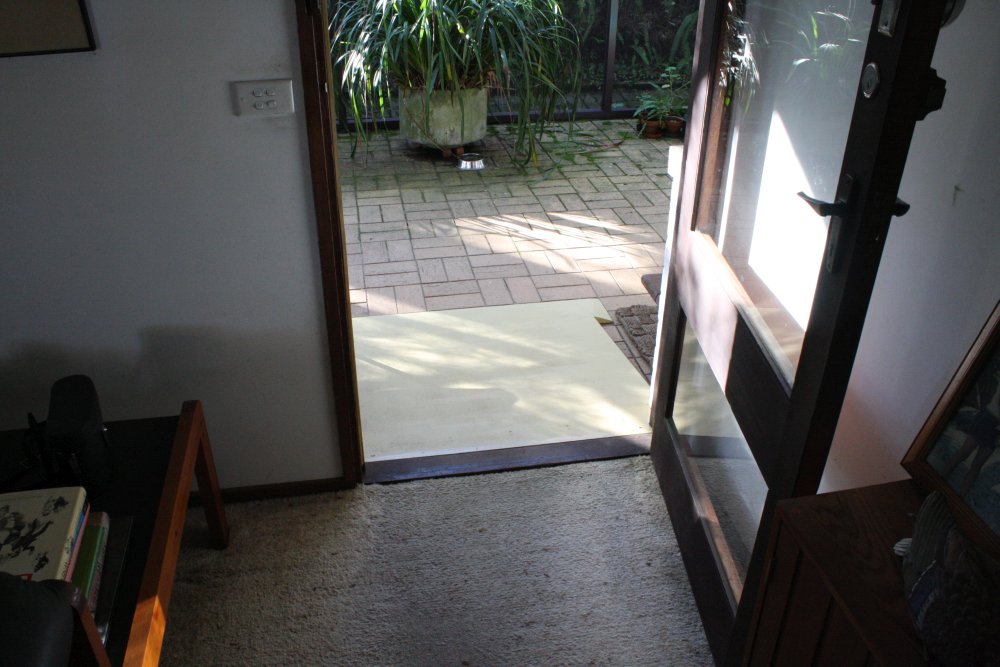 |
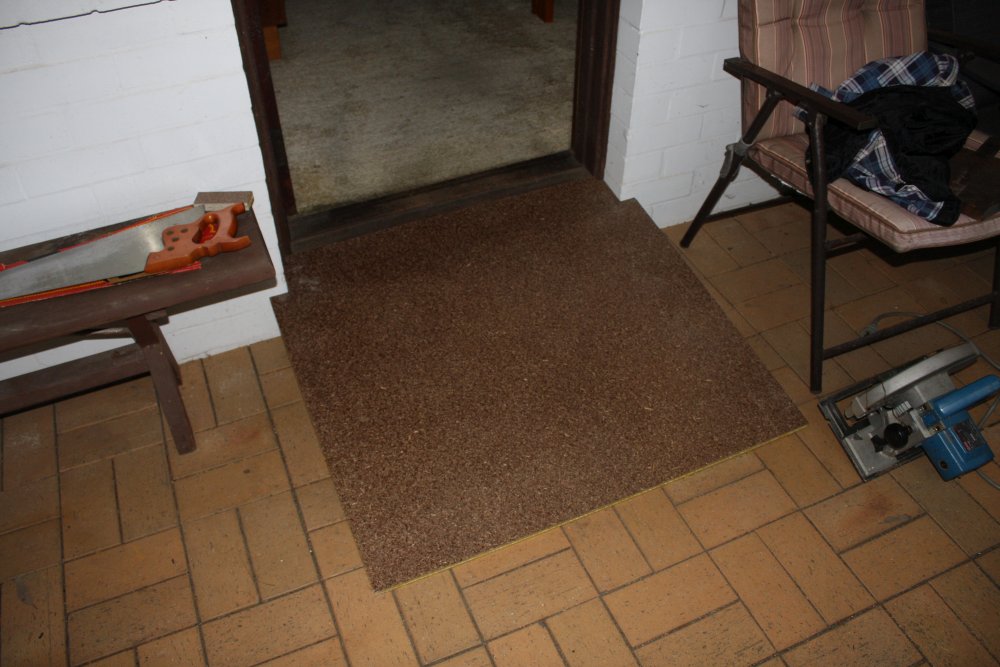
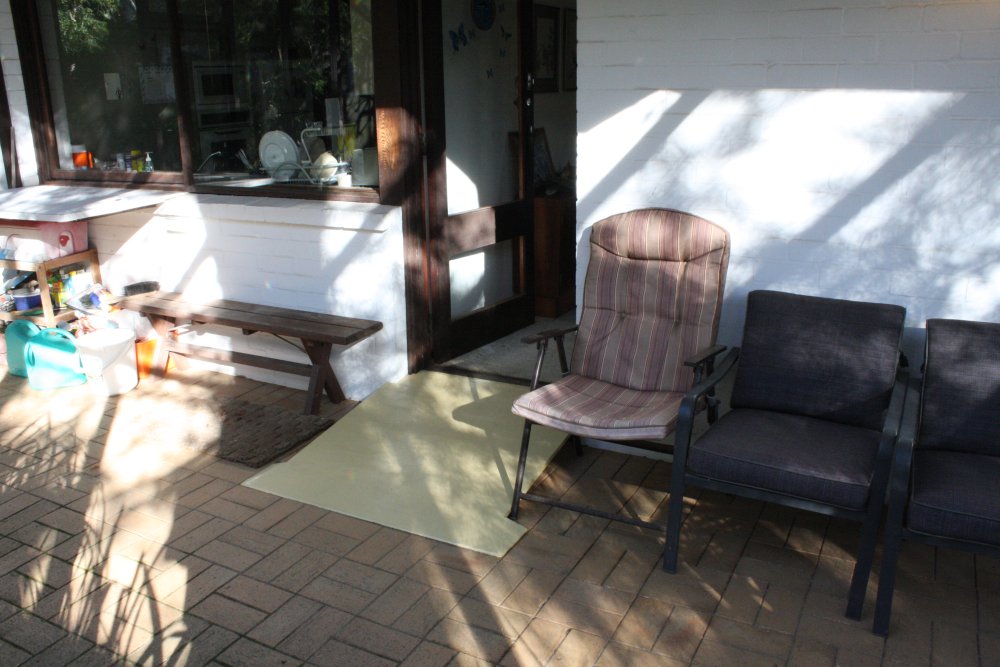
All done! It can't move, due to being screwed to the door frame. I didn't see any reason to get fancy and wood-filler the screw heads. It works well — feels solid and doesn't flex at all. Anyway, now mum can get out to her front garden again. She's happy with it, and that's what matters.