You probably thought this title was another where I make some stupid pun, that turns out to be only tenuously related to the actual article content.
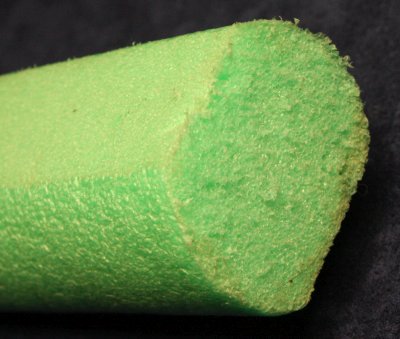
But no, this one is literal. I actually wanted to machine a standard swimming pool noodle in the lathe. You know, those long floppy pieces of coloured foam, used by kids as toys in the pool.
Notice I didn't say I needed to machine one. Because I could probably have found a less ridiculous way to solve this particular problem. But then, I'm the guy who built a large sandcastle in ocean surf (and made it work.)
 I like a challenge. Machining a piece of floppy foam should be fun.
Besides, I've done it before, sort of. During construction of the workshop I'd needed to draft seal some gaps around ceiling rafters. I'd used a jig on a table saw to rip round pool noodles to a flat-sided shape that's a press fit.
As seals those worked well, but rip-sawing flats is a lot different to machining a round shape in soft foam. Which is what I need now.
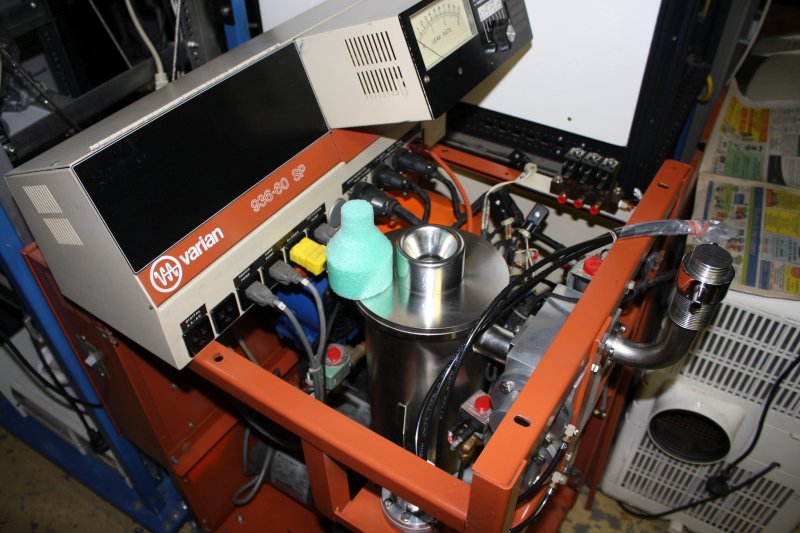
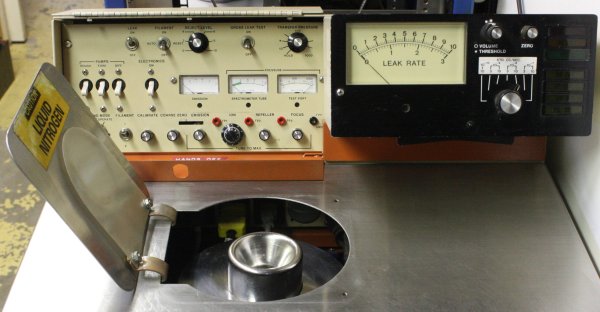 The current problem was part of the project to restore my Varian 936-60 SP Helium Leak Detector.
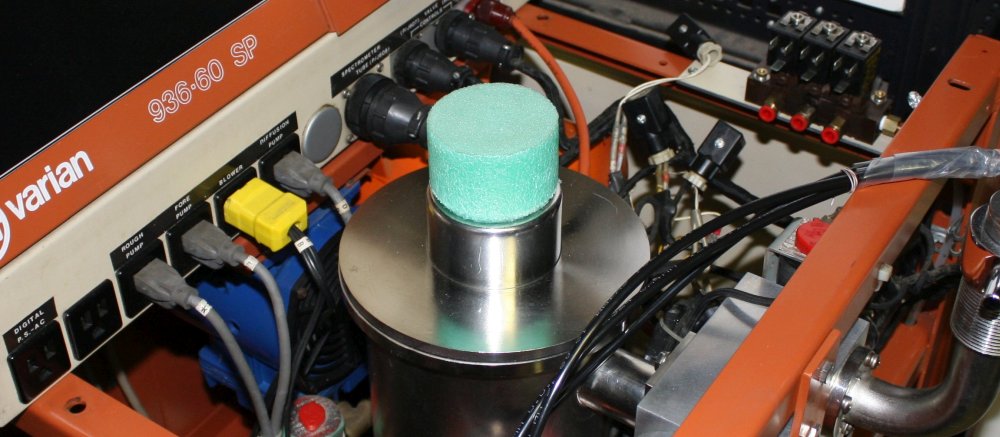
It has a liquid nitrogen trap as part of the vacuum system, but the filling aperture has only a loosely fitting flap closure. I thought I might as well add something a little bit more thermally insulating.
When first looking at this, wondering what to use, I remembered the pool noodles I have left over from the building work. Trying one, it turns out they are just the right diameter. Like they were made for this.
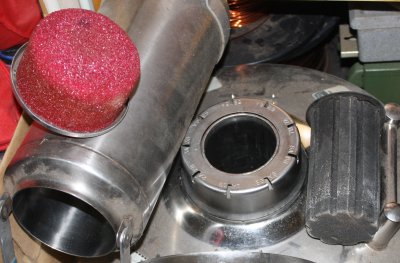 Here's the kind of plug usually found in liquid nitrogen dewars.
Both of these are rigid plastic foam, with a close fit to the dewar neck. I expect they don't use flexible foam since at LN temperatures it would probably just shatter into pieces. I'm not sure how pool noodle polyethylene foam will go, but let's try it.
They don't need to seal tightly, in fact must not, since the nitrogen does boil off slowly and the gas has to escape. They are only there to prevent air convection currents since those greatly increase the rate of room heat penetration into the cold tank. Air moisture will also get in and freeze inside the dewar, icing it up.
First problem; how do you hold a piece of pool noodle in the lathe? There's no point even trying to grab it with the chuck. It's too soft, it would just fall out.
Obviously, the solution is baked beans. Or anyway the tin they came in.
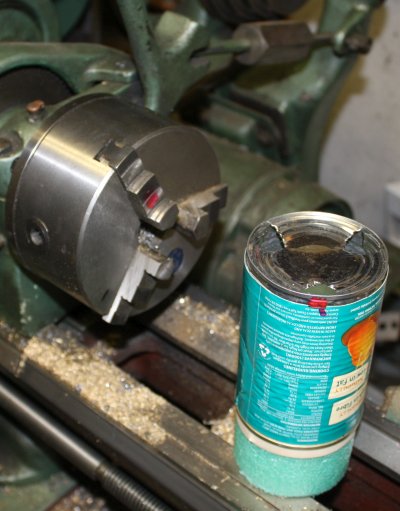
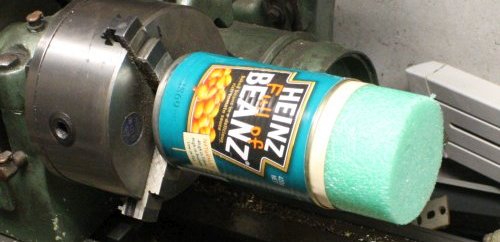
That was quick to try and works surprisingly well. Put the tin against the jaws, mark jaw outline on tin end with scriber, cut tin with a knife, press flaps inwards, aqueeze them flat against the rim with pliers, stick on chuck, open the jaws so they are tight against the inside of the tin's rim. The rim is flat against the step in the jaws, so automatically straight. The tin open end sharp edge was rolled flat by pressing with a bit of round rod on a flat surface. The noodle section is shimmed up with a piece of cardboard to a tight press fit in the tin.
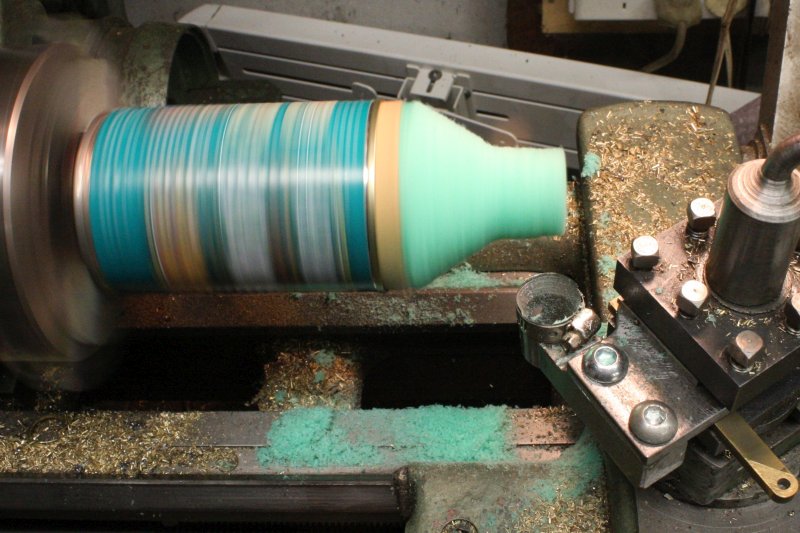
It's quite solid and centers well. This was the point where the vague thought of using a pool noodle for a liquid nitrogen dewar stopper, changed to a definite possibility.
However even at high speed the standard lathe metal cutting bits don't cut the foam. They just sort of fuzz it a bit, since it's so flexible it deflects around the 'cutting' edge. Making it actually cut, and relatively neatly was obviously going to be a bit more difficult than just spinning it.
Possibly something like a sharp cutter in a high speed router, mounted on the lathe carriage would work. Much like the table saw ripping. But setting that up would be a pain. How about just using a very sharp stationary blade? Like a scalpel blade, which I have packets of.
At this time I was knee deep in the usual kind of nesting projects mess that happens way too often. Is it me, or are the things I try to do just intrinsically prone to this? The dewar plug was a tiny offshoot, so it languished for a while due to other struggles.
Also thinking about... how is that 'sharp edge' going to work anyway? A plain straight edge blade won't work, because however it approaches the foam it will leave an attachment. To cut away volume, the blade edge has to be a shape, like an L or a curve. Which is a problem because the scalpel and disposable knife blades I have are all too stiff to be bent into such a shape.
 Hmm... maybe a razor blade? Those were thin and flexible. But it's been a long time since I even saw a traditional razor blade. Funny thing is, I don't think I ever bought any, in my whole life. Are they even still made?
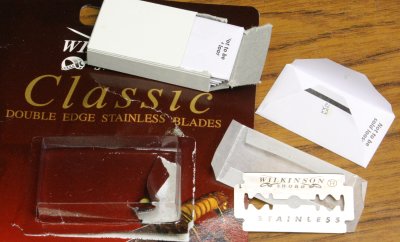
Yes, they are! Though it took a bit of searching in the supermarket to find them. One kind stocked, among dozens of over-hyped 'shaving solutions.' (I've worn a beard virtually all my life, shaving has always struck me as a foolish waste of time, and so my shaving solution is to not shave.)
But what's the razor blade shaving solution for a pool noodle?
 |
 |
 |
 |
 |
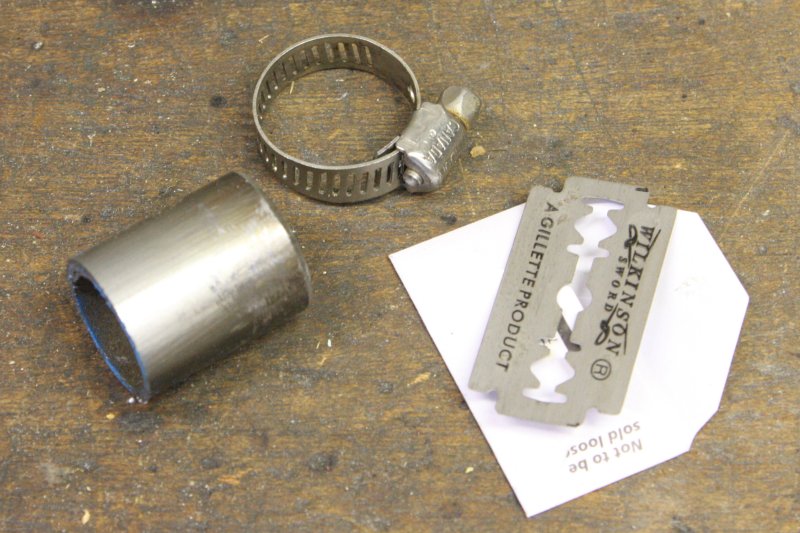
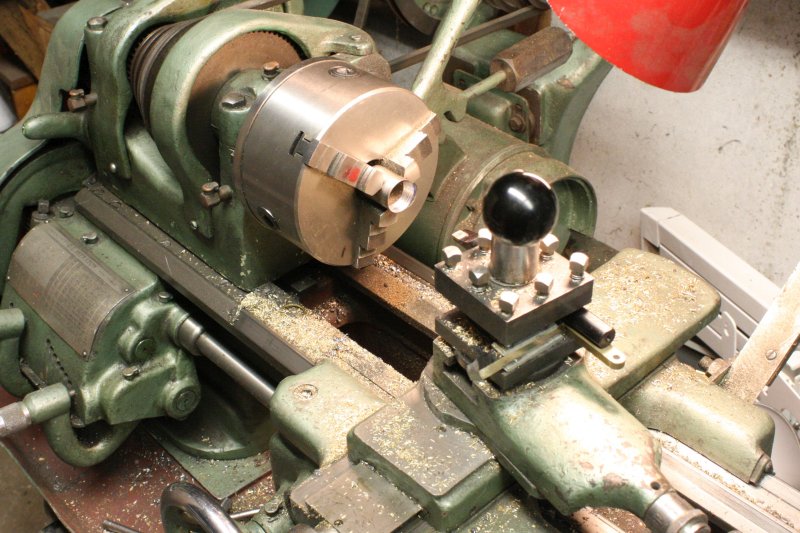
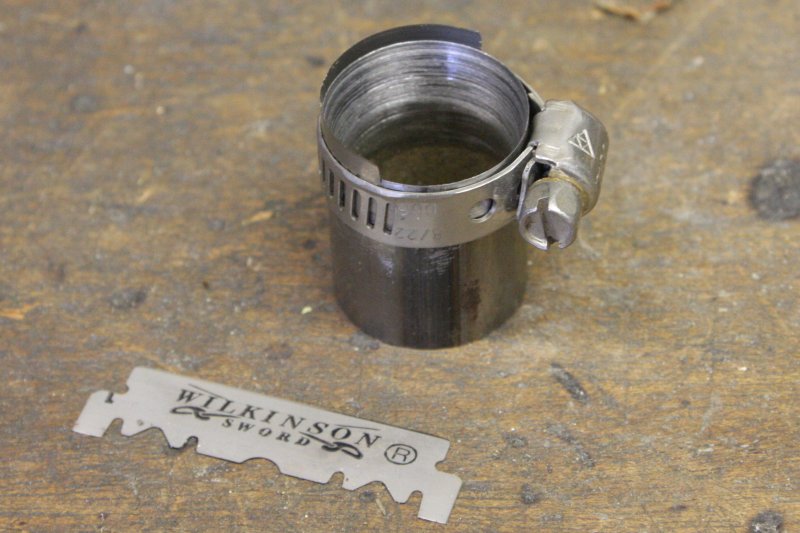
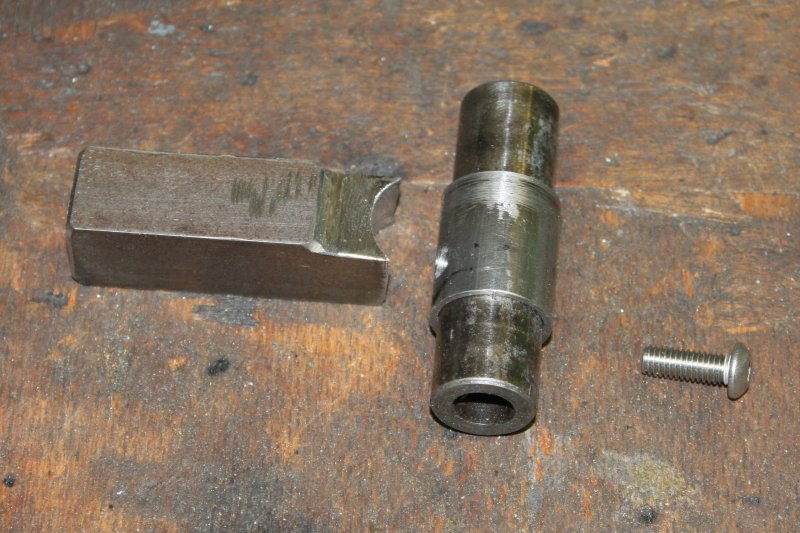
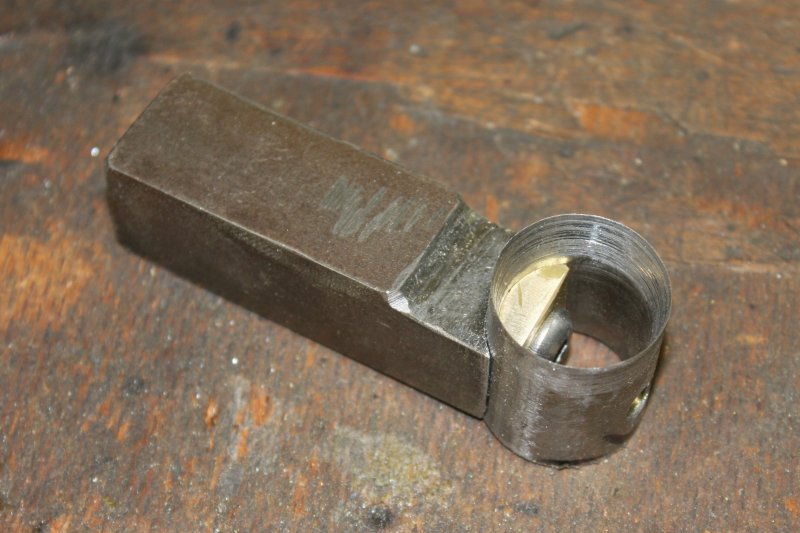
1. How about something simple, like a circle? Easy to clamp the blade to a bit of tube.
2. The blade should be held like the blade in a wood plane — both sides supported quite close to the edge, with tapers to not block the shavings. Here machining a taper inside on the tube end.
3. Only need half the blade. That's how it's held. Oh boy, working with razor blades. Care in handling required.
4. And then, something to hold the bit of tube. It needs to be slanted. I just guessed the angle, and cut that shape with the grinder by eye.
5. Tools. (Actually I also used a die grinder and bearing blue to get a nice fit at the end, but forgot to take a pic.)
 |
 |
 |
 |
 |
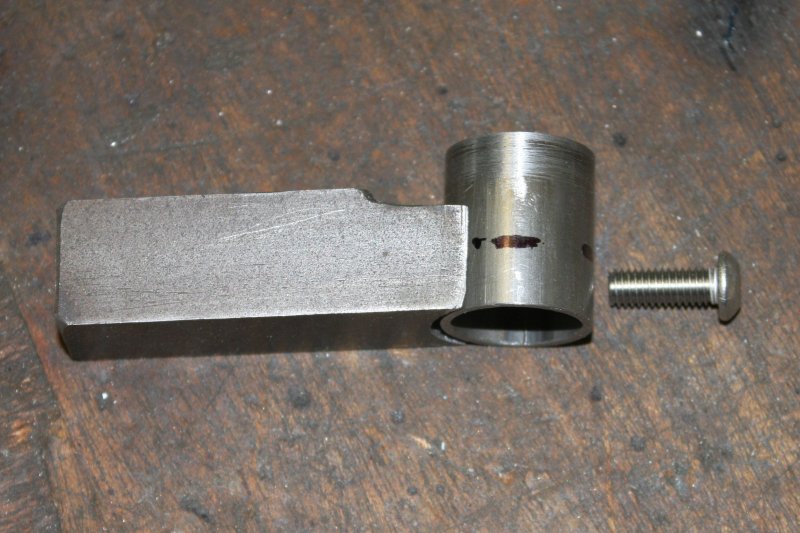
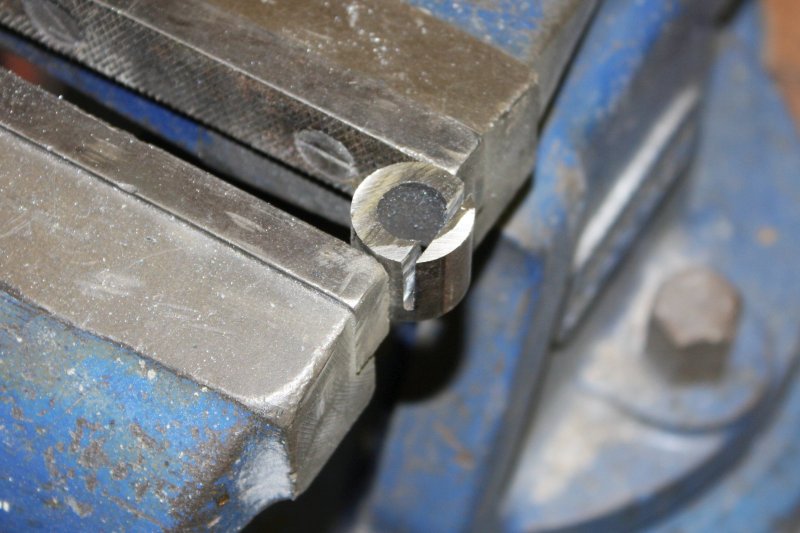
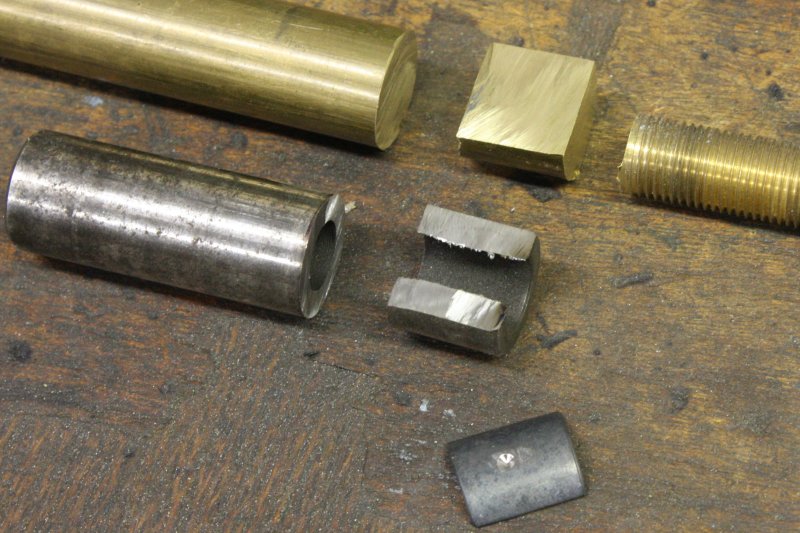
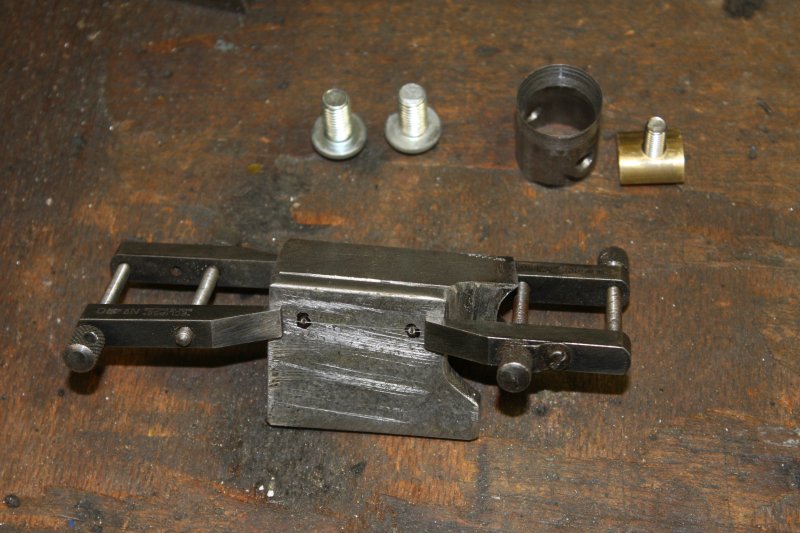
1. Initially I'd intended to just braze it on, but after dropping the tube and dinging the fine tapered edge once, I decided it would be better to keep it replaceable. So, screwing it on. (That gap is just because the tube isn't seated fully in the pic.)
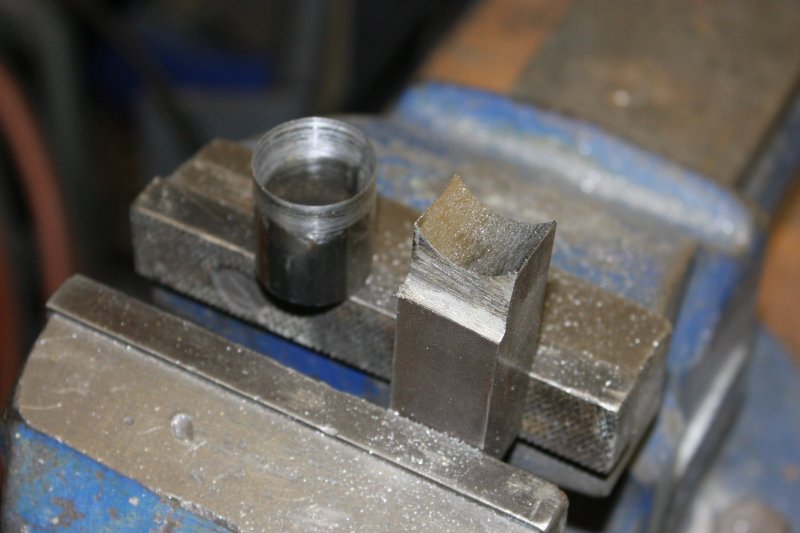
2. And so, need an insert for the screw head to sit on (and hold the tube better.) Easiest to cut this from something that happens to fit the tube closely. The first suitable thing I found was an old gudgeon pin. Would need to drill a hole, and you can't drill that steel, it's too hard. But I thought if I annealed it, it could be drilled?
3. The angle grinder doesn't care about hard steel. It's still butter. Cutting off a slice here.
4. Annnd... after anealing to red hot, that steel still can't be drilled. Making that tiny drill dimple totally blunted the drill bit. So I gave up on the steel, found a scrap of brass rod that also fitted the tube, and cut a segment of that.
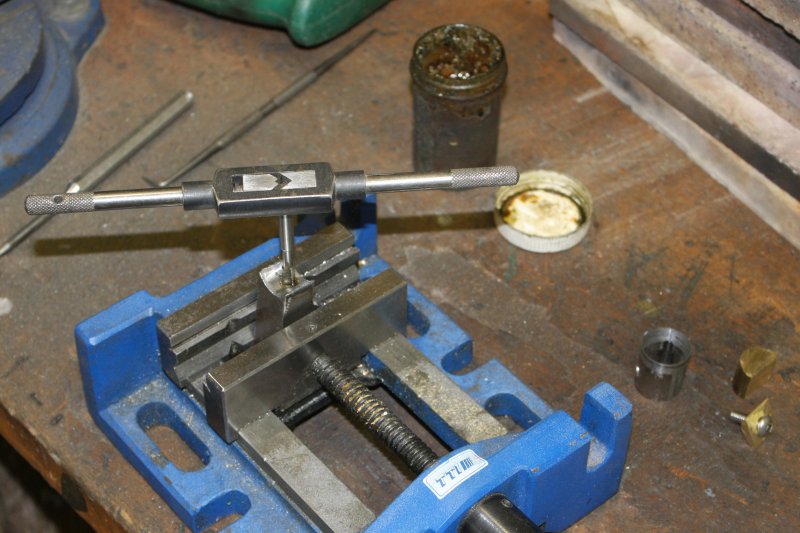
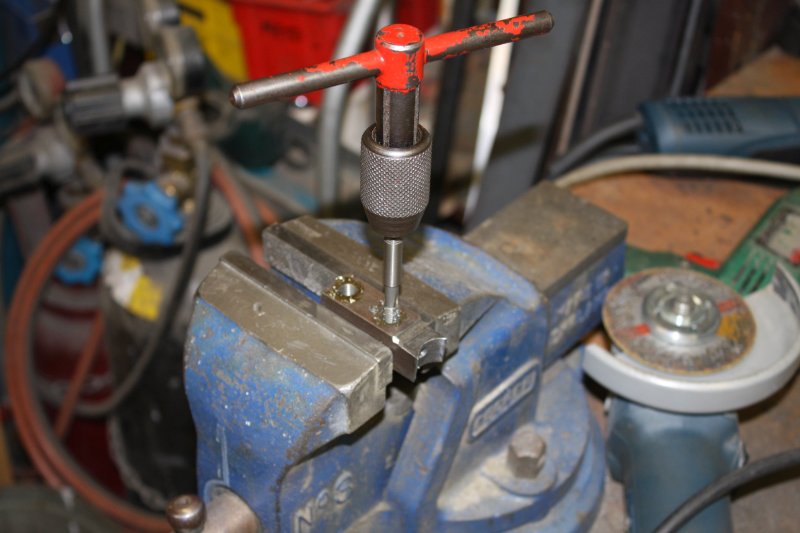
5. Tapping the hole for the M6 button-head screw.
 |
 |
 |
 |
 |
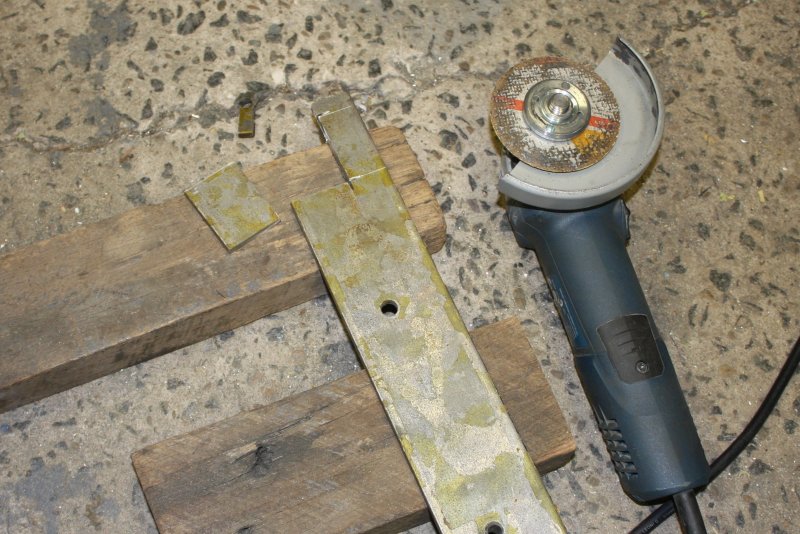
1. Another bit done. But this isn't able to be mounted in the lathe tool post as it is.
2. Cutting a flange from a bit of scrap steel.
3, 4. Attaching the flange to the bar. M8 screws.
5. Workbench at this point. Most of the clutter is related to other jobs going on at the moment.
 |
 |
 |
 |
 |
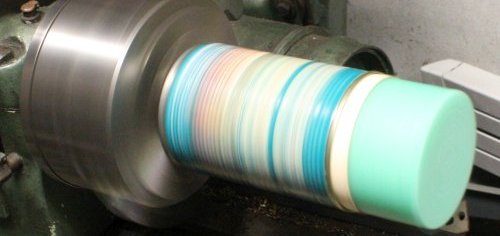
1. Finished! But will it work?
2. The moment of truth.
3. Yes! It cuts. About as well as it could be expected to cut something that is a floppy noodle.
4, 5. The final shape, according to a cardboard dummy I'd cut with scissors to fit the dewar hole.
So there it is. Victory over Pool Noodles.
It will need to be cut shorter, but a sharp kitchen knife works for that.
Now, back to the present Morass. Which mostly involves plumbing — compressed air, pneumatics, room air extraction, pump exhaust air with oil mist, vacuum (three different types), high pressure and low pressure argon, and a water cooling loop. And leaks. It's ironic that while refurbishing a helium leak detector (that doesn't actually involve helium leaking in the sense you may imagine) I find so many leaks in other things. Like the Argon cylinder main valve has a very slow leak, and there's nothing I can do about it. Bloody gas suppliers, and their flakey valves that leak expensive gas you pay a fortune for. Grrr...
Well, all that will be another story.