A series of posts on eevblog, in which people showed off their impressive work areas dedicated to modern surface-mount soldering work, had convinced me that my own ad-hock arrangements were an all-round FAIL. Let me measure the quality of fail:
Well, what to do? The idea is to create a dedicated soldering work area, with all the necessary gear permanently set up. Or at least, easily accessible in one place.
The problem is I'm short of space, due to, um... perhaps a teeny bit too much junk.
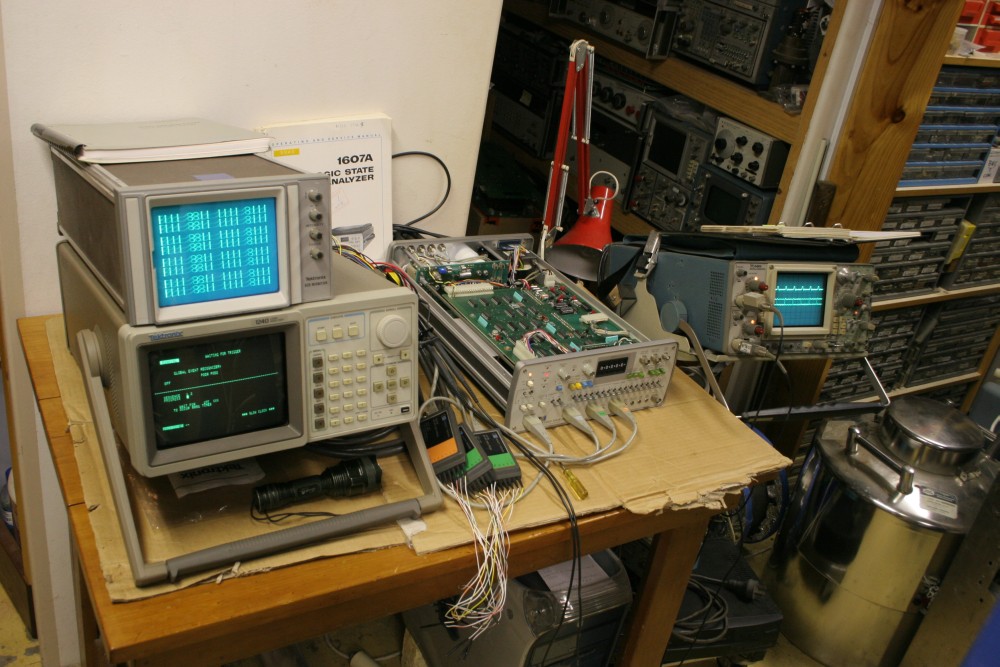
There was one small bench, that last year I'd allocated as a kind of 'play with Macs and the Apple versions of Unix' space. But then become bored with that (it's not like I'm ever going to actually use an iAnything seriously) and re-purposed the space for working on fixing an old (antique-level old) HP 1607A Logic State Analyzer. Which wasn't exactly a high priority.
As you can see, it's a rather small table, 910 x 680mm, and a larger one can't fit the floorplan there. Not forgetting that my grandfather made this table, so it's a keeper. Yet it's not big enough to act as storage space for all the soldering-relevant equipment I'd need in one place.
The small wall area above it was still free, since I'd originally intended to always keep that one space in my main workshop space for picture hanging. A reminder that Art exists. Or other reminders - currently hanging there was an old B&W poster of Tasmania's Lake Pedder, as it beautifully was before being innundated for another hydroelectric scheme.

I never got to see it in person, only in photographs. This is my 'life motivational poster', though the logic is too involved to detail here.
Oh well. There are still paintings hanging in the foyer. Looks like this last free wall space has to answer the call of duty, and die in a hail of shelving.
Some of the things to go in these shelves are quite large. For instance the Zeiss Universal microscope. I measured up how big it would need to be - the depth, width, and the minimum height of shelf openings. Hmm... it's going to be big, heavy and entirely supported by the wall. Which is a slight problem since the wall behind it is just the end of a storage space, and wasn't designed to be hugely strong. The things that will be sitting on these shelves are both heavy and precious. I do not want any chance of a collapse. So how to support it?
Above the wall section is one of the main steel I-beams for the upstairs floor. It originally was a free span across the one large room of this 'garage.' When I split the open space up into sub-areas the beam had a supporting wall built under it, which put an end to the slight springiness of the upstairs floor in that area. It happens that the I-beam has softwood insets sitting on top of the lower web, to which the hardwood cross beams are nailed. This could provide a really solid mounting point for the new shelf. It just means that the new shelf will be hanging from the top, and that whatever form of fixing I use between the shelf and the I-beam will have to be rock solid.
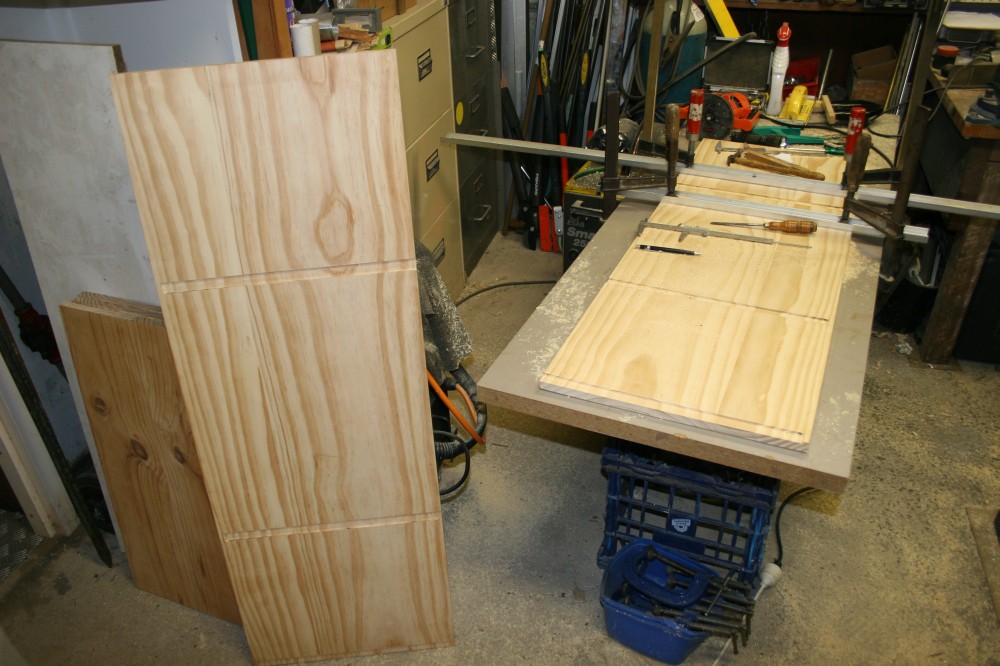
A little rummaging through the 'steel bits' pile, and a trip to the hardware store for pine planks, and I was ready to begin.
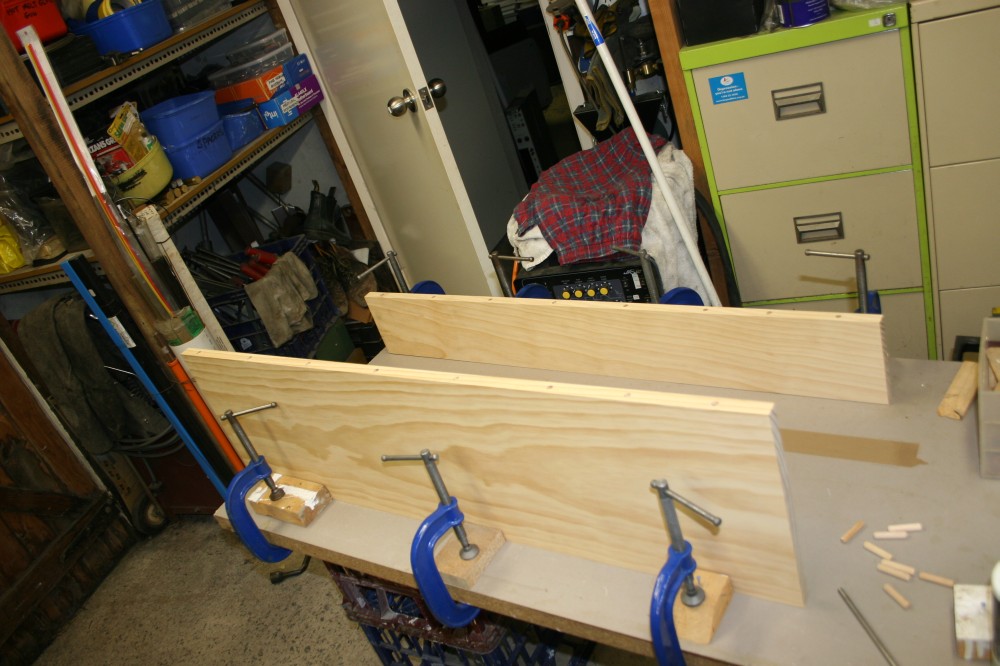
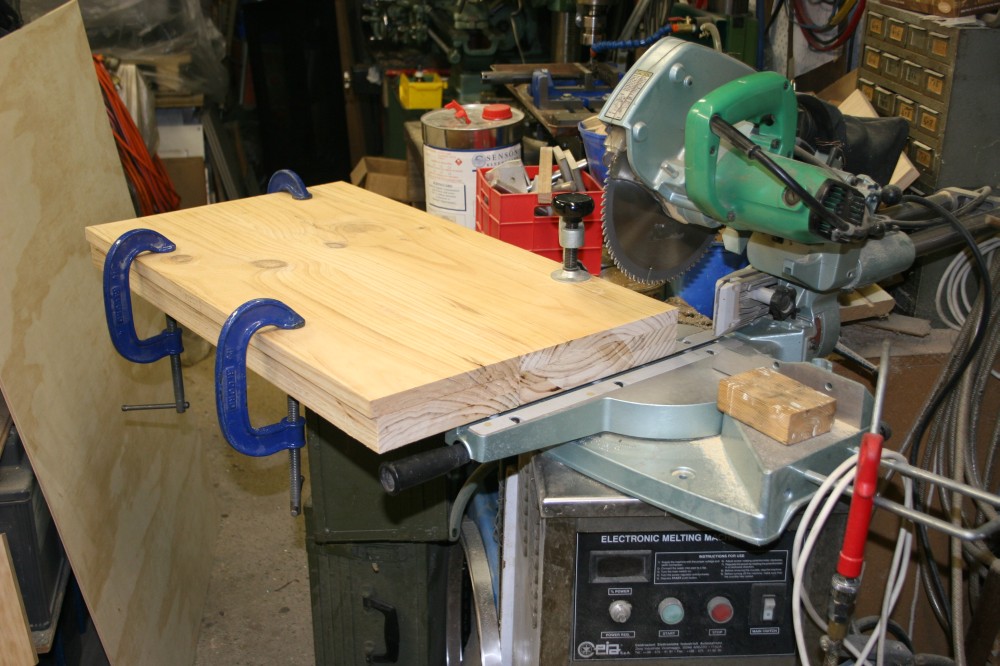
That was around 7th Dec 2013, soon after finishing the steel-framed shelves over my main work benches. Similar to those, these shelves had to be deeper than any of the planks available from the hardware store. Thus the first job was to butt-join pieces together, with pins, to make the required wide planks. The process is a bit tedious, yet has to be very precise. I use a piece of 'T' section aluminium as template for drilling the holes for the pins. If these don't match exactly in the mating plank edges, they won't fit together.
Seems I forgot to take pics of this stage, but here are some of the process, from the last shelving build back in 20131005.

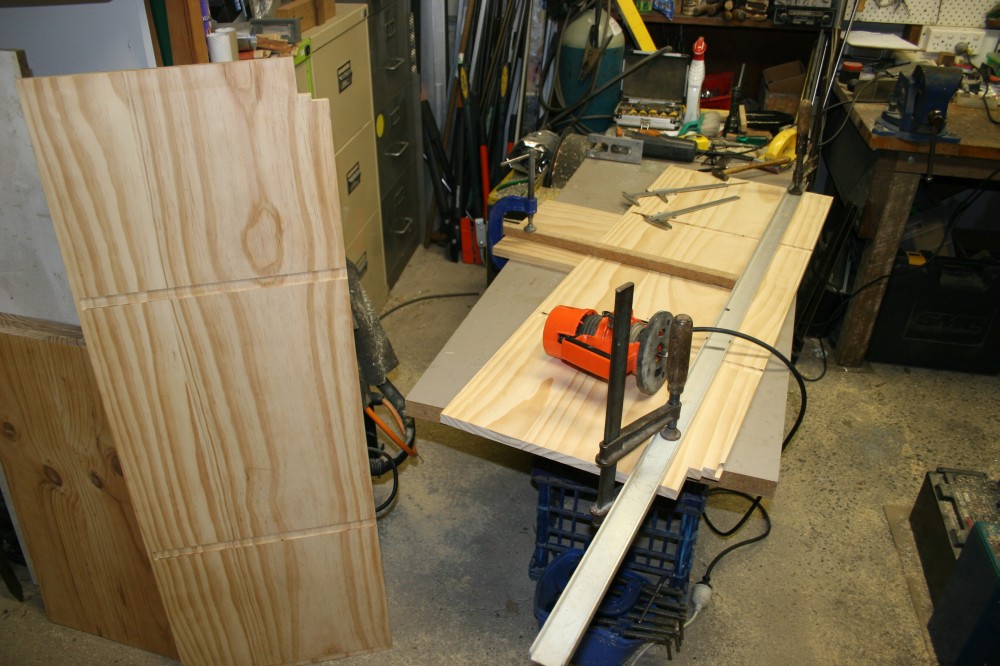
Drilling the holes.
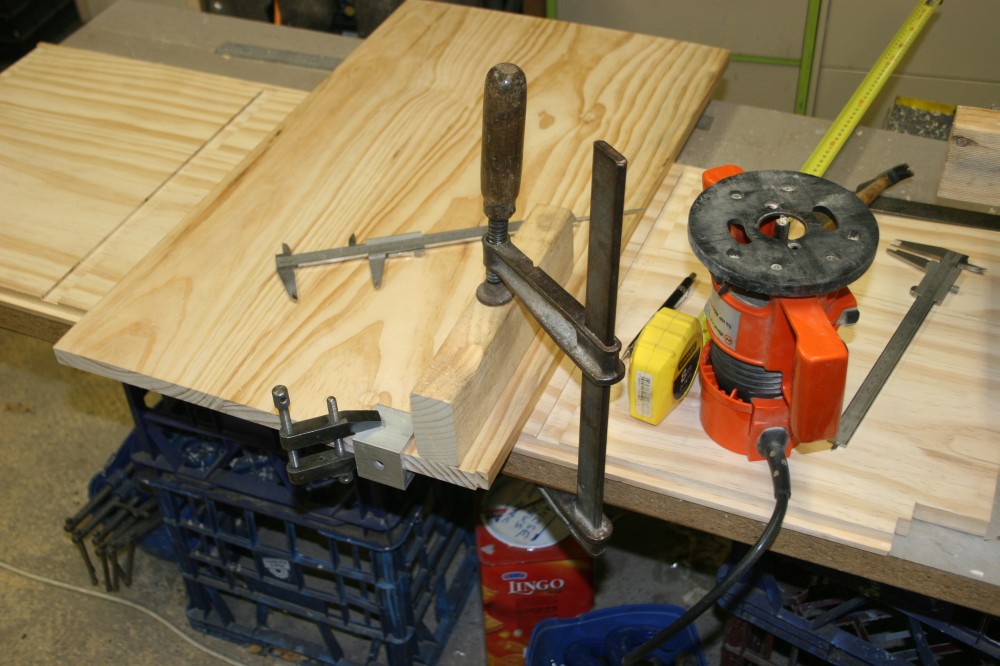
Ready to apply glue and bang in the dowels.
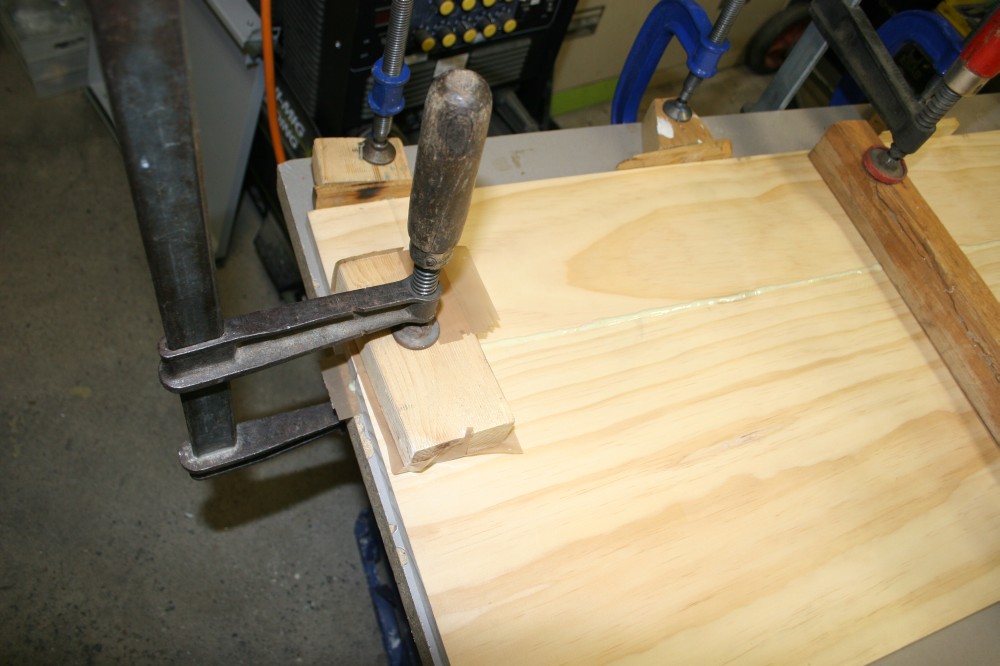
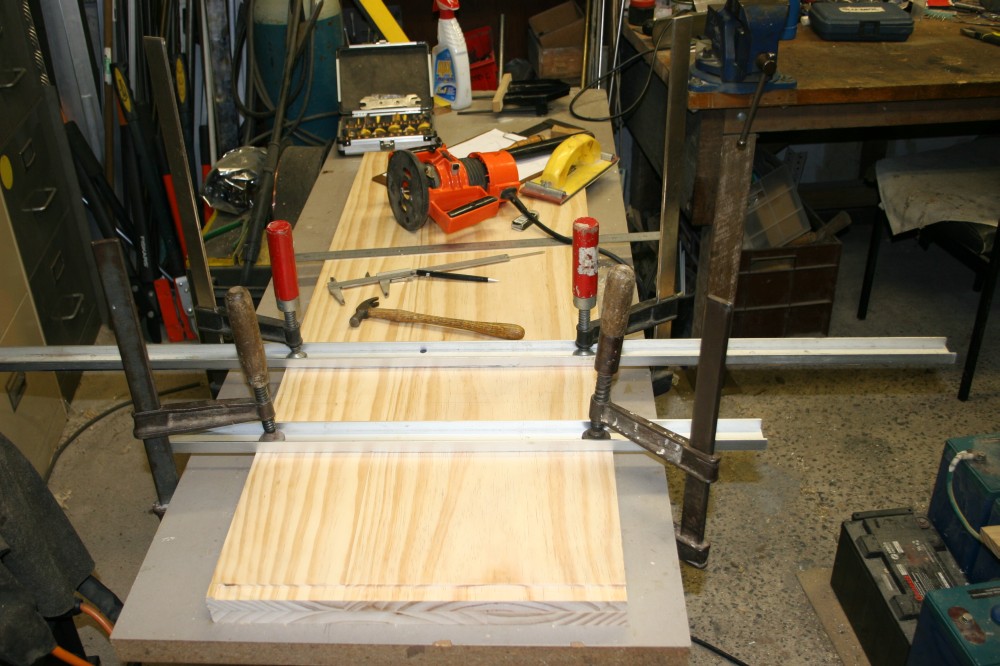
Clamping, using wedges to force them tightly together.
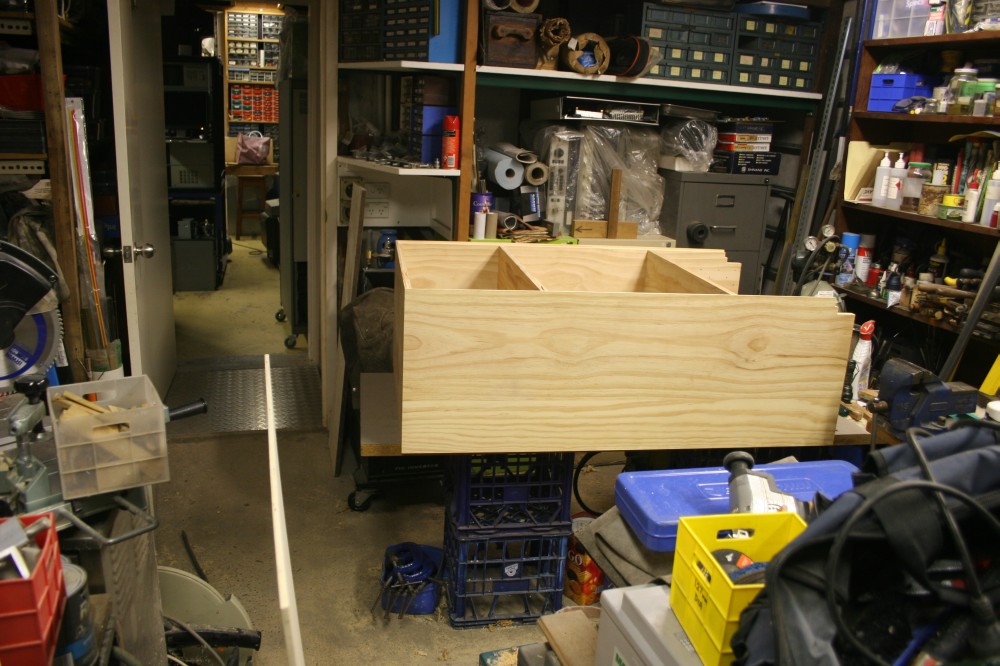
The result was five big planks. Two for the sides, and three shelves. Which then sat leaning up in my workshop for nearly five months. Too many distractions, an injured shoulder, things that had to be done... the usual ways that life trumps intentions.
Then of course, once a project has been put aside for too long, I find it hard to make myself restart it.
Finally, in late April 2014 I got this project going again.
First routed recess for a shelf.
Slots nearly all done.
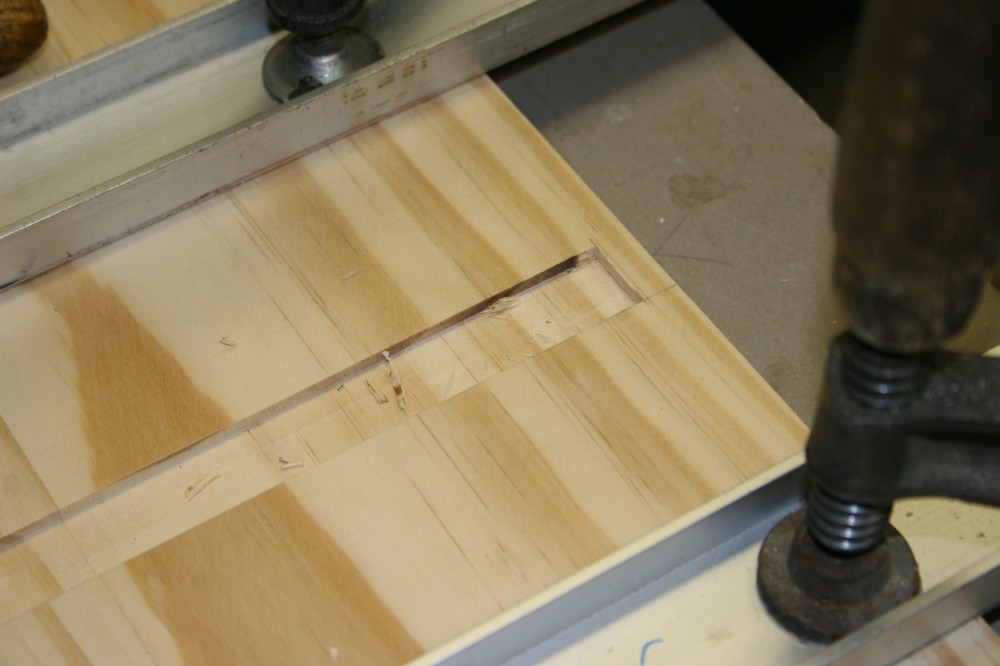
Slot detail. Can't see the slots from the front.
The cutouts for the I-beam done, now ready to rout out the rebate for the rear sheet.
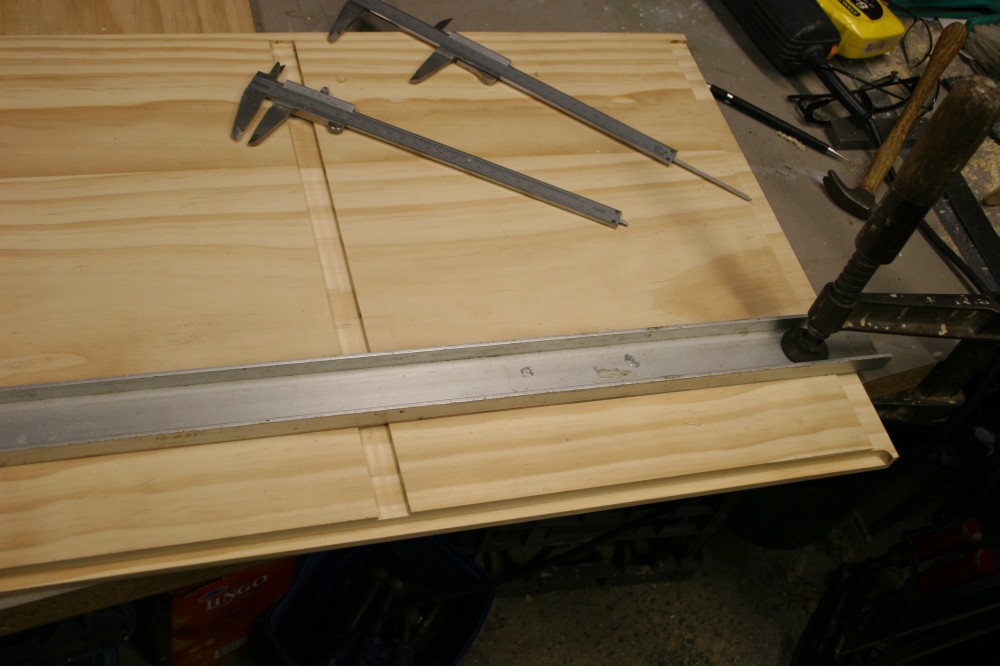
Done.
Squaring up the shelf ends.
Precisely cutting the front notch with a router.
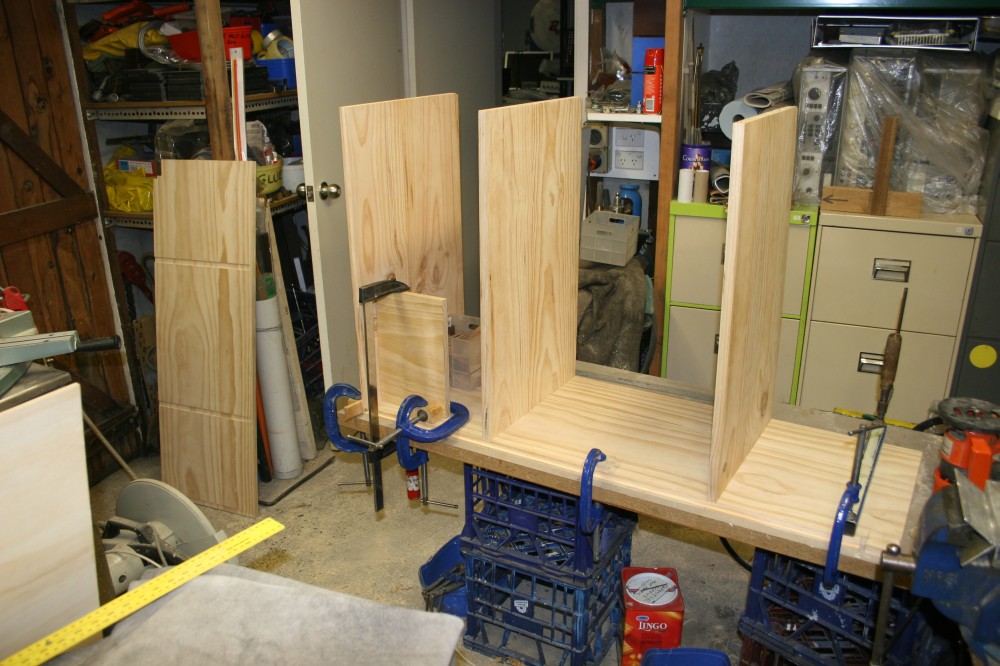
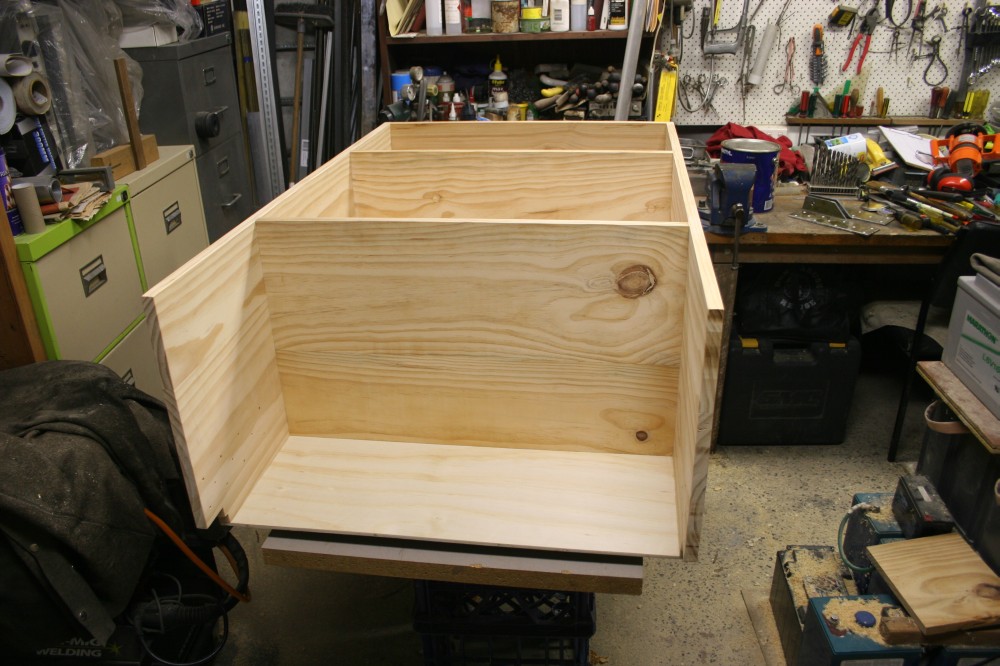
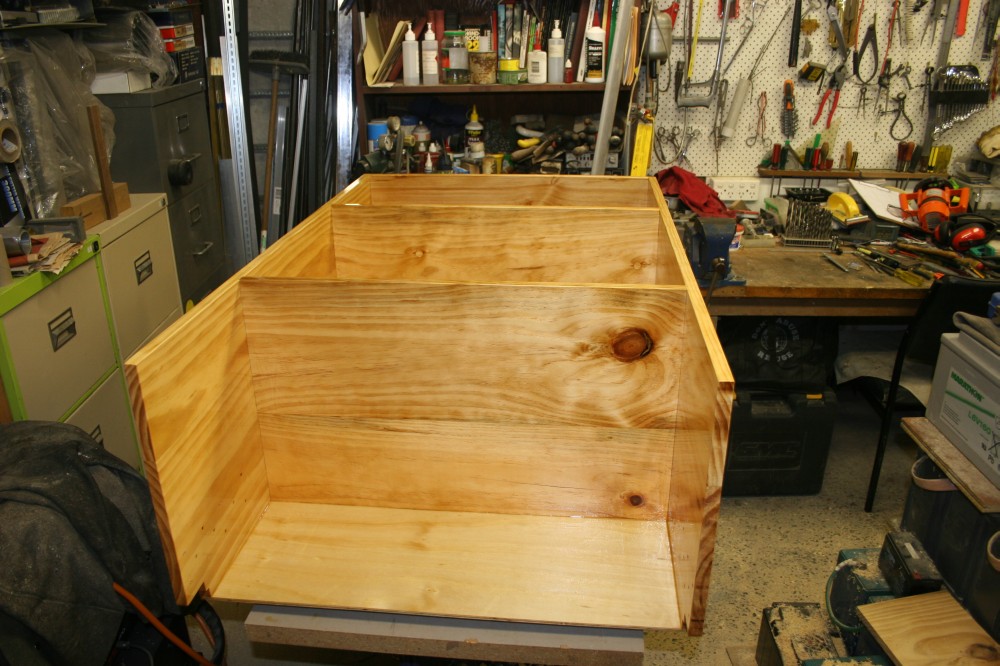
Preparing to assemble
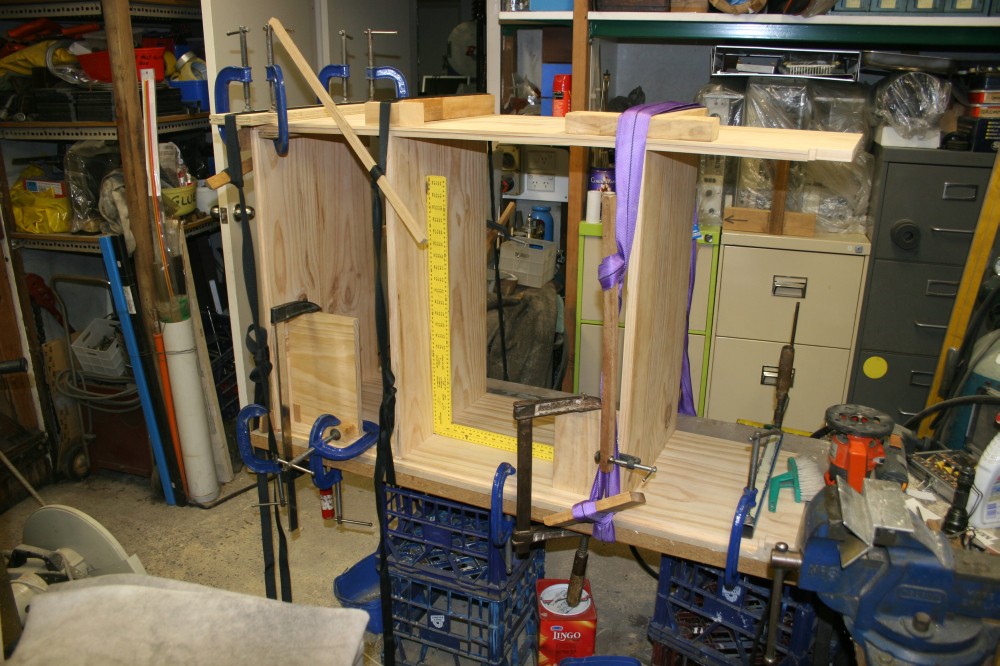
Glued! Using webbing to clamp joints.
About to glue and nail the back sheet on.
Here it has already been put up to check fit, brackets in place, screw holes drilled, etc.
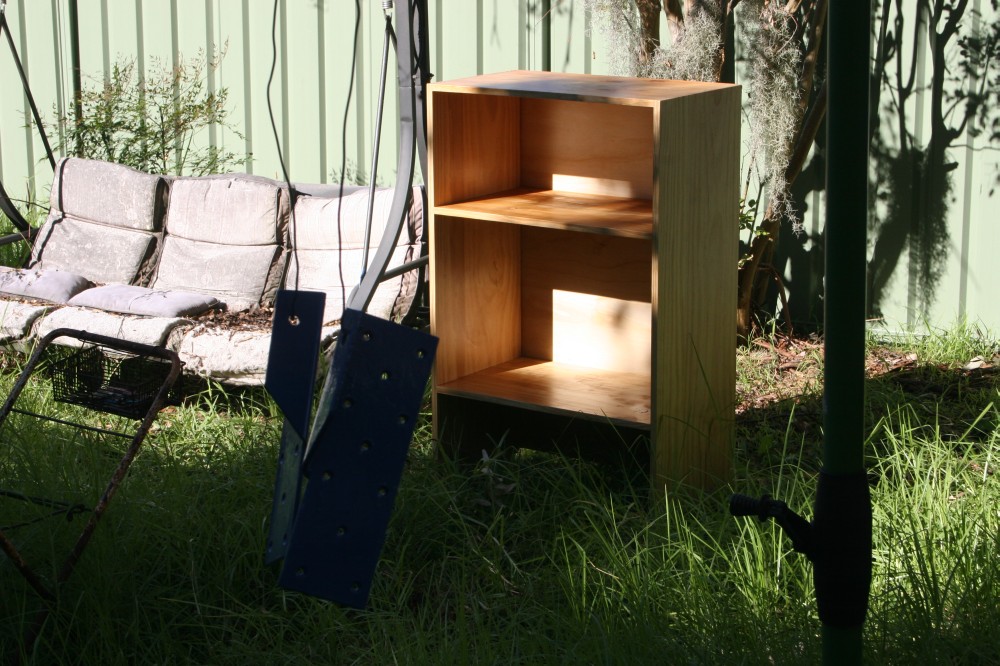
Then taken down again to do sanding and coating. Brackets on the bench behind.
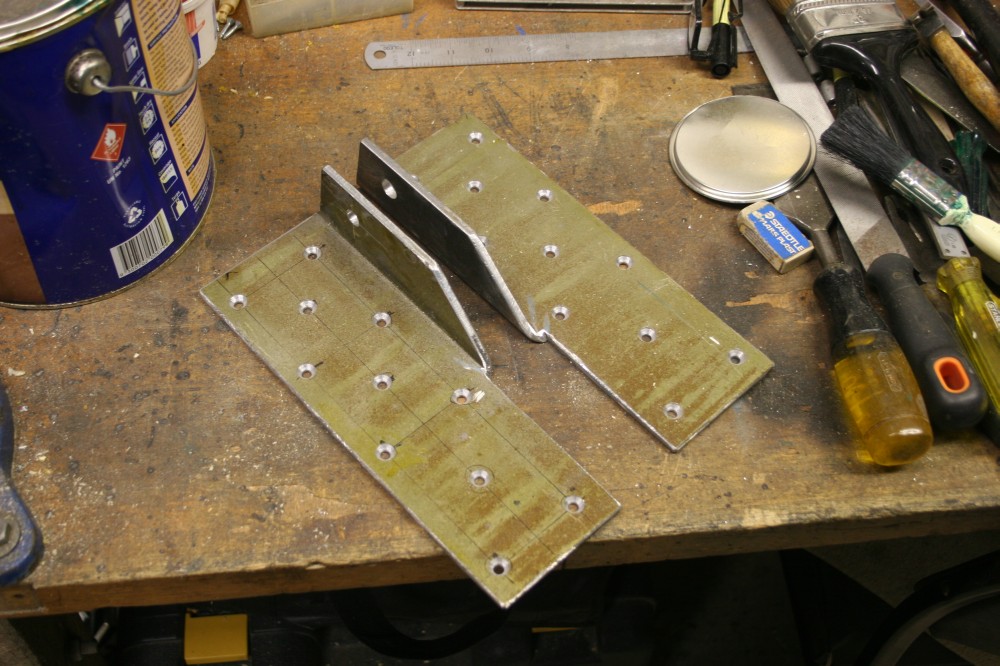
Brackets. Not yet stripped to bare steel and repainted. They were cut from some U shaped sections, using a thin cutting disk in an angle grinder, drilled, countersunk, etc.
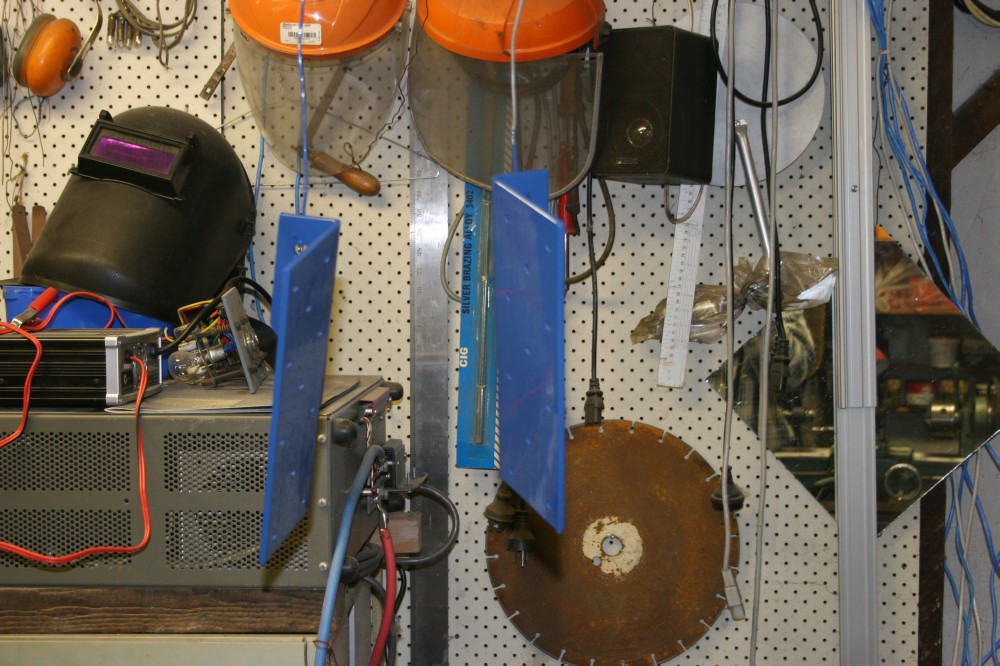
Painted.
Estapolled.
Both after 2nd coat, sunning outside to speed drying. It's winter now.

My 18yo cat, Dusk. She's been snoozing in the sun all day too.
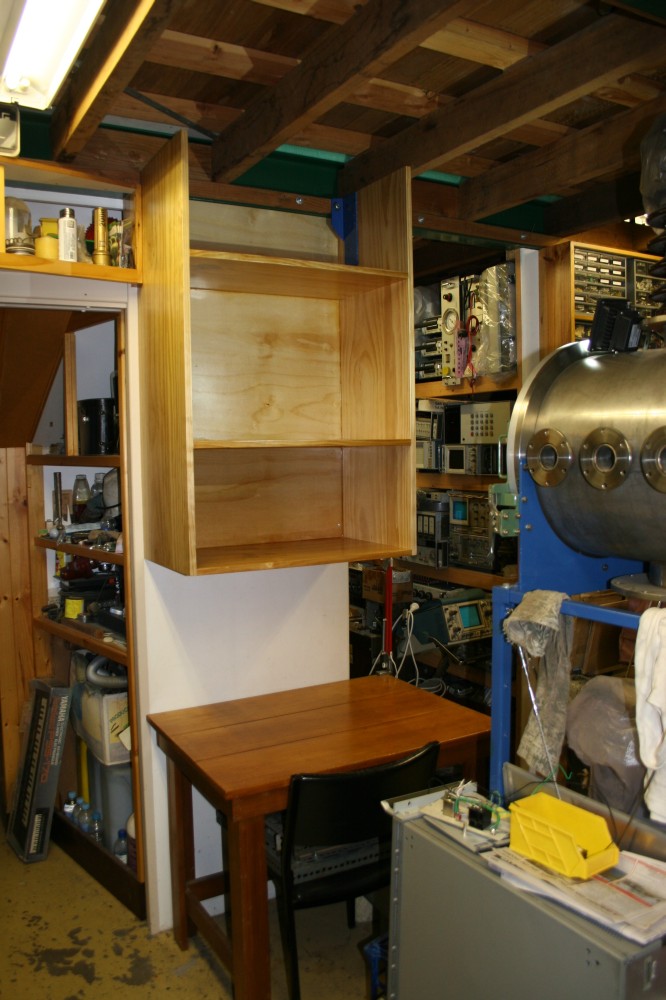
In place!
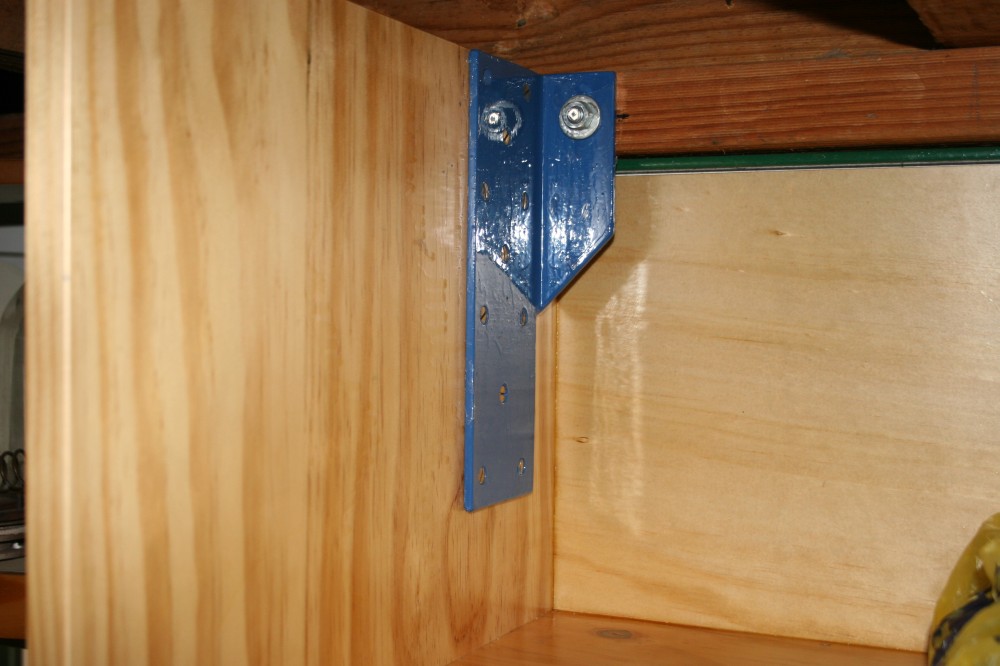
Bracket closeup.
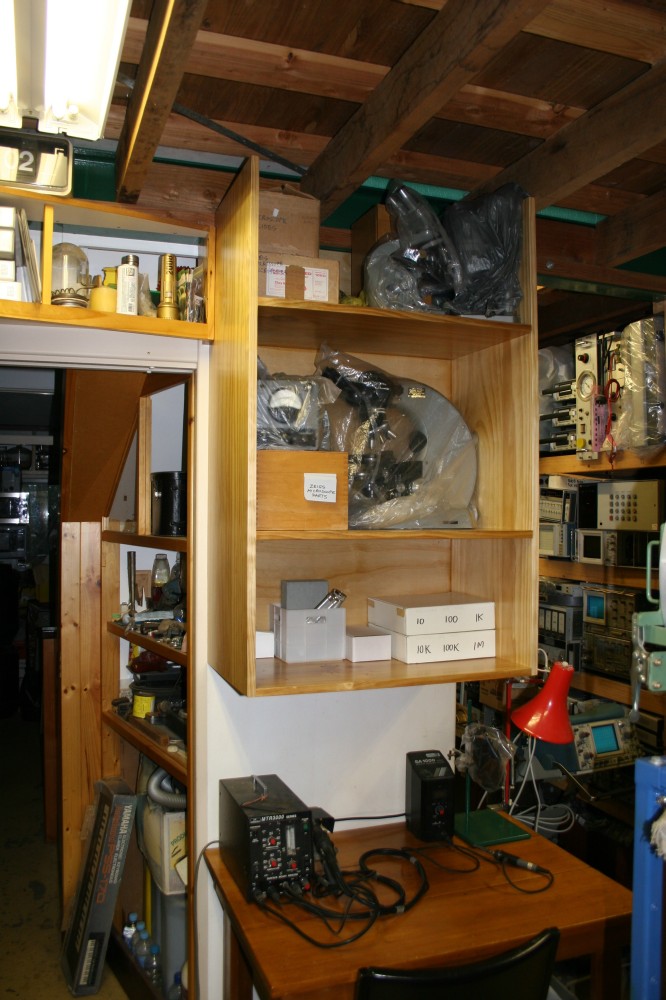
Starting to set up the space. Still a way to go.