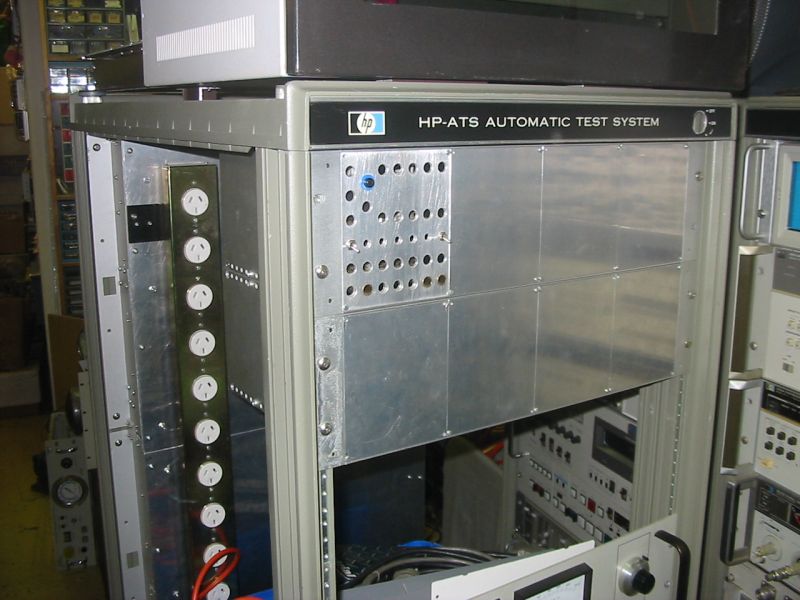
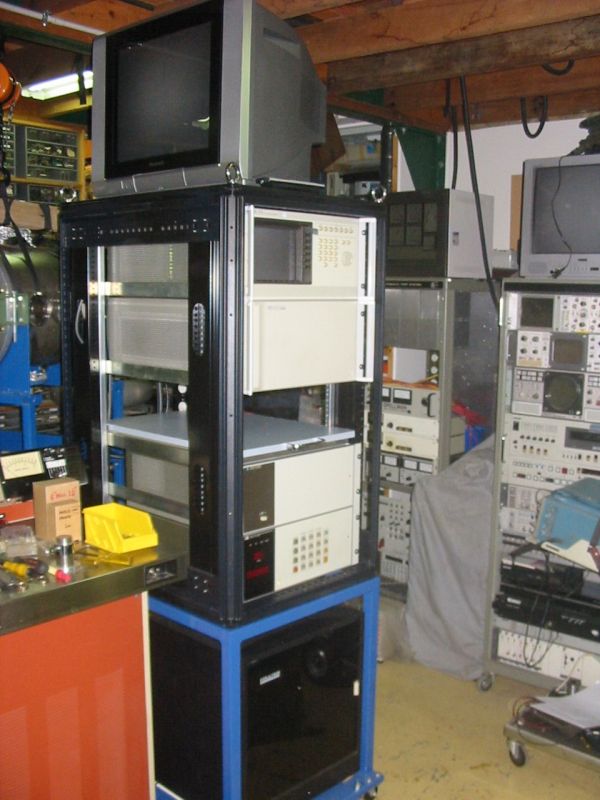
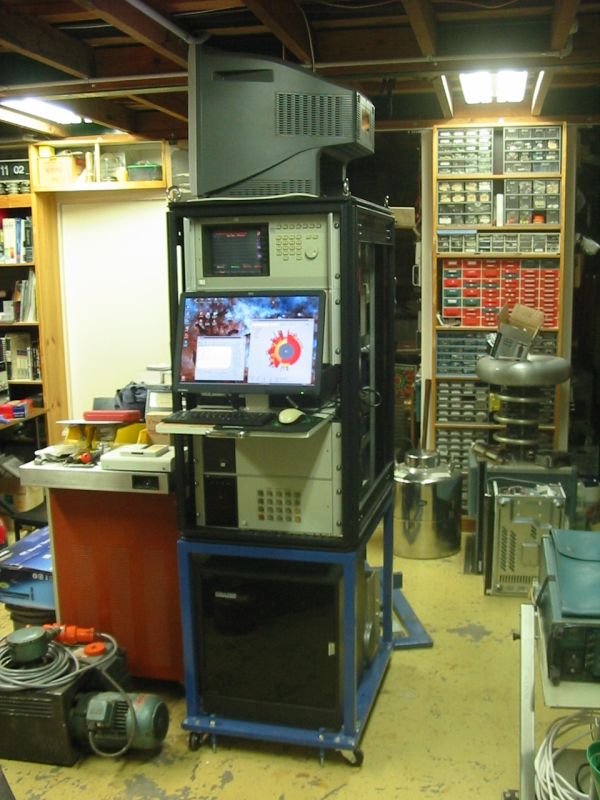
Main control rack, tiles for system sections.
Main control rack, tiles for system sections.
Only the top part is relevent. Rest is just temporary.
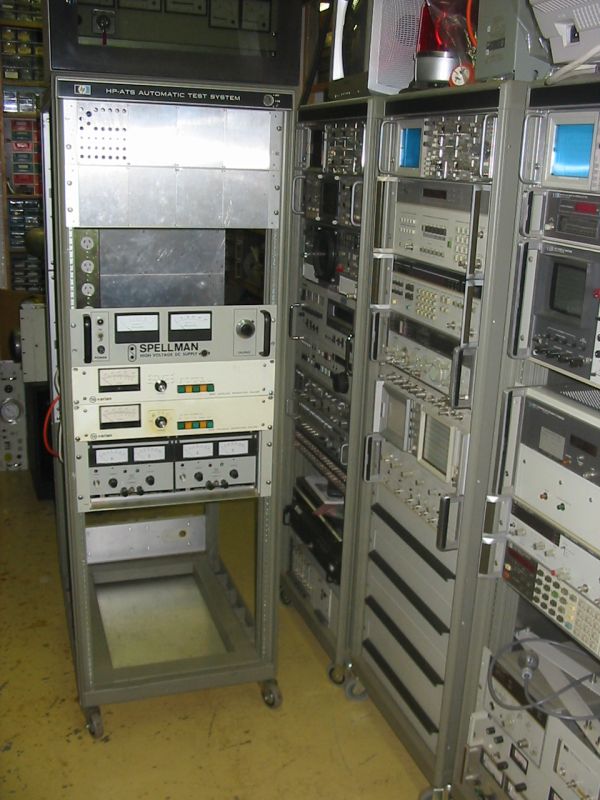
Castors on all the racks. These old HP units had none.
Incidentally, I need two more of these same racks. Anyone know where I can find some?
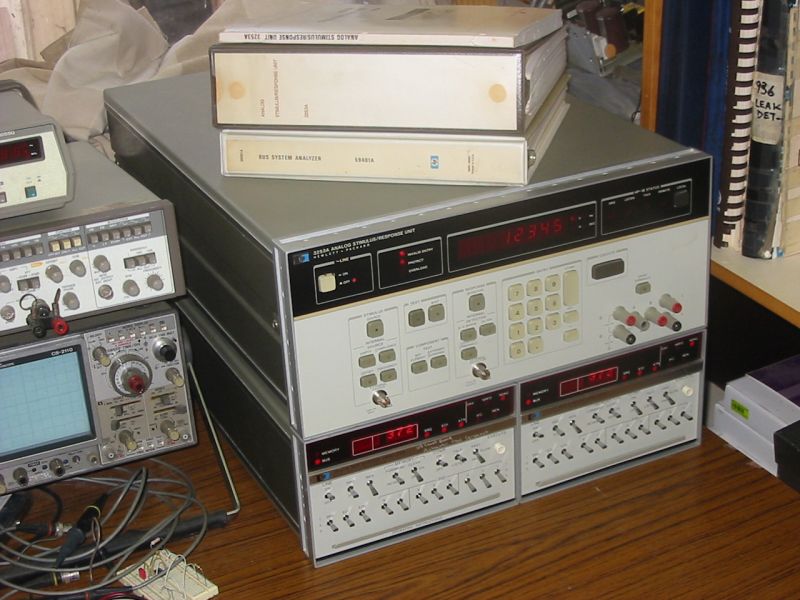
These days most such surviving units are being scrapped as 'too old fashioned.' But they are just right for my needs.
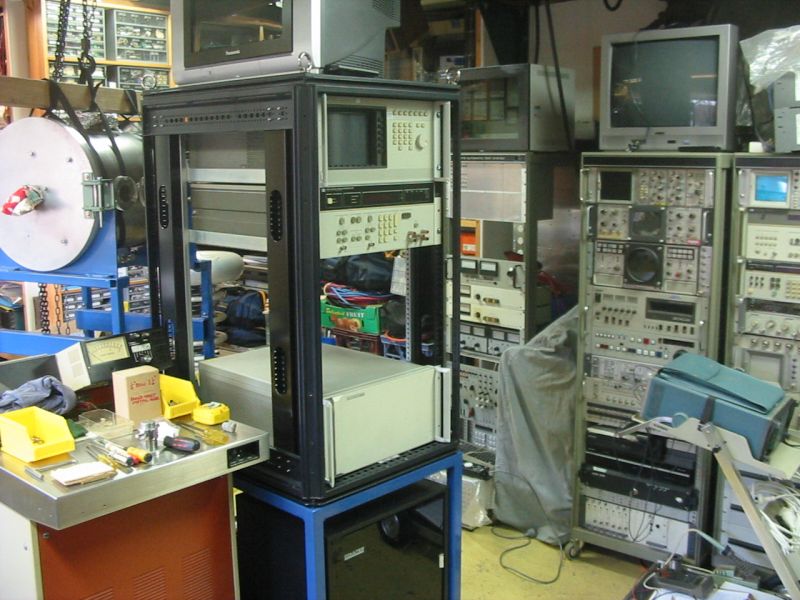
The 'Black Rack'. Was crooked (dropped off truck) and too deep for my use. Straightened with a jack, cut in half and rewelded to make it the right depth. Also built blue base on castors and screw mounts.
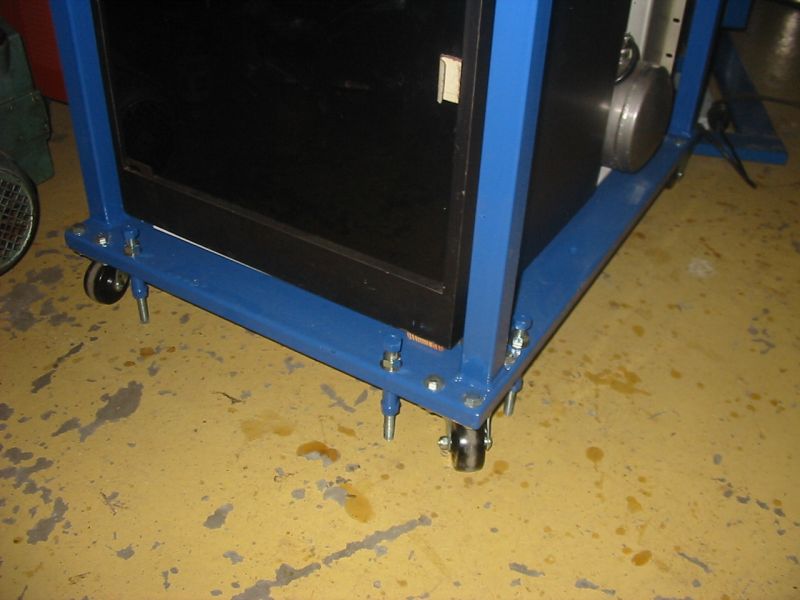
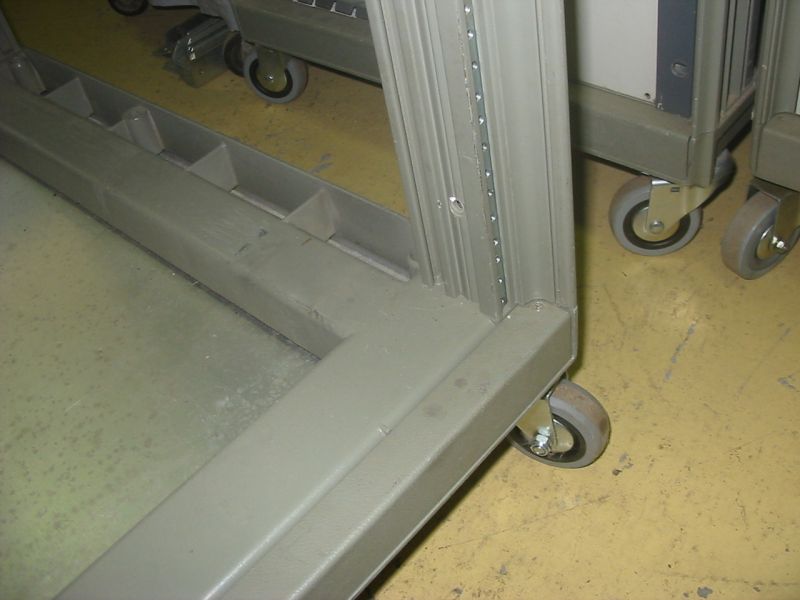
Showing the screw mounts. With these down the structure feels rock solid immovable.
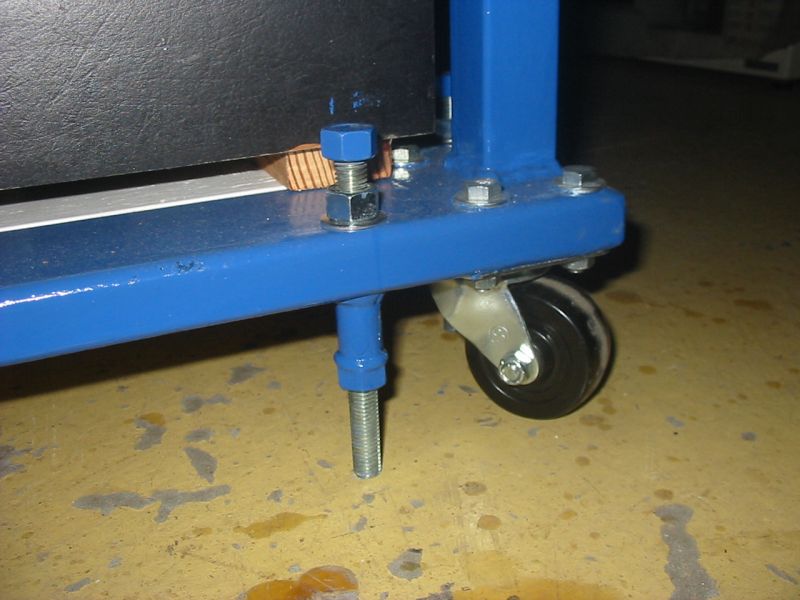
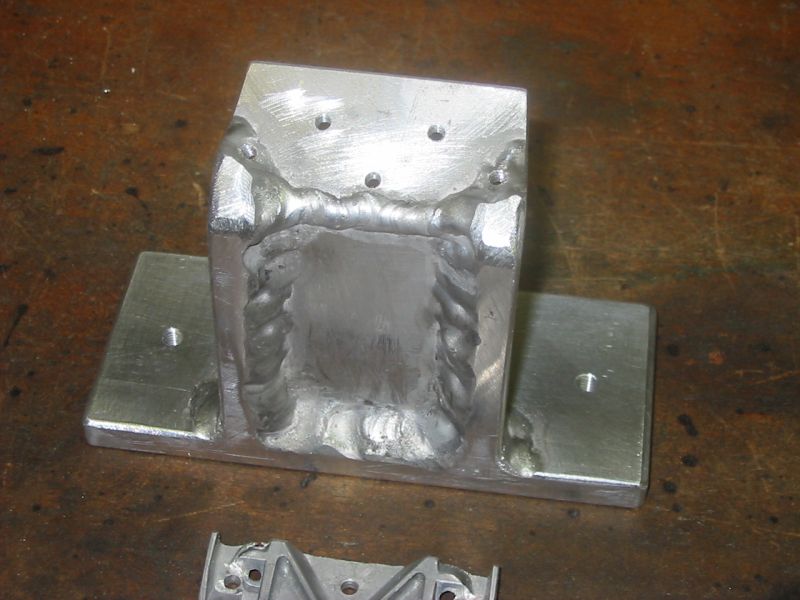
Closeup of screw mounts. Tube goes through the rectangular steel section, welded top and bottom. Also has nut welded on end using MIG and home-made pipe rotator welding rig.
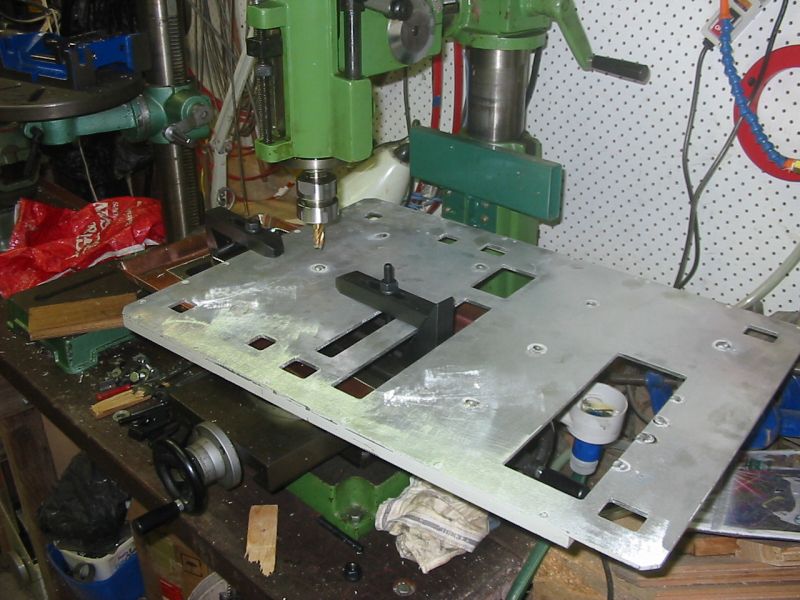
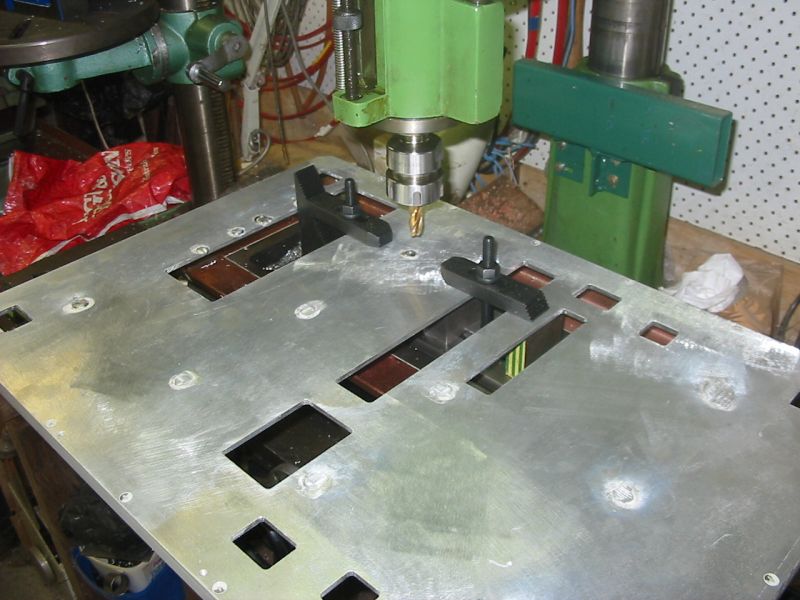
Aluminium plate slide-tray for the Black Rack computer mount. It was full of wrong holes and slots when found. Needed to be made 'whole' again. Here milling flat the TIG welds removing original tapped screw holes. Yes, it may have been simpler to just buy a new sheet of 5mm aluminium and cut to size. But my primary objective here was to learn Aluminium TIG welding, on something that could be just dumped if it didn't work. As it worked out, total cost: some gas and filler rods. Cheap!
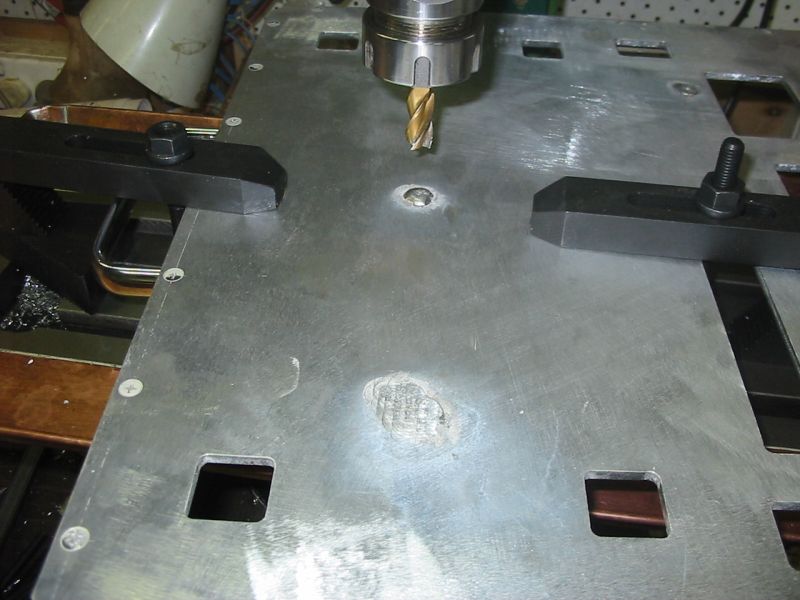
More milling.
Ditto. Every one a different clamping problem.
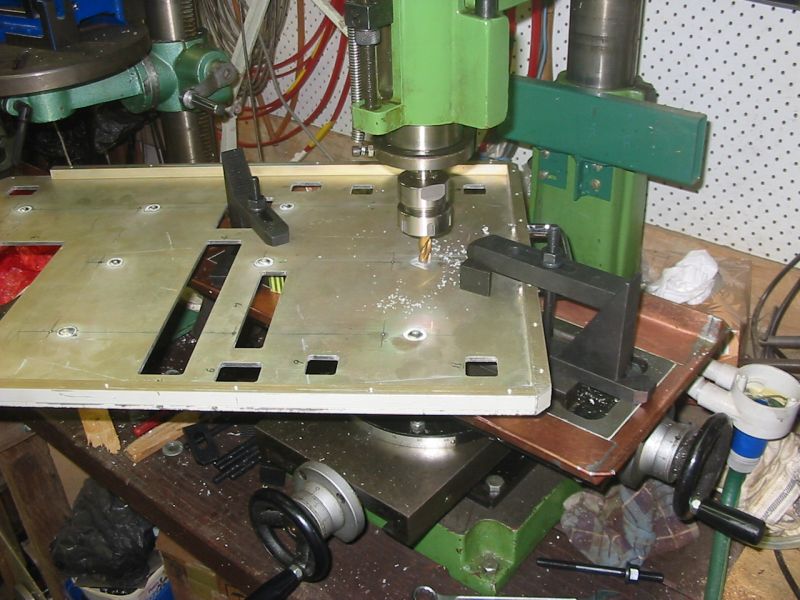
And repeat, weld-mill on the other side.
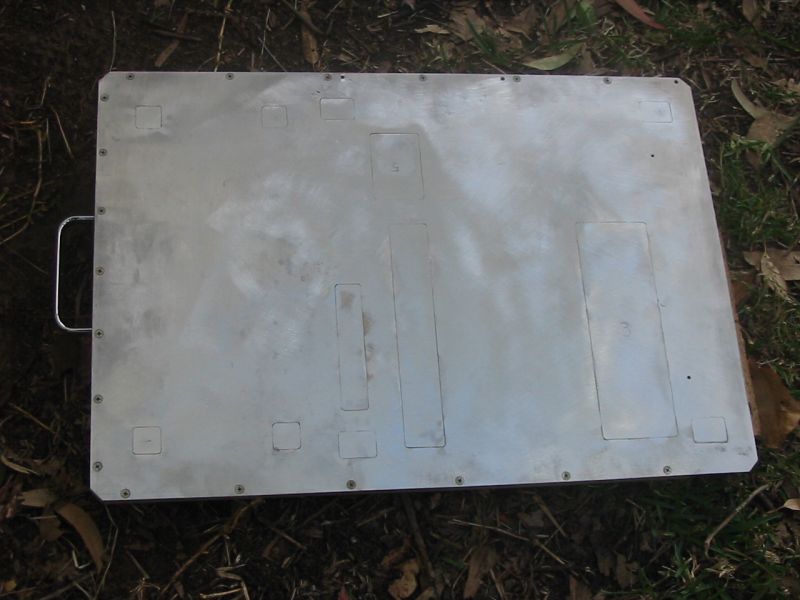
All holes patched.

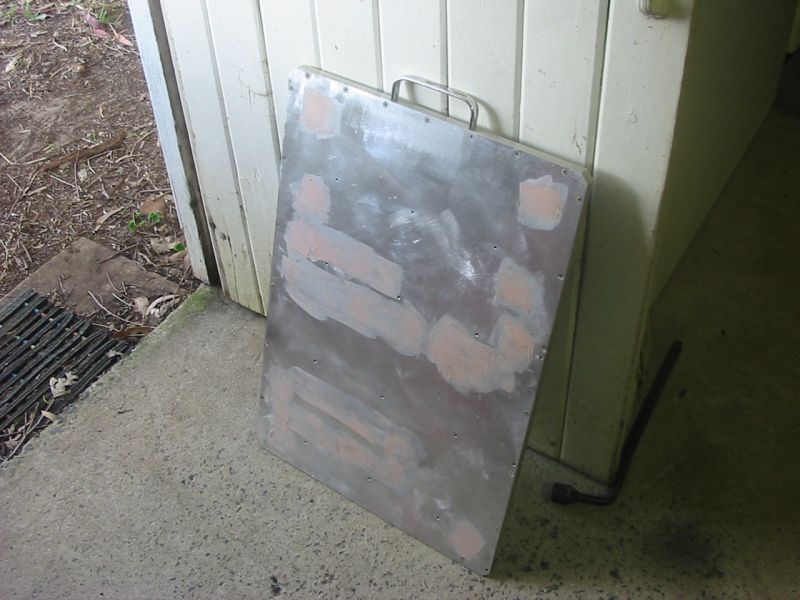
The underside. OK it's not pretty. My first time TIG welding aluminium, and heat control to prevent the sheet warping, or the welds from tension cracking wasn't easy. Weld beads are onto grinder-cut shallow grooves, but penetration is not much.
Filling remaining gaps. No, I didn't want to weld the top then attempt to mill/sand to a smooth finish.
The slide tray (gray undercoat) in place. Other instruments are the intended ones in right places. I hope.
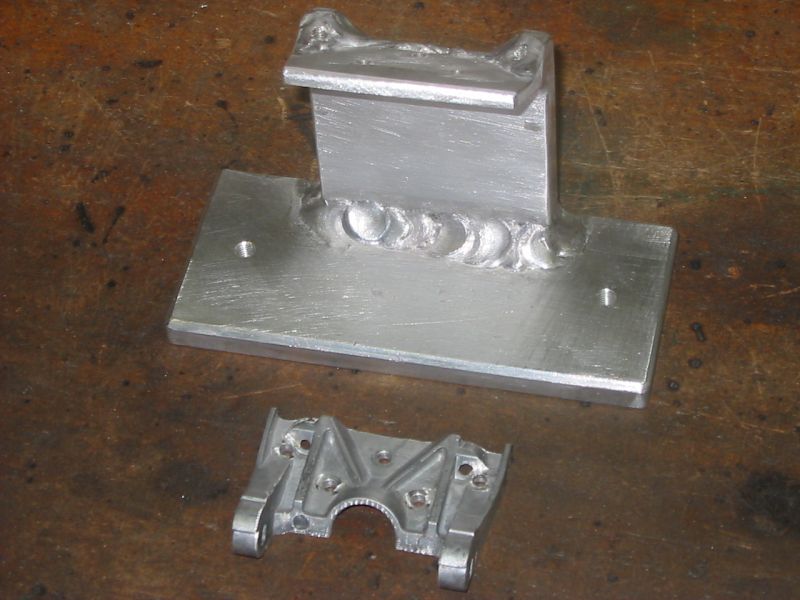
Making a mount for the LCD display screen. The diecast at bottom is a cut-off portion of the original desktop stand skeleton for the display. Which was unsuitable for use in the rack.
My TIG welding. Not pretty, but functional. Hard to get it nice, when the entire workpiece is about to go liquid in seconds. Have to weld in short bursts. I learned not to make the G clamps very tight, as everything goes soft.
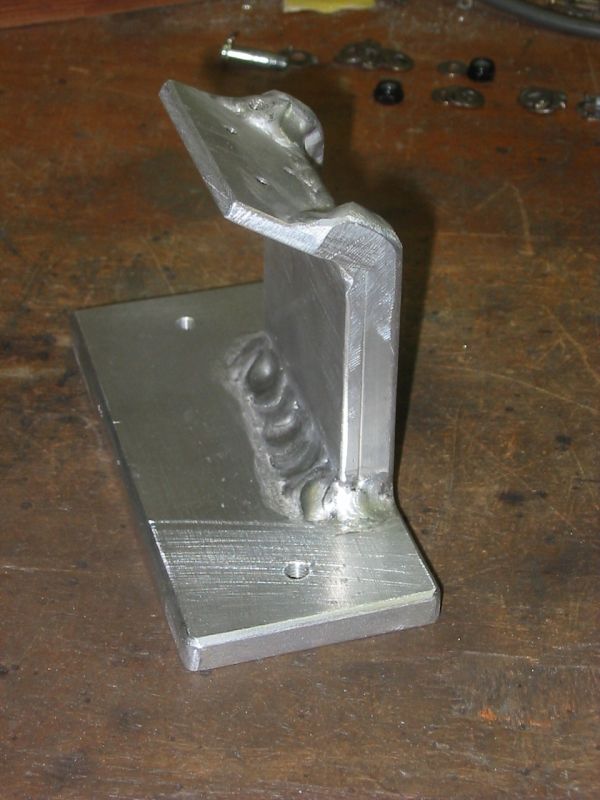
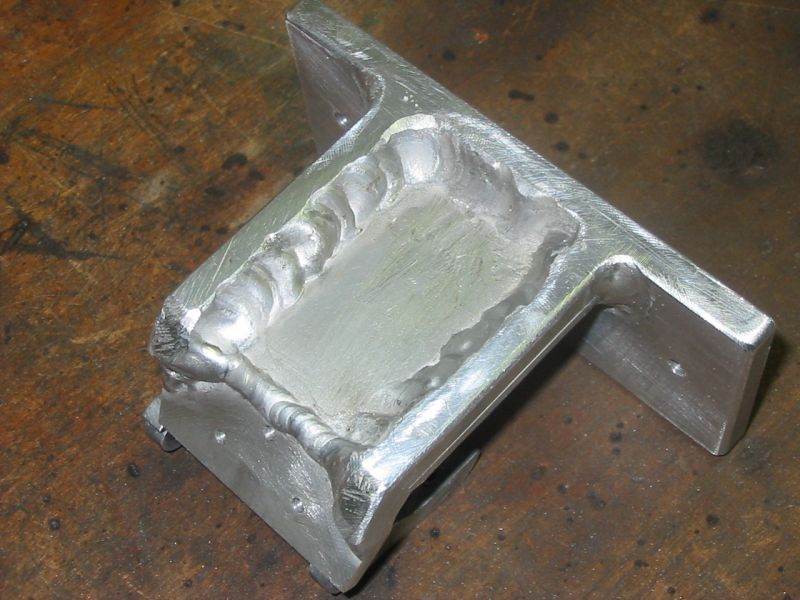
You may think it's crap, but I'm immensely pleased with this. I started working with aluminium as a small child, and always loved how easy it is to cut, drill, file, tap, etc. I could even solder to it. But I never had the tools to weld it. Till now. Lifelong ambition achieved. Feels good.
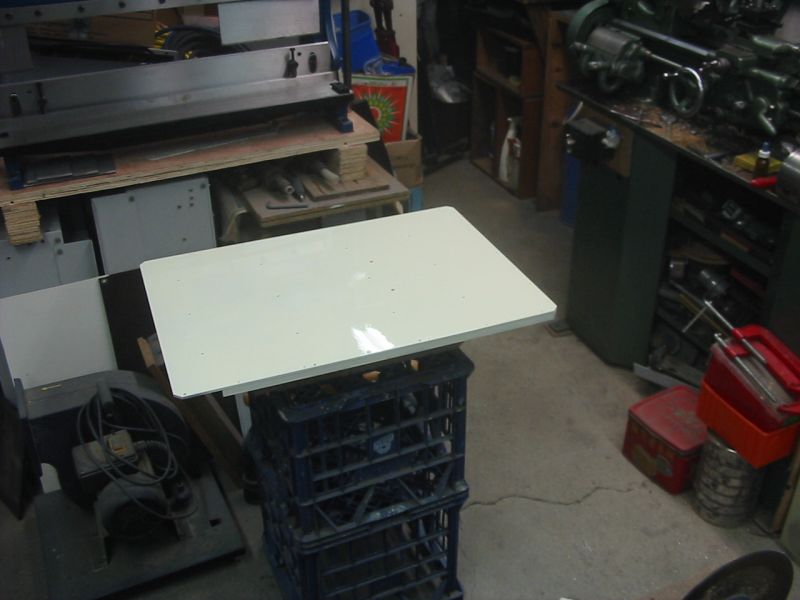
Take Two on painting the slide tray. The first time the overcoat was incompatible with the primer, and it all crinkled. Had to sand back to metal, try again.

Display bracket gets its primer coat.
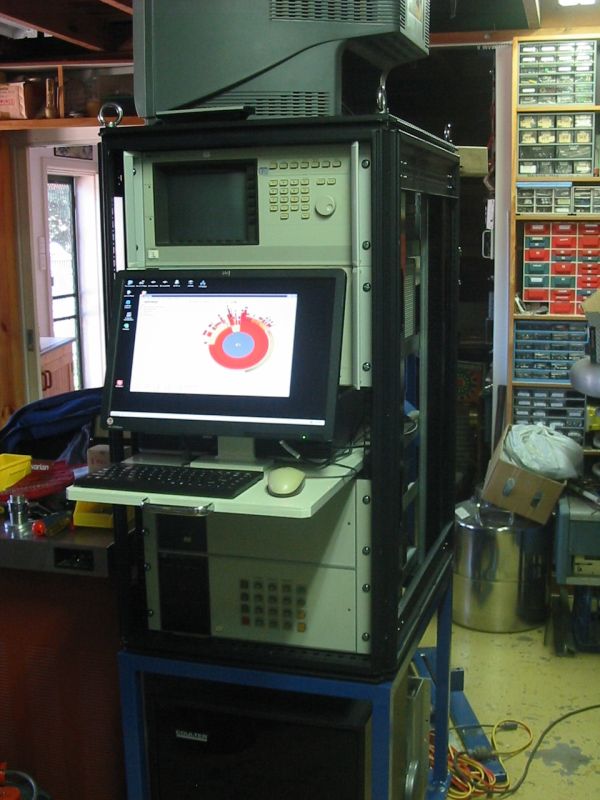
The PC system in place. Hadn't yet installed correct hardware drivers on the PC, hence wrong aspect ratio image. Also it turns out using a mouse on a thick, cold aluminium surface is very unpleasant.

The monitor folded down and tray slid back into rack. Later decided I should change the mounting bracket to hold the monitor higher, and with a slightly more 'up' angle. As it is the mouse has to be moved before stowing the tray. Need to change aluminium bracket? No problem! Angle grinder and TIG, repaint... But that's for later.
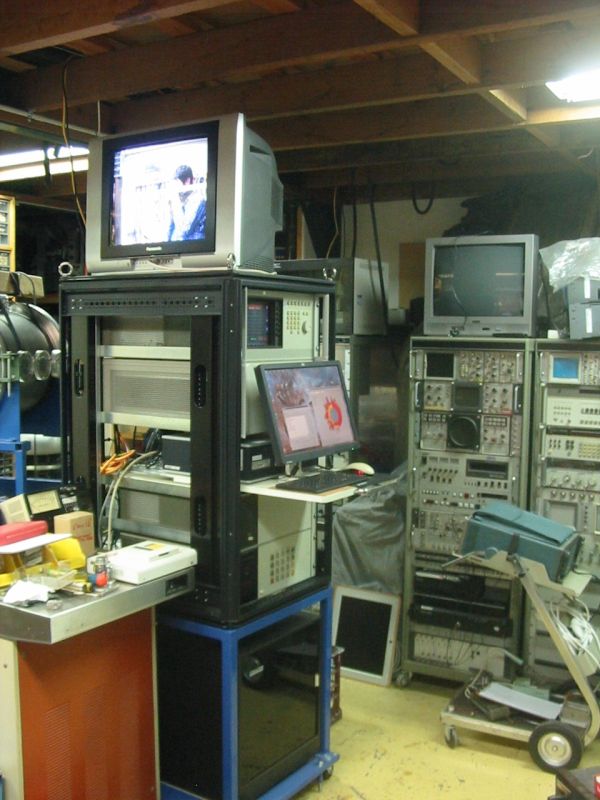
Getting there. Mousemat solves the 'cold hand' problem. PC now has correct hardware drivers. Monitor on top of rack is for CCTV view inside test chamber. It was a street toss; perfectly good CRT video monitors are free these days, since everyone is updating to LCD flatscreens. Good for them!
Ditto.
Little bit of learning required - how to use the HP-IB/IEEE-488 control bus. Some test gear on the workbench for trial and error self education.
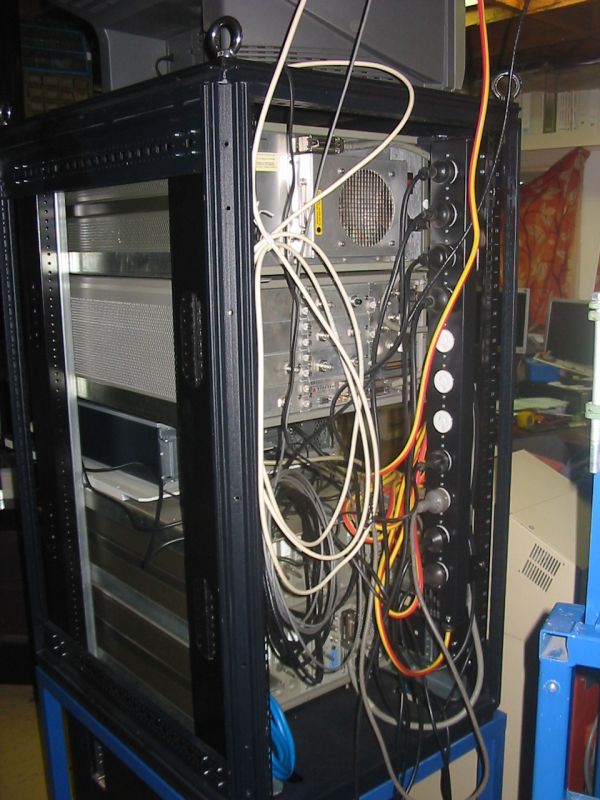
Few things look better from behind, and this isn't one of them. Yes, later the Black Rack will get some cable discipline.