There's no such thing as a mulch heap that's too big. I'm a great believer in ensuring trace elements and minerals extracted from soil by the vegetation in a place, should be returned to the soil in that place via the products of the vegetation. That it can take a while for fallen branches, leaves, etc to decay back to the soil, is just the way it is. In a natural setting vegetation forms a mat of dead material that covers the soil, retains moisture, and serves as home to a rich ecosystem of small and medium critters. Which are appreciated by birds and lizards. To those humans who appreciate the bush, natural ground cover also looks good. Did I mention that I think the whole 'green bin' thing is such a bad idea it ought to be criminal?
In an urban back yard though, thick ground cover can be a bit of a nuisance in most parts of the yard. So where there are a lot of trees dropping twigs,leaves and sometimes large branches, the litter is best heaped up in out of the way spots and left to do its slow decay in peace. It's also a good reserve of smaller timbers for the slow combustion heater.
And if the pile gets to be taller than you, so what? No matter.
Except... if you decide you need to put up a small garden shed for storage, and the most suitable spot is where there's currently a giant pile of leaves and sticks.
|
|
|
|
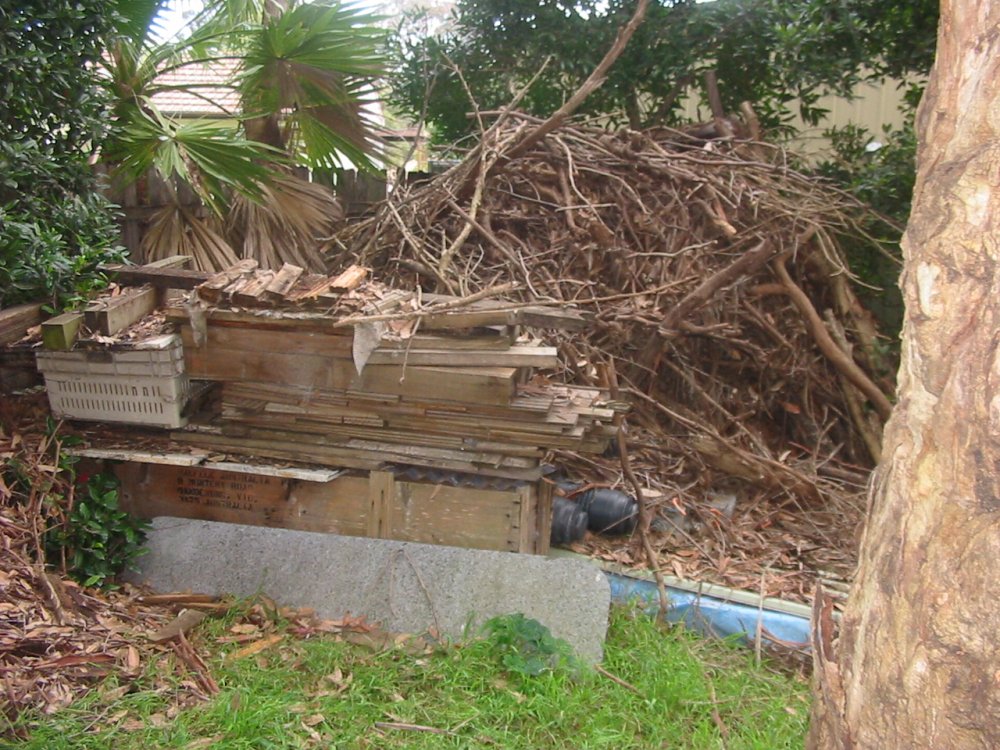
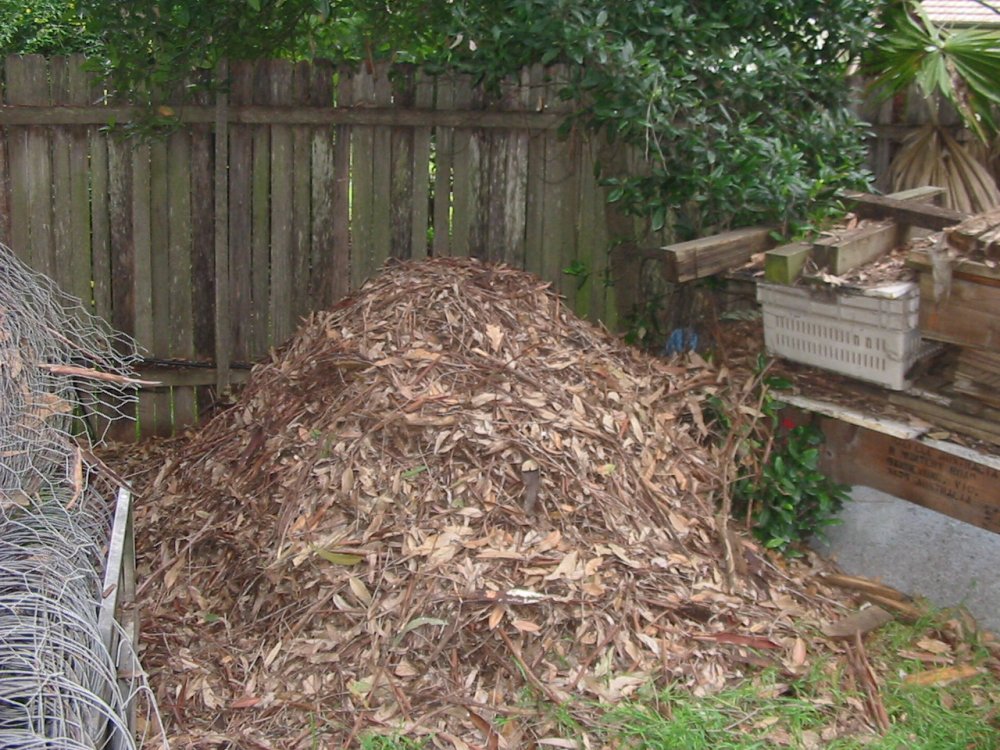
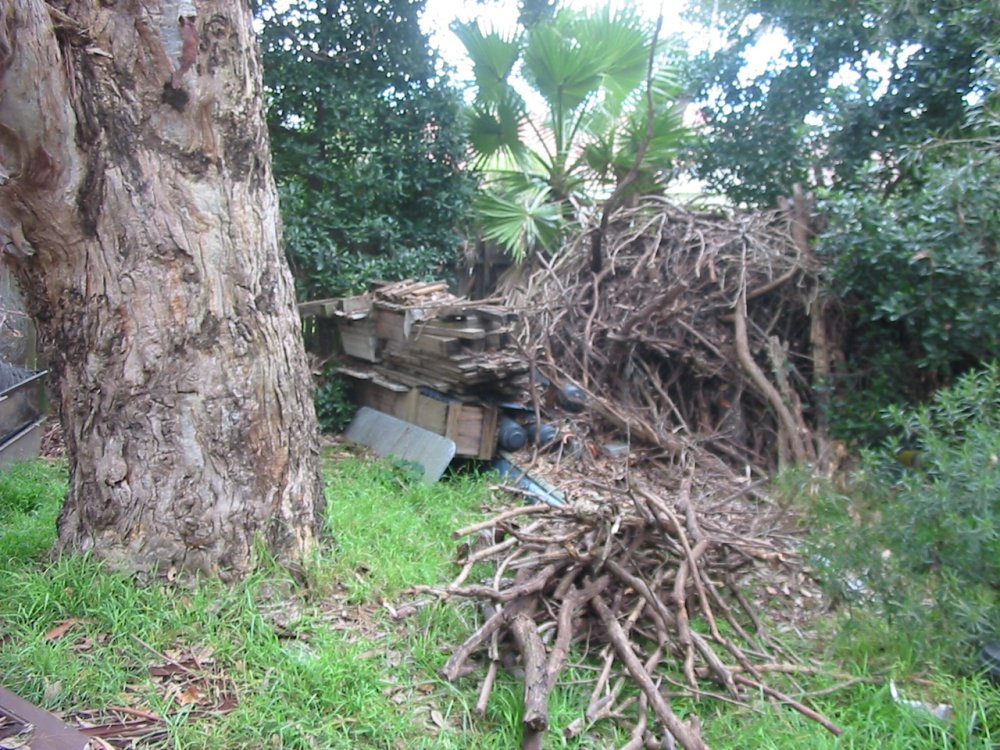
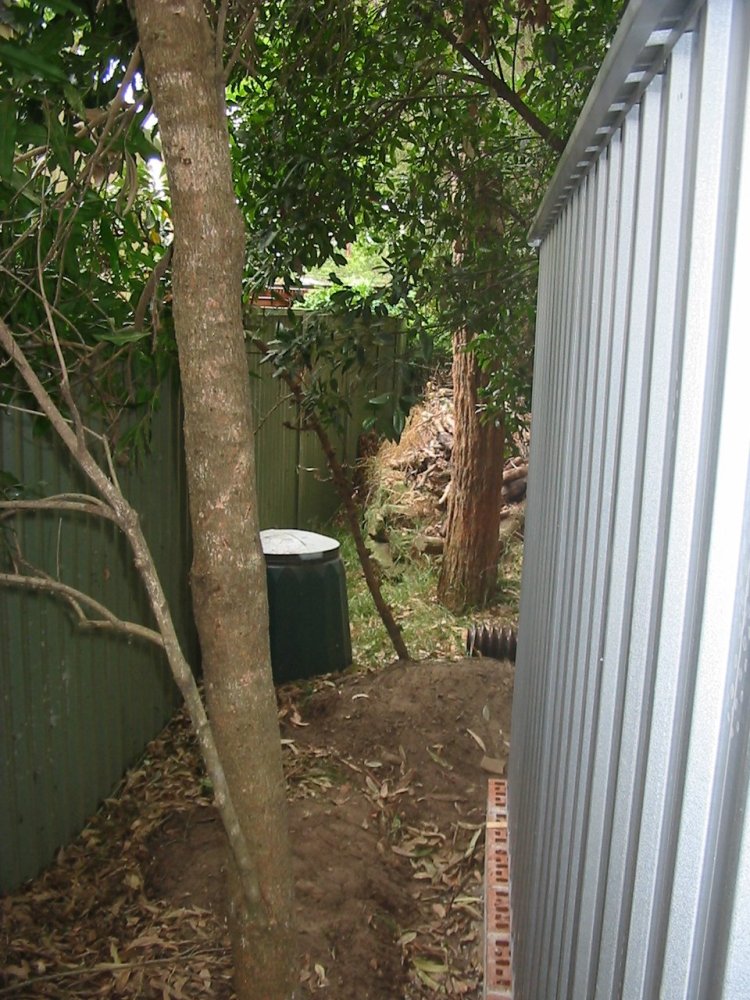
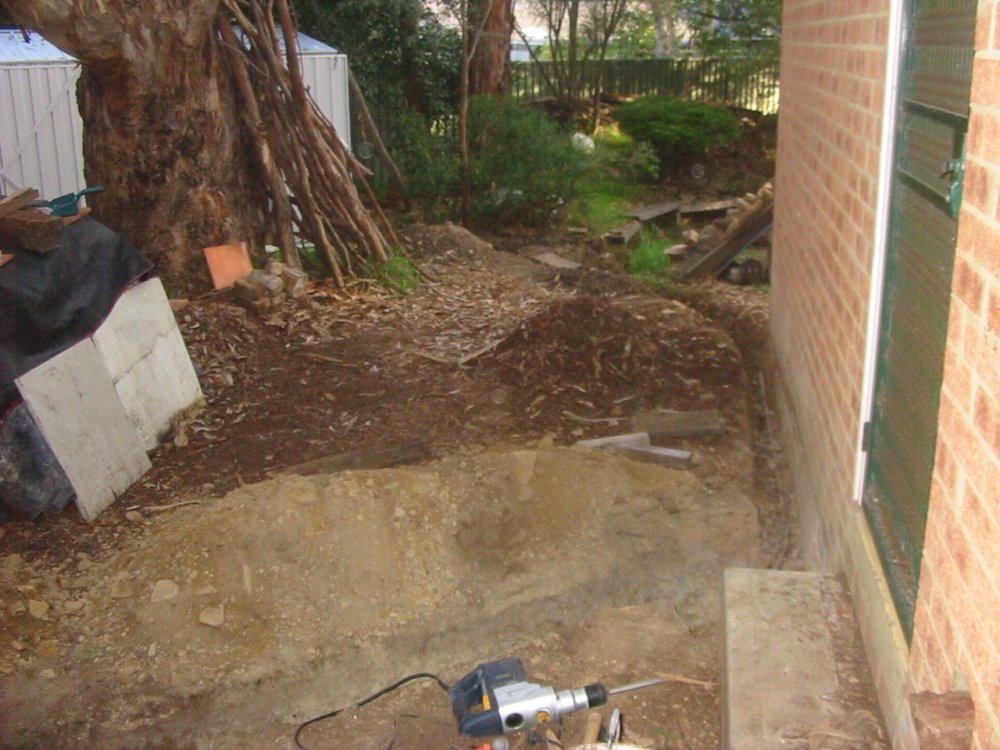
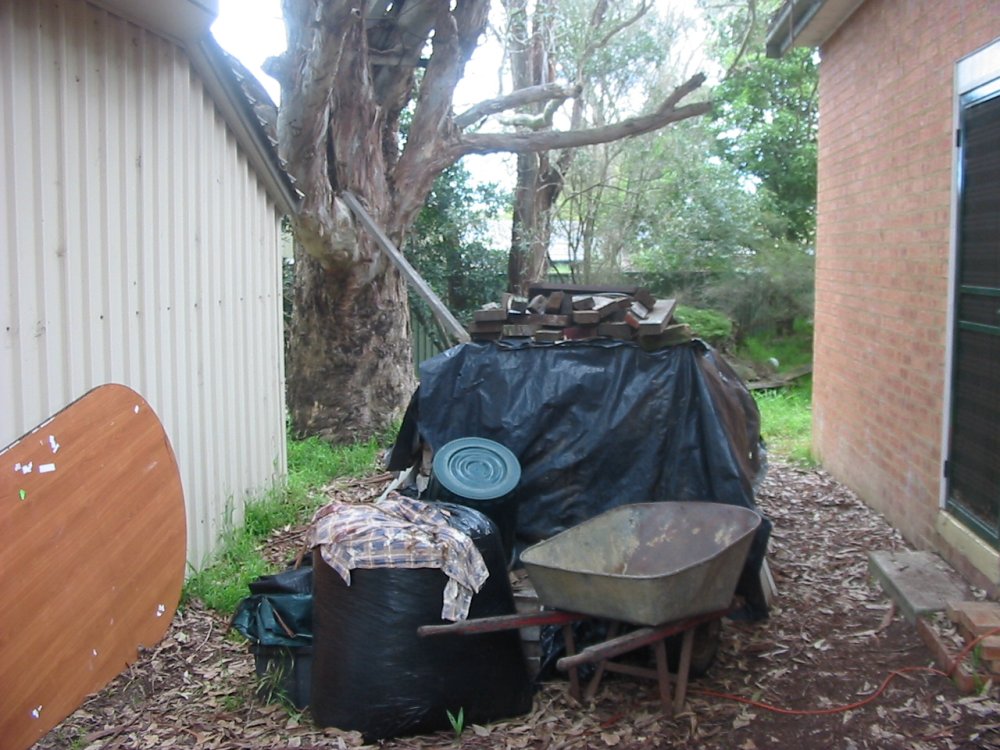
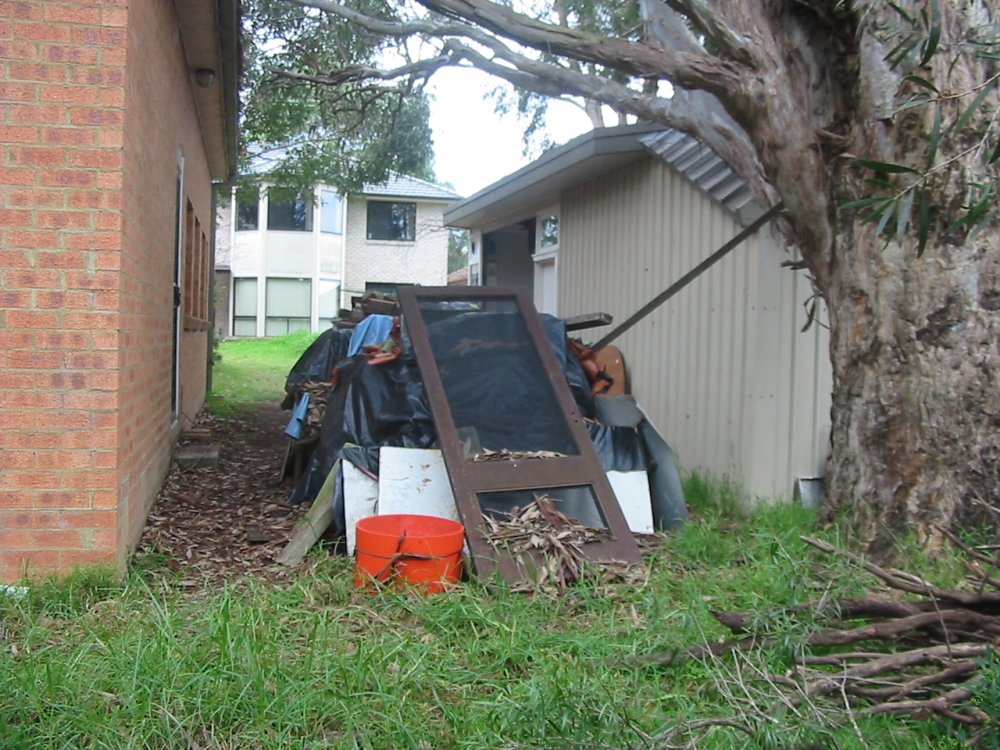
Like this one, in a corner of my back yard in mid 2010, when I decided I really had to have a bit more storage space. Right there. (The pile of timber bits is for firewood.)
 |
 |
 |
 |
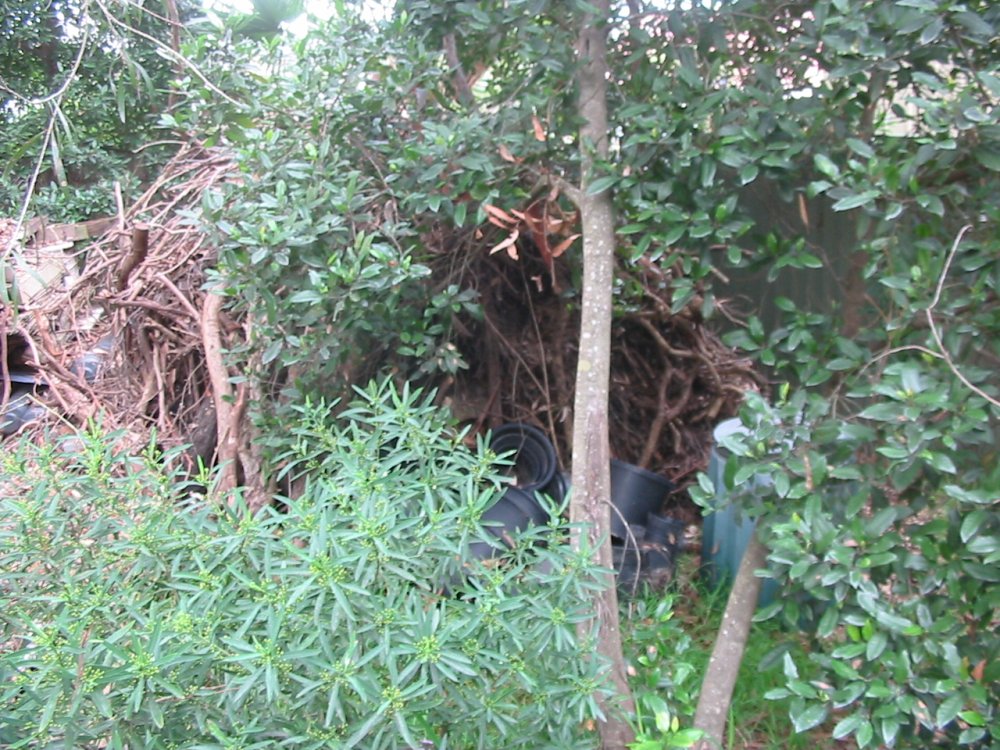
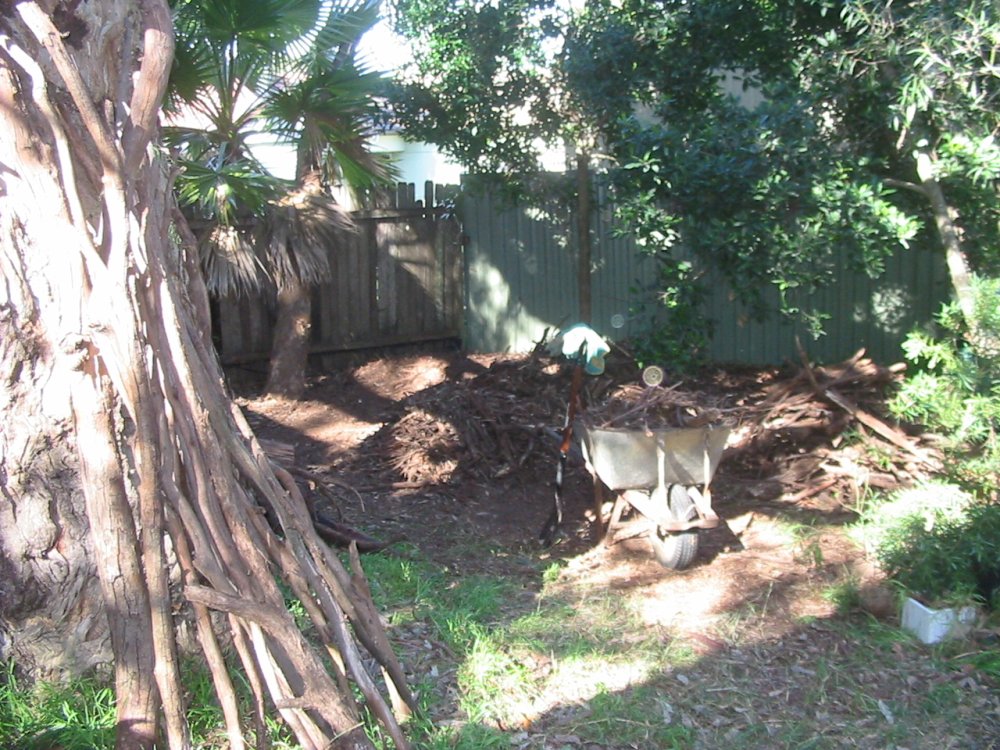
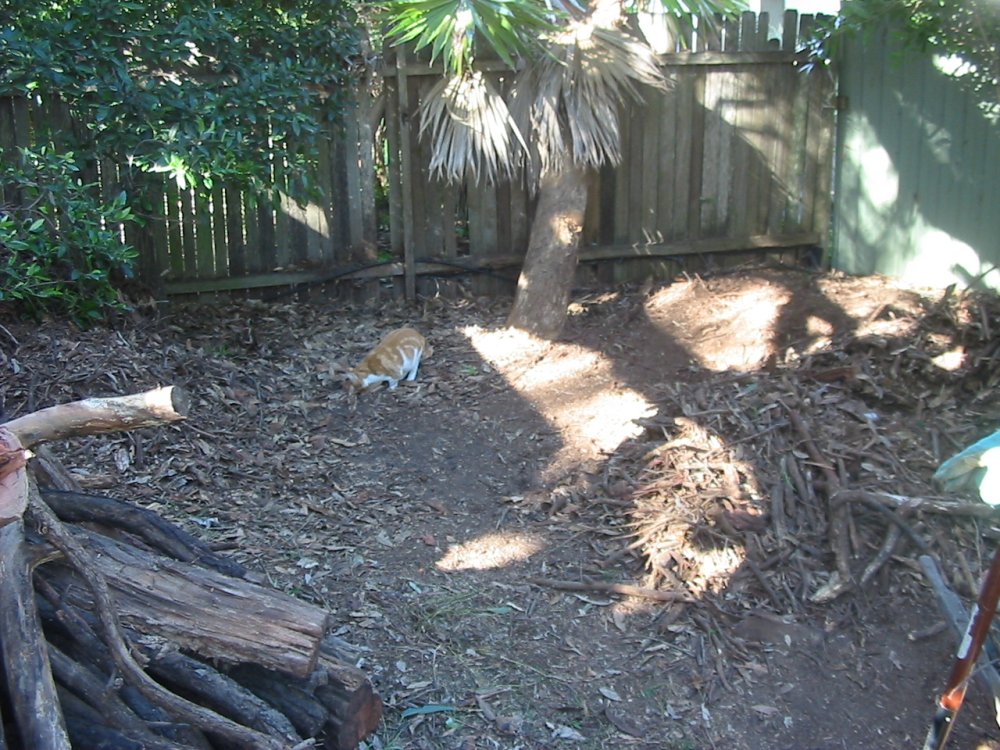
Still, piles of loose sticks and leaves are not hard to move. It was an interesting study in the many types of beetles, grubs, ants, centipedes, millipedes, whatever-pedes, skinks, legless lizards, spiders, bigger spiders, and so on. Sorry I wrecked your home, guys. But look, it's just being moved 20 feet to the right, you'll find it again.
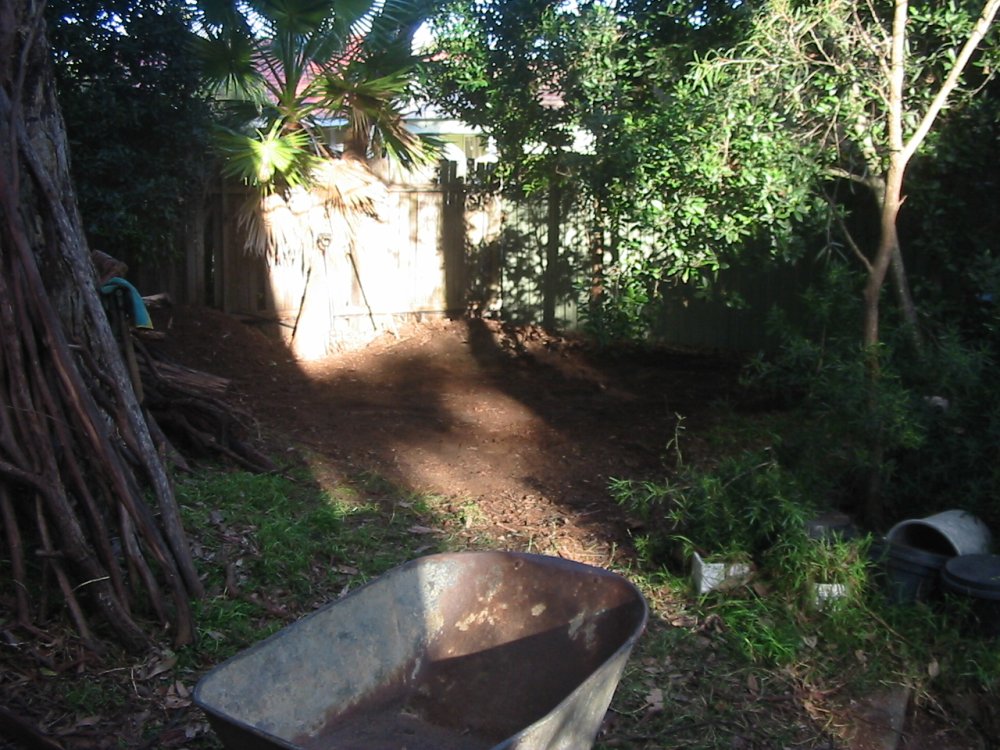
It didn't take long. Started on the 12th July 2010, finished on the 16th, but really put in less than a day's work overall.
 |
 |
 |
 |
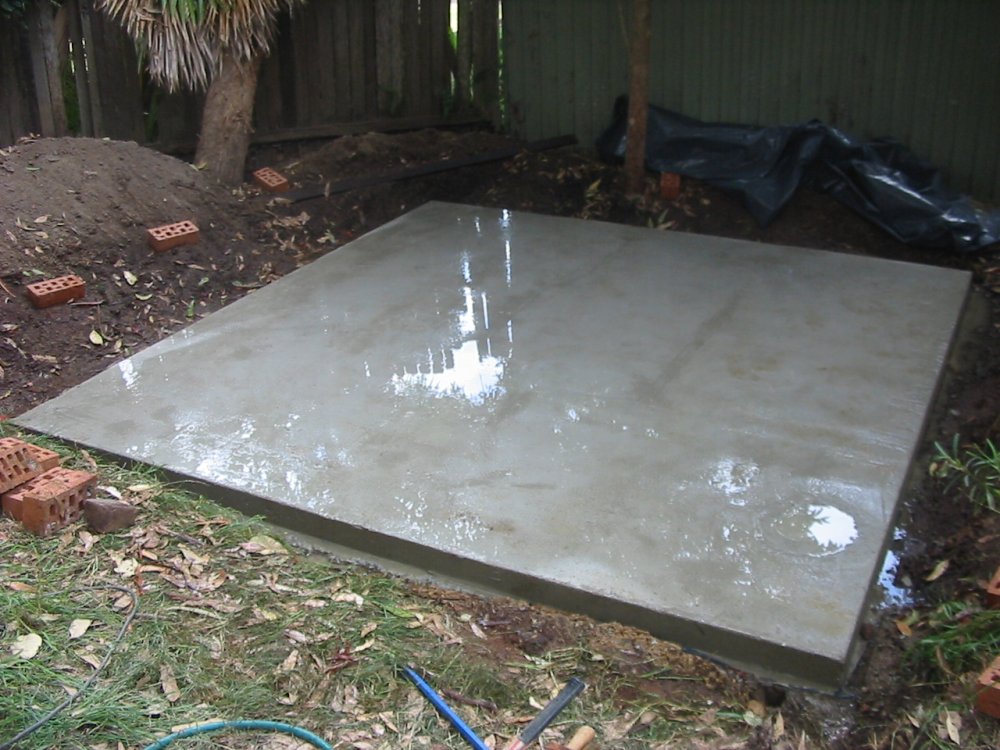 |
20110128. Then it took a while before the slab pour. 2010 was a bad year for me. Well, worse than the usually bad years lately.
Anyway, are you wondering why a slab for a metal garden shed would be set a little lower than the general ground level? A sure way to make the metal shed walls rust quickly, right?
Actually, there was a Plan. Thing is, small metal garden sheds don't require council building approval. I guess on the basis that they are fairly ephemeral, and also that they are low profile and barely higher than the standard back yard fence. So they don't much obscure anyone's sunlight, views, etc.
The downside of this 'low profile' thing, is that to satisfy the requirements for 'no approval needed', these sheds are so low that people like me can't stand up in them. Which is pretty annoying really. I wanted a shed that was "low profile", but also high enough for me to stand in. And it can't look like a British police box, even though bigger on the inside than outside would be nice.
But wait... it can be taller on the inside than outside.
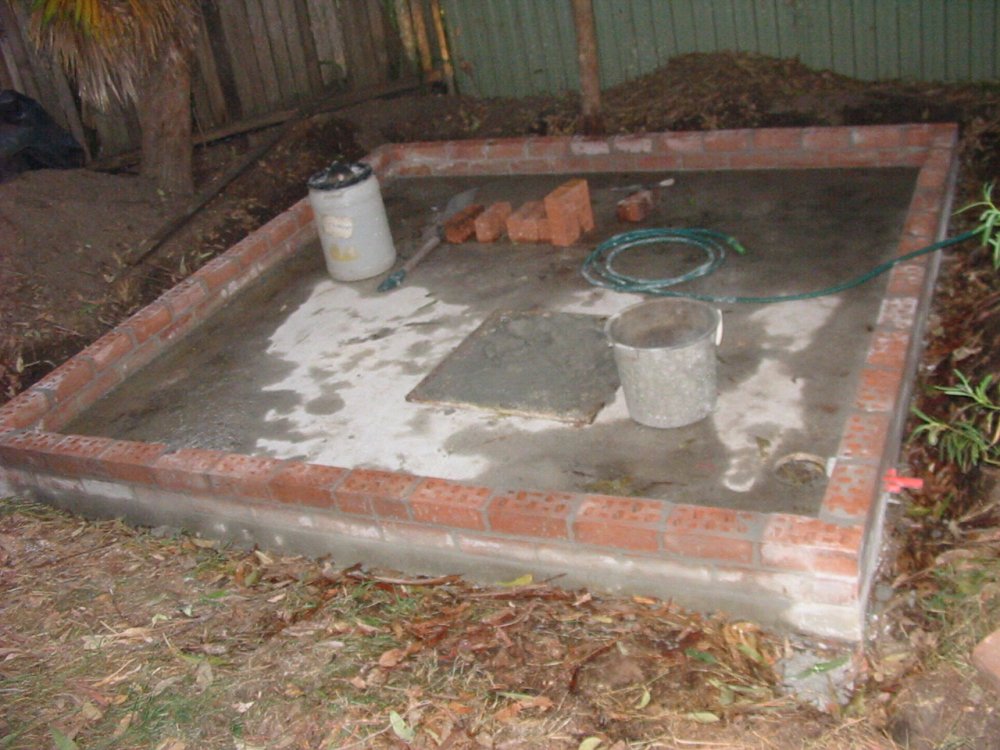
While you're thinking about that, notice in pic 4 above there's a round concrete manhole cover in the slab in front of that large (unfinished) shed. That goes down to the rainwater storage sump, that was a council requirement for building the main workshop back in 1998-9. It's a brick-lined pit, about 2m x 3m inside, and 1.2m deep. It also now takes the roof runoff from the unfinished large shed, and from the sink in that shed. There's a need for an overflow outlet from this pit. I'd be adding that while doing other pipework for the new small metal shed.
And while doing the slab pour I also added a couple of extra bits of concrete paving in front of the larger shed.
 |
 |
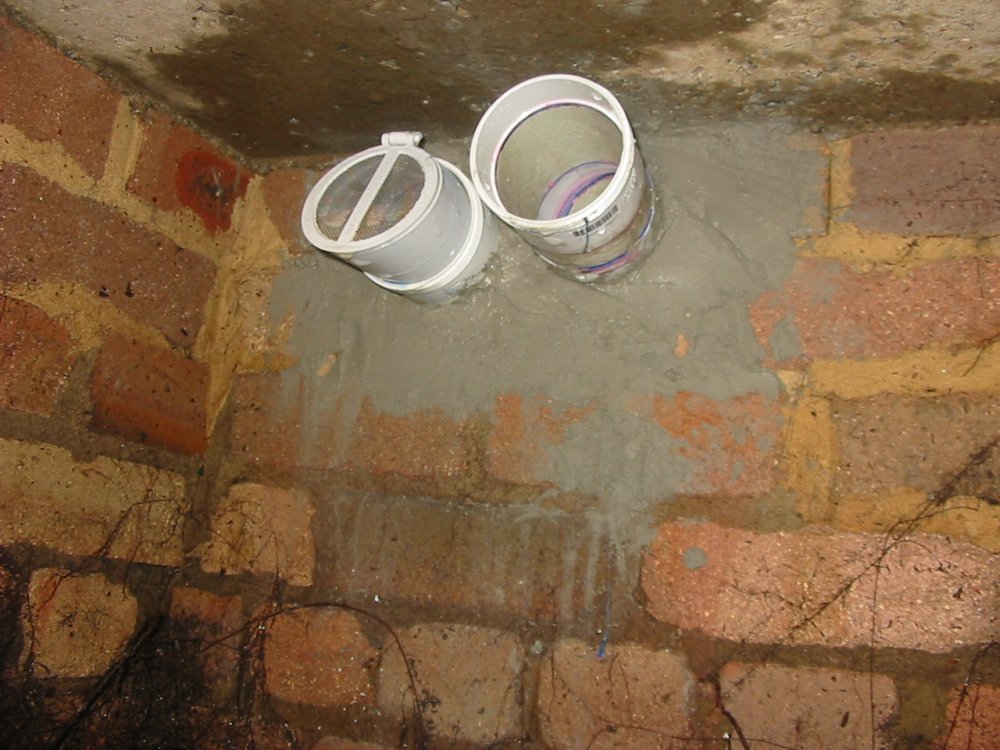 |
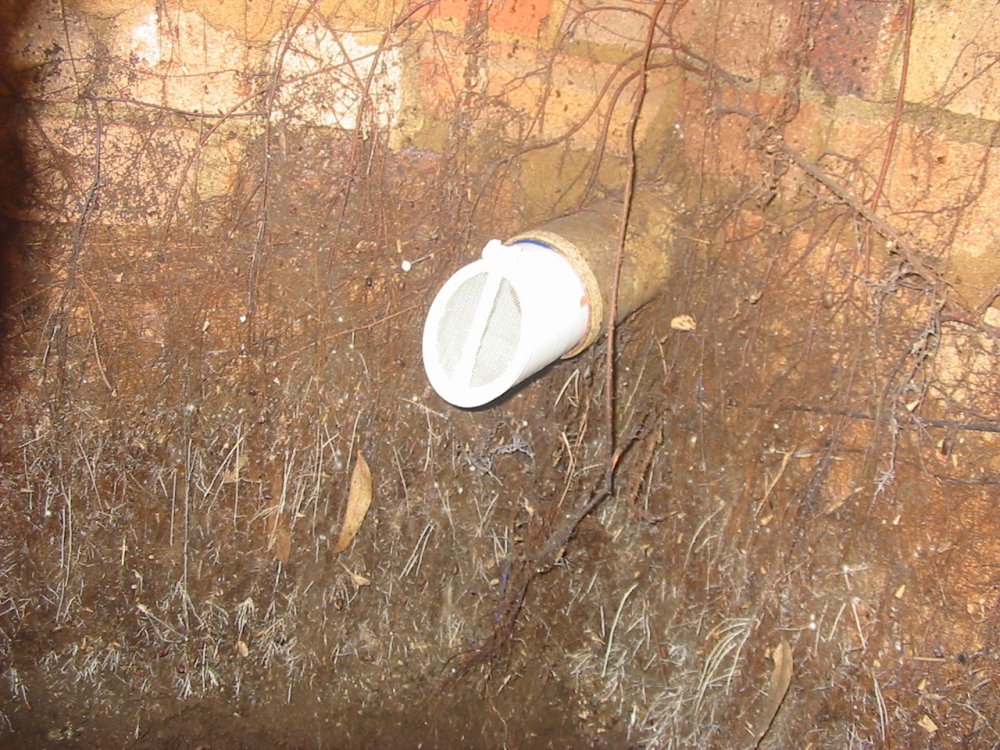
20110206. This is inside the rainwater sump pit. The two pipes are new — the left one is from the big shed's sink, the right one is an overflow outlet. We'll see later where that goes. I bet you're excited. Ha ha... yeah OK, this is all really just a kind of photo-diary for my own use. You can go to sleep now.
 |
 |
 |
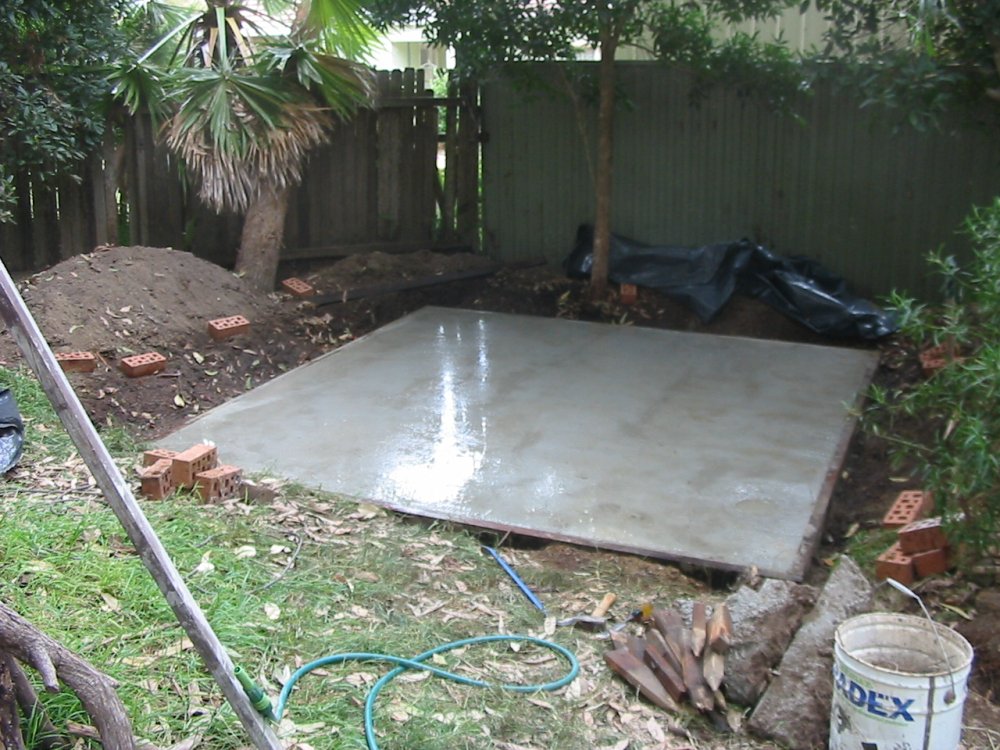
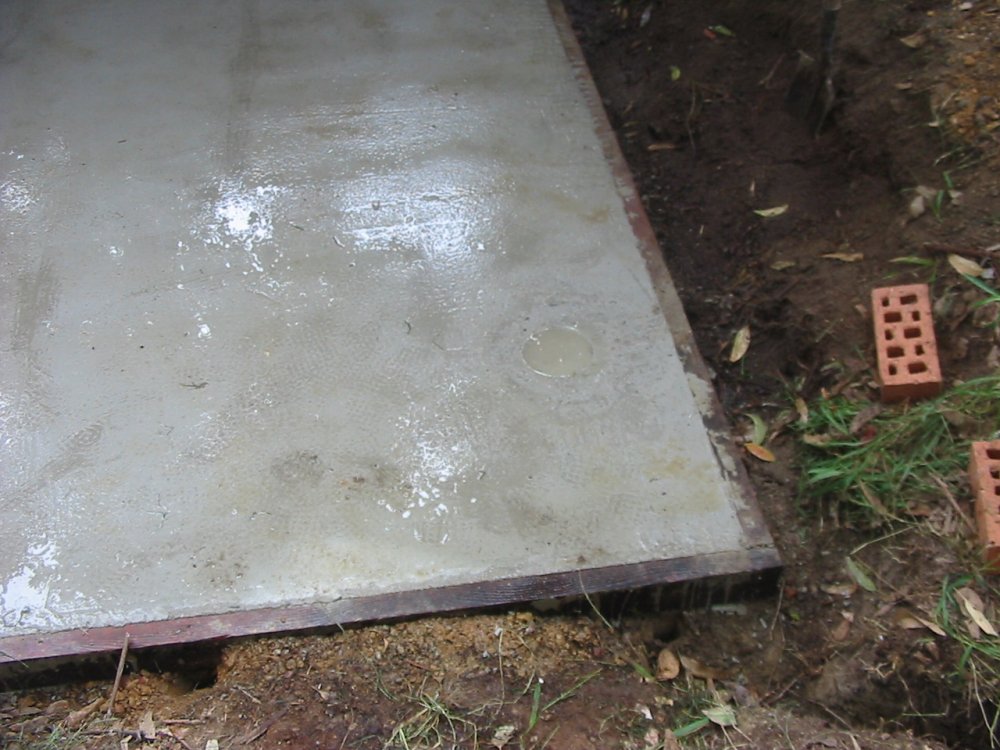
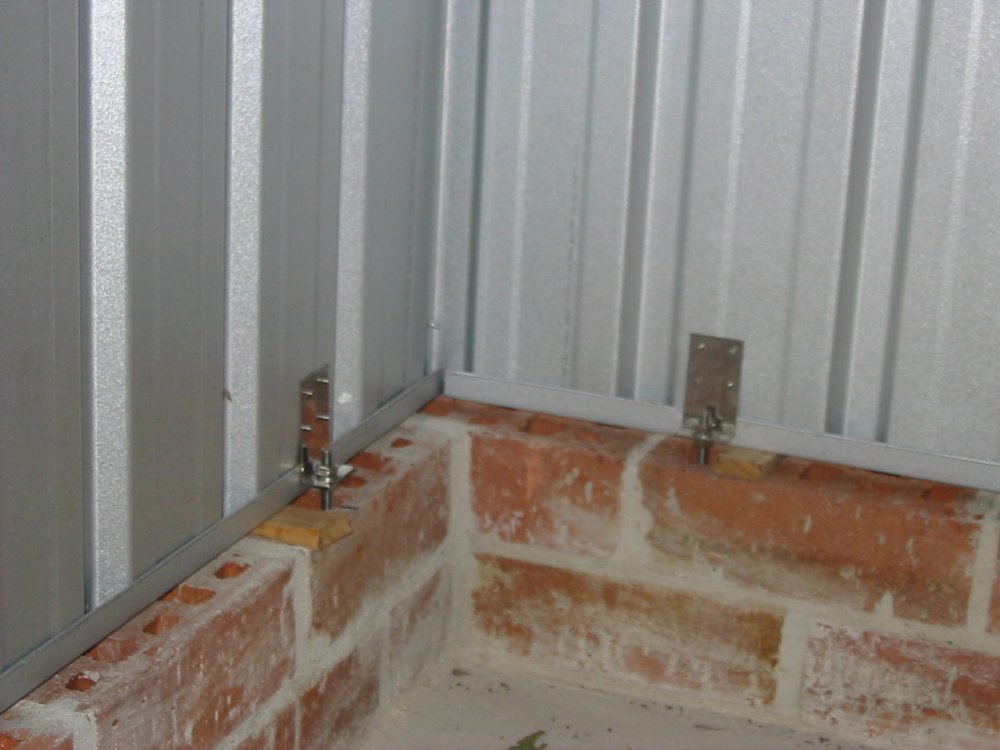
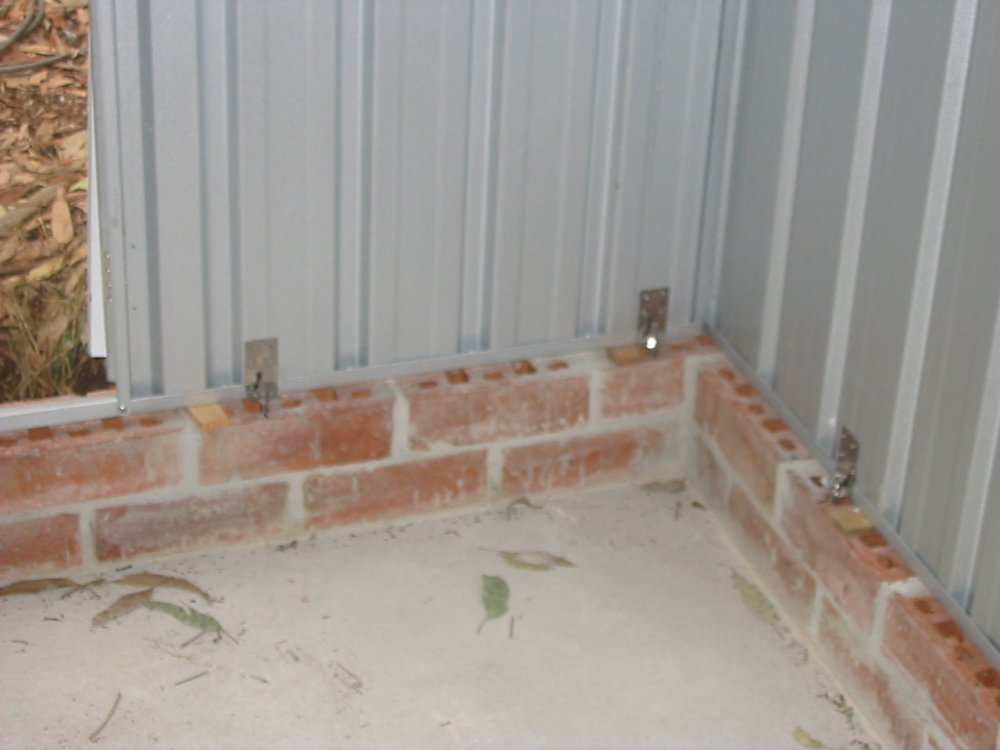
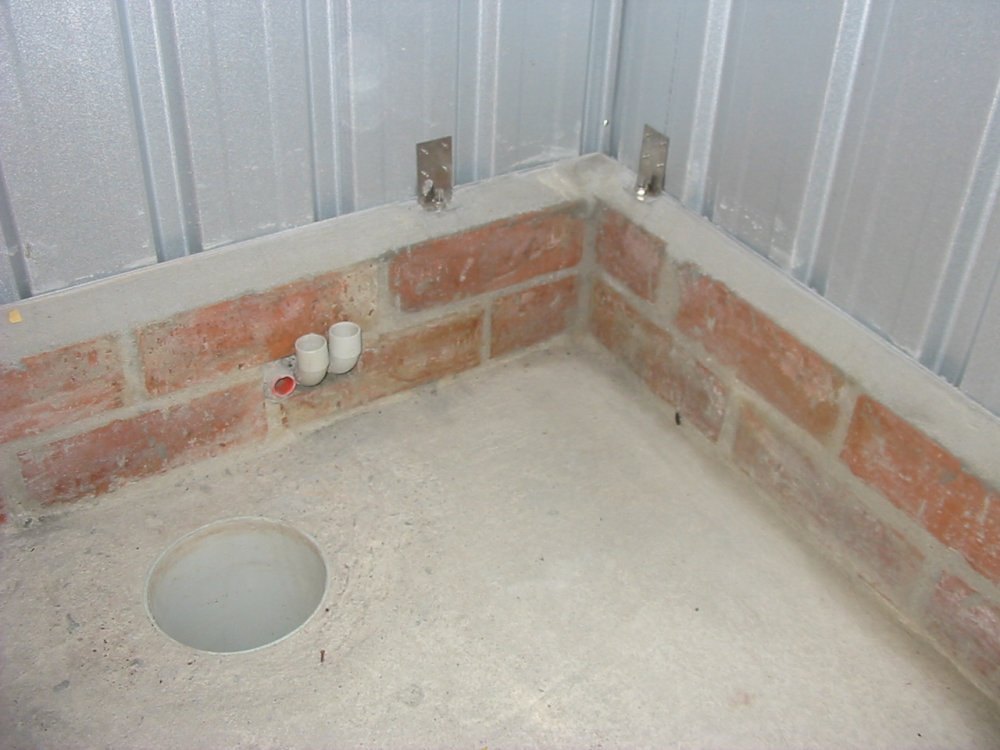
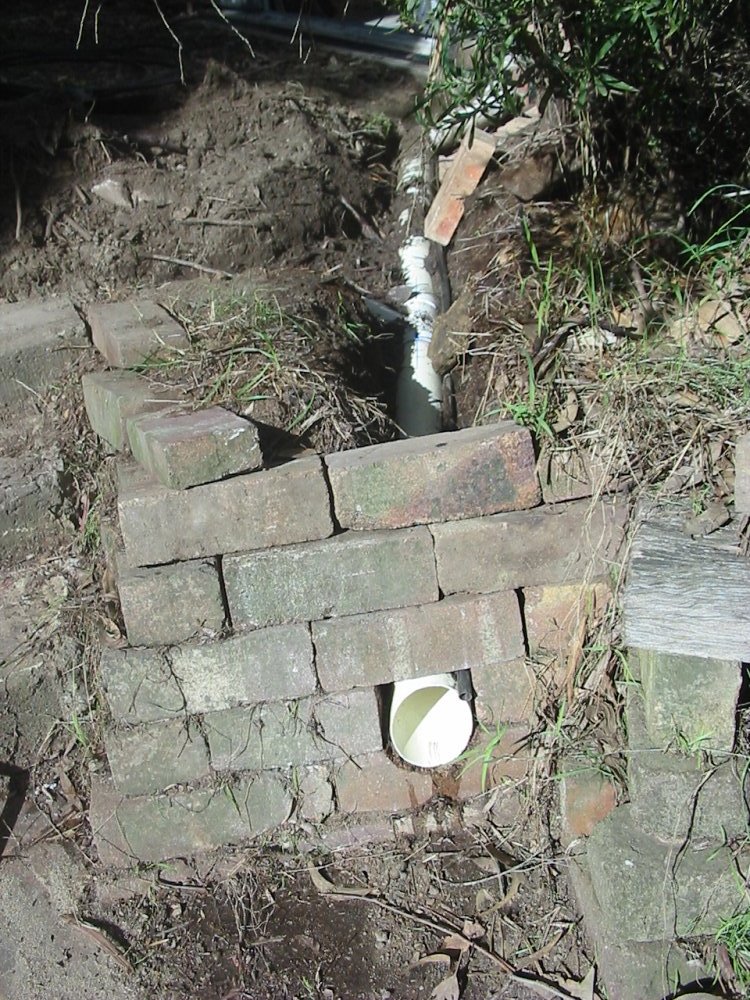
20110226. Here's the answer to the 'Tardis Shed' riddle. It can be taller inside than outside, because the floor can be lower than the surrounding ground level. If you take care with drainage, seepage, etc. In this case the floor is two brick courses lower than the outside ground level. Enough to make the shed comfortable for my height.
My bricklaying incidentally. My first holidays job while in high school was as a bricklayer's assistant. So learned (simple) bricklying then. And have done a bit since. Not a job I'd like to do for a living, but it's satisfying.
 |
 |
 |
 |
 |
 |
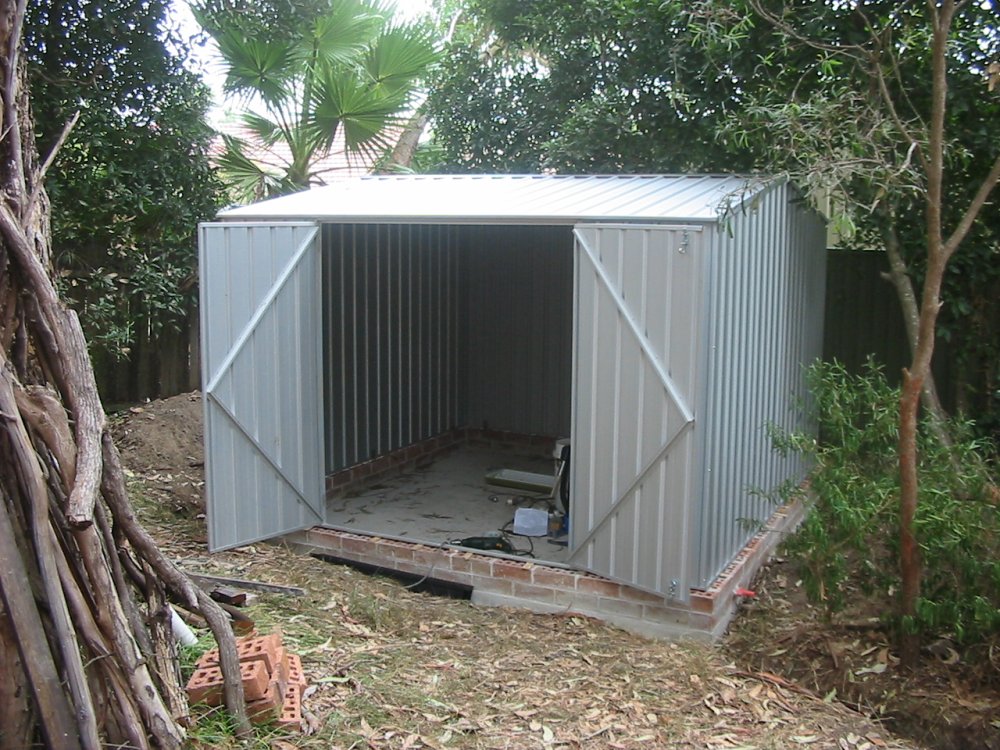
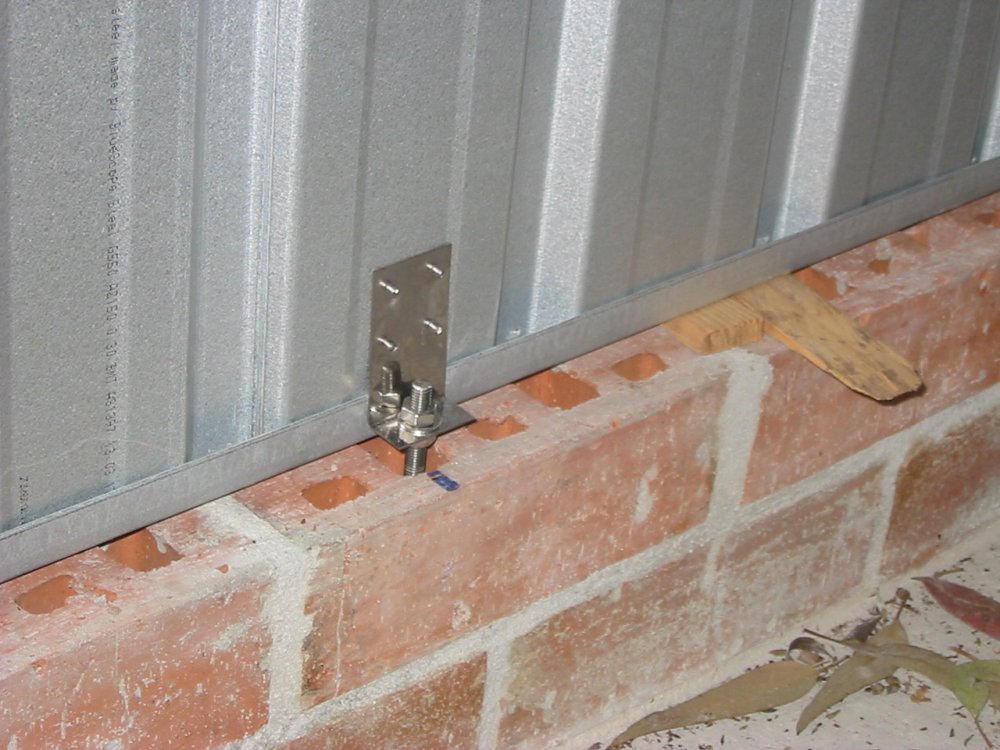
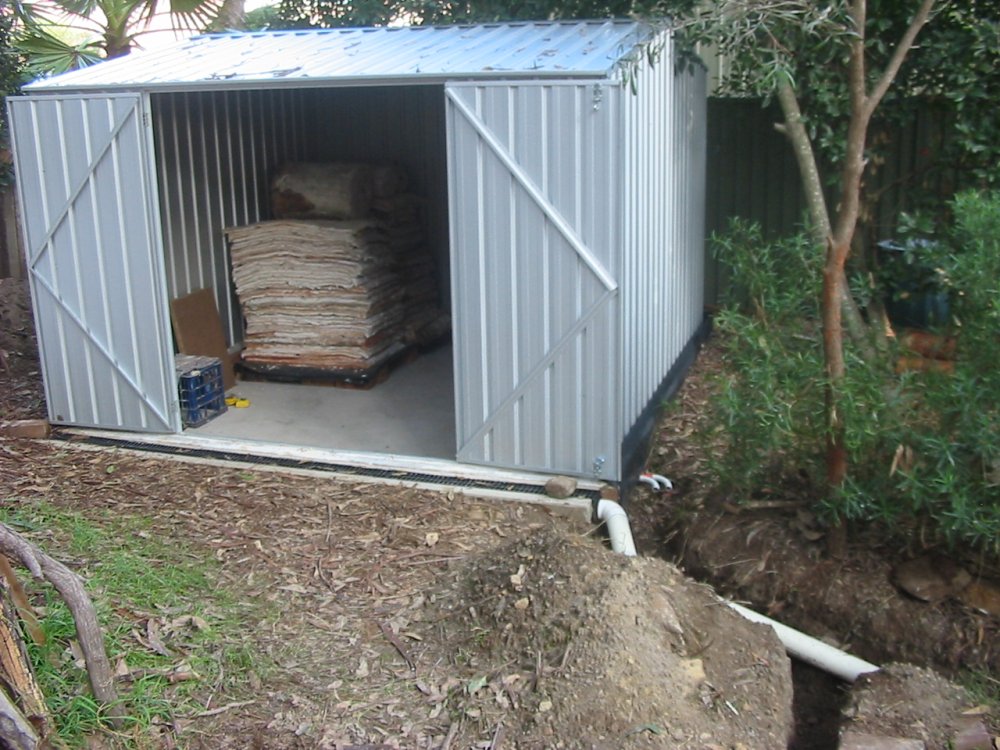
20110310. Shed's up! The walls are raised up a little off the bricks by wedges, and secured to the slab via threaded stainless rods with chemical anchoring in the concrete.
Yes, I did work out the slab size and brick course lengths to match the metal shed dimensions beforehand. You didn't think that was a fluke did you?
 |
 |
 |
 |
 |
 |
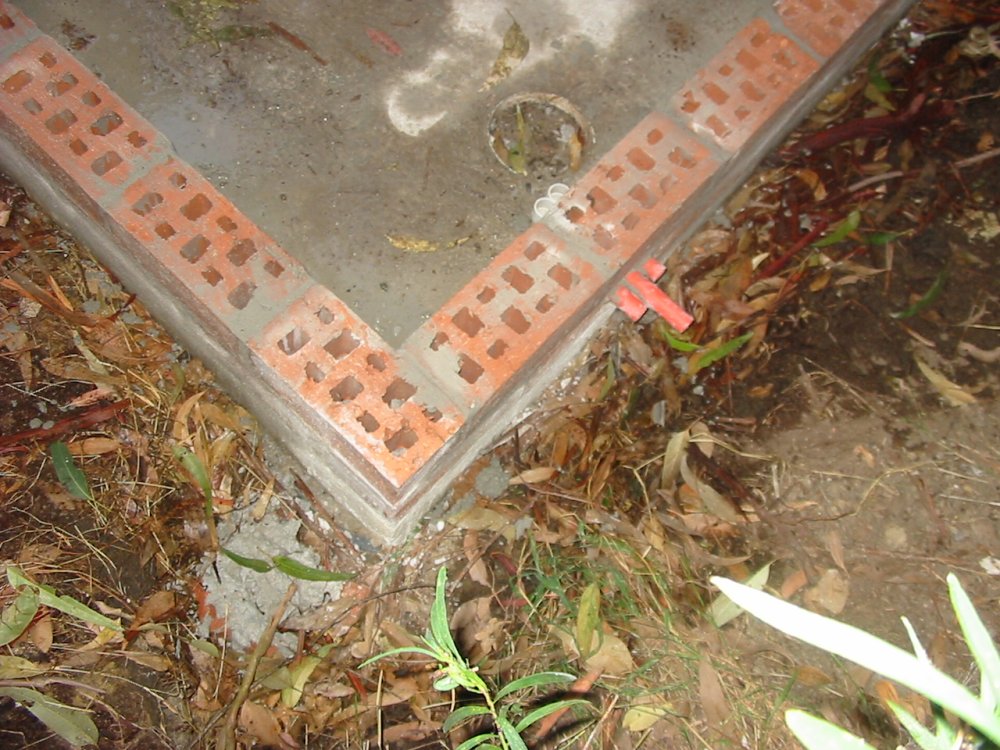
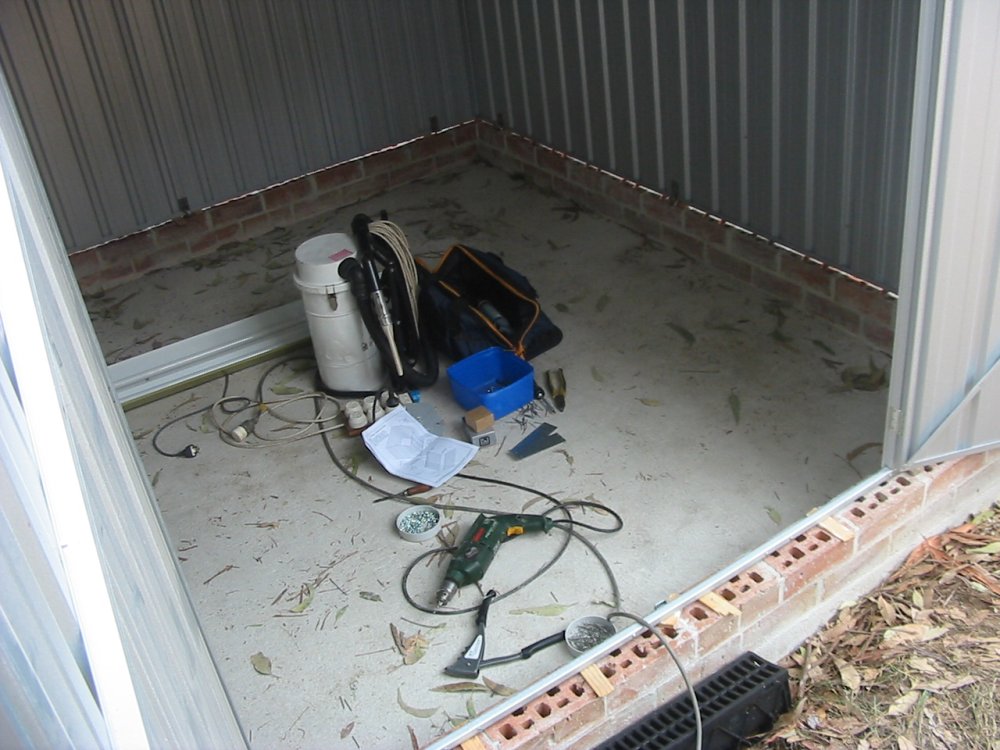
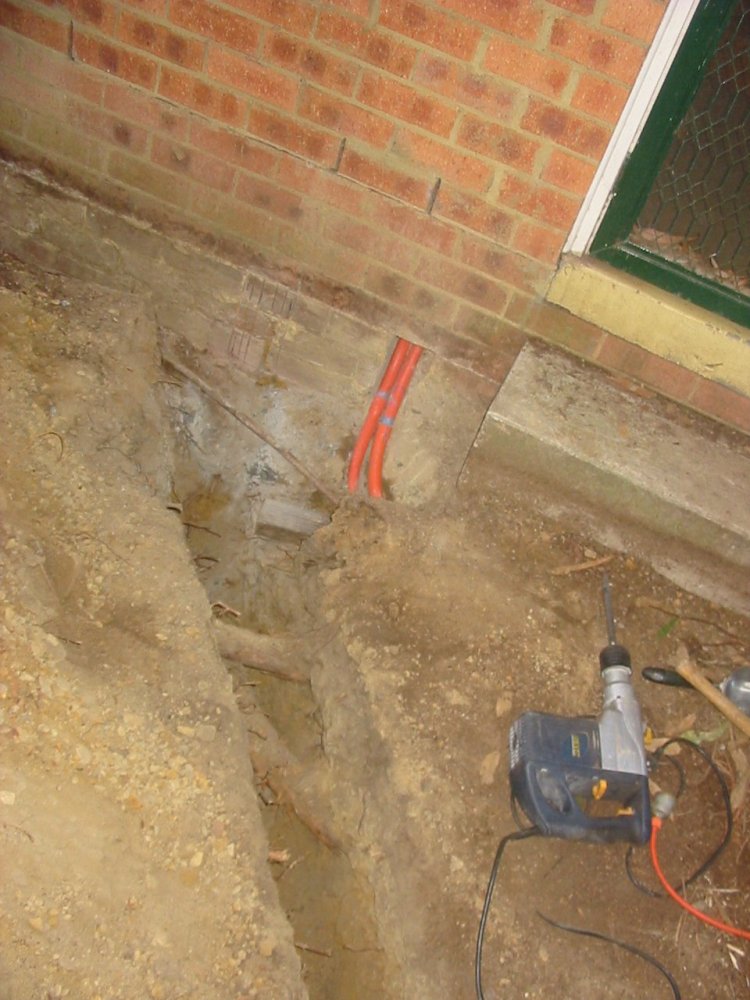
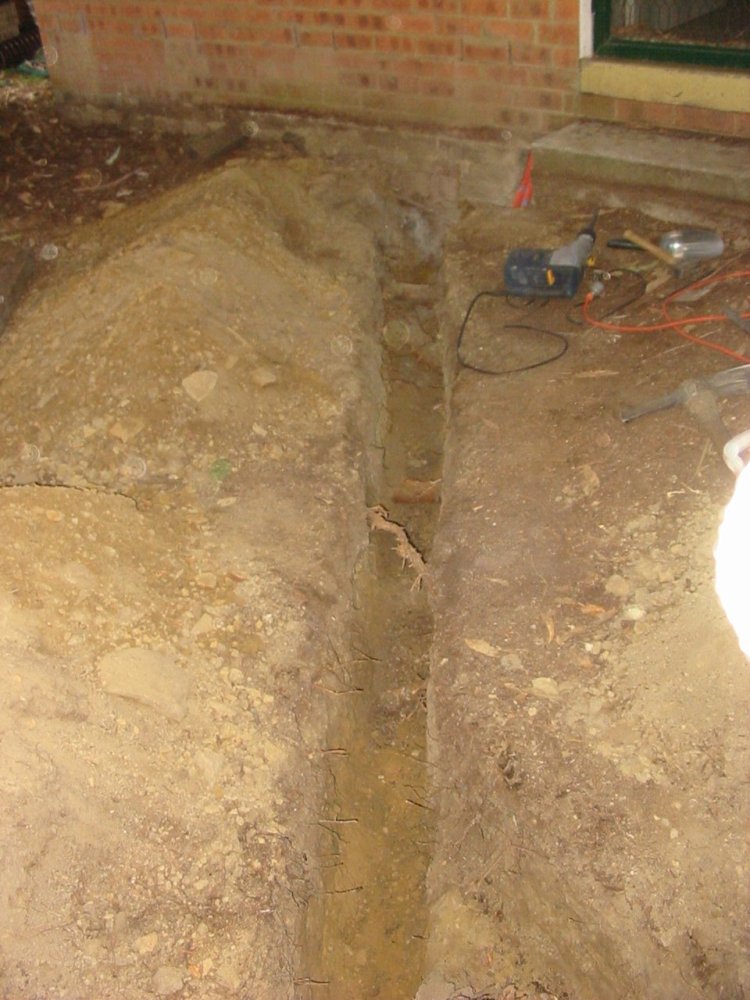
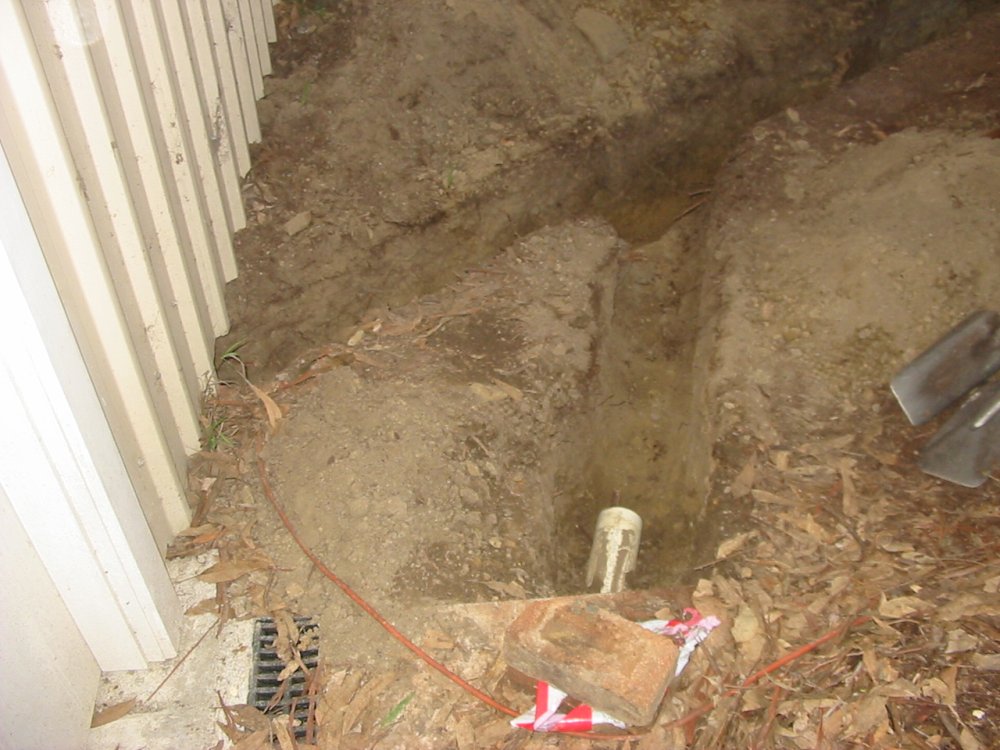
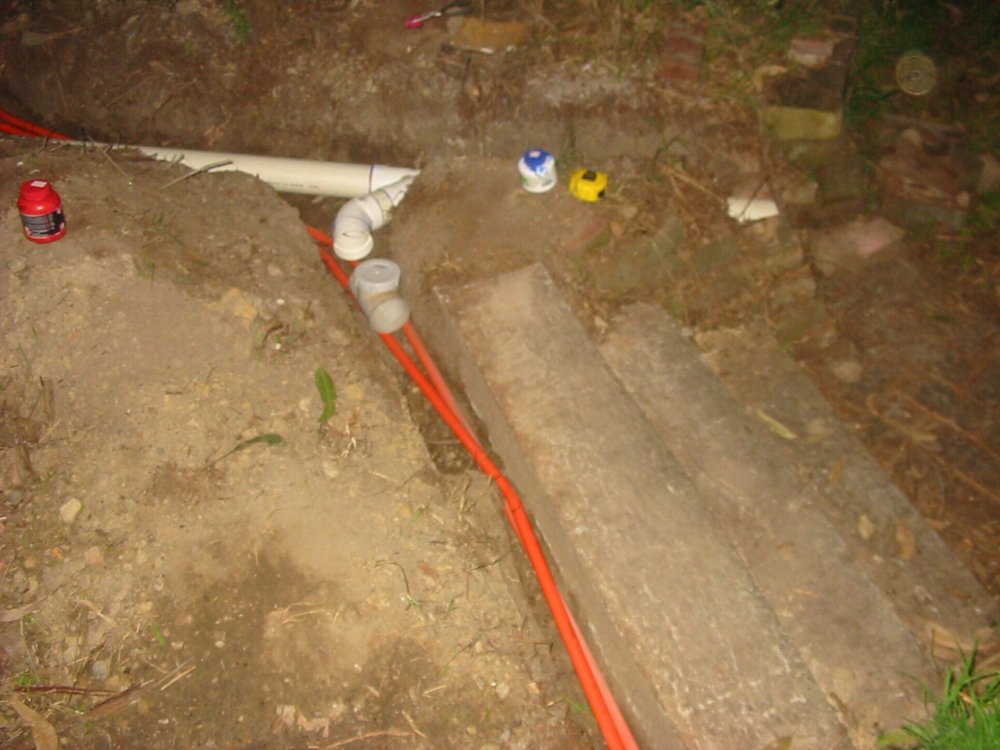
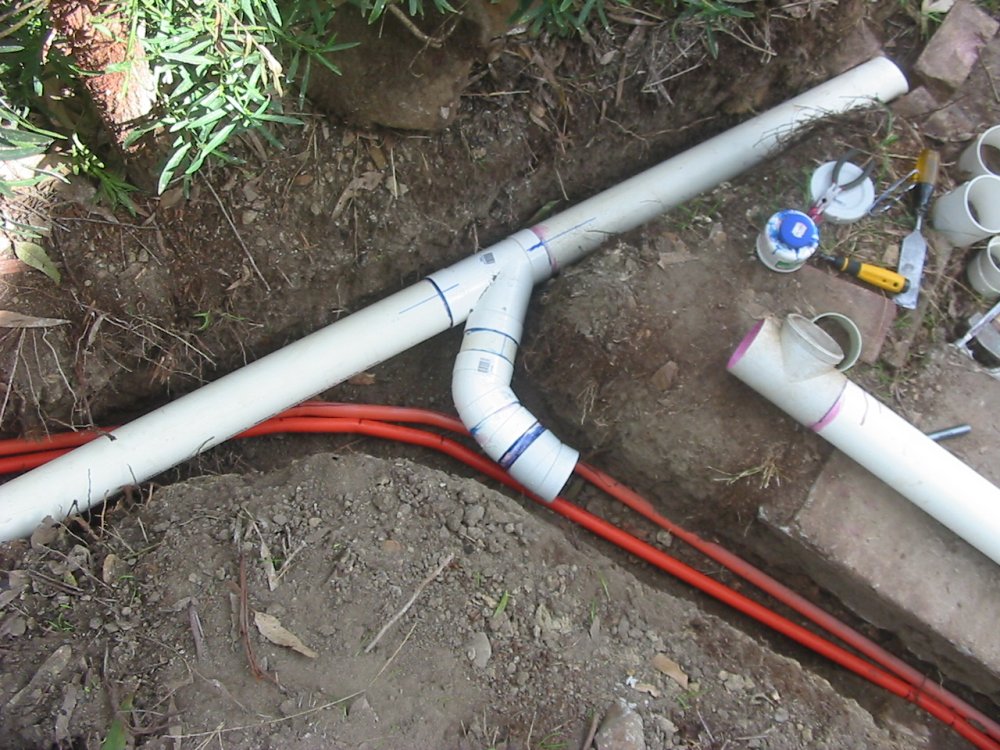
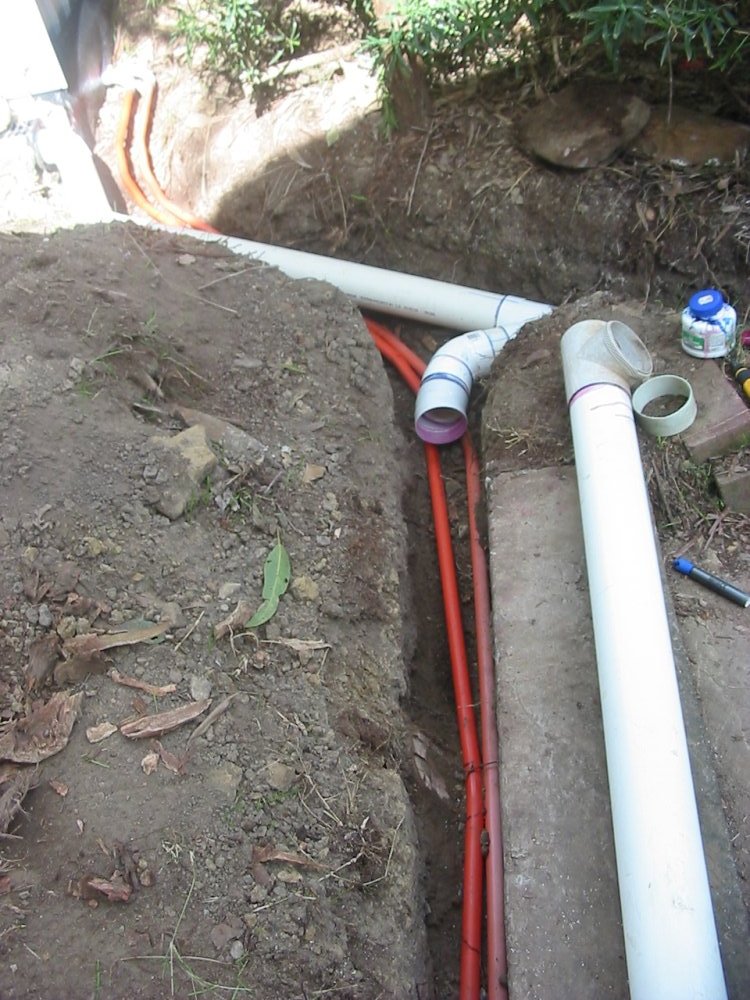
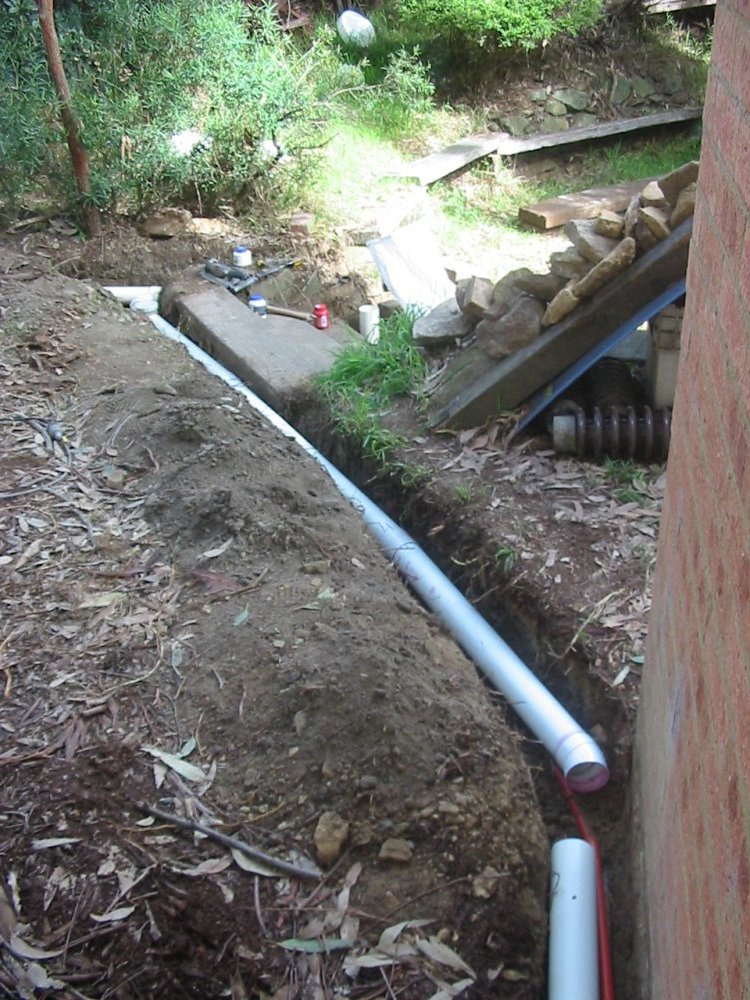
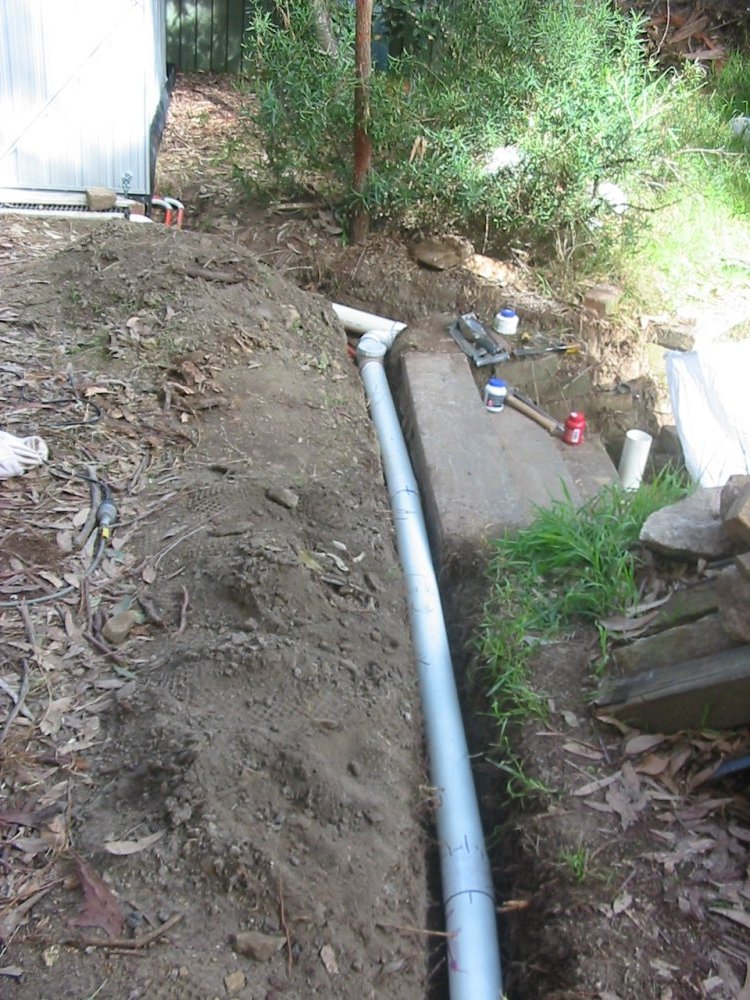
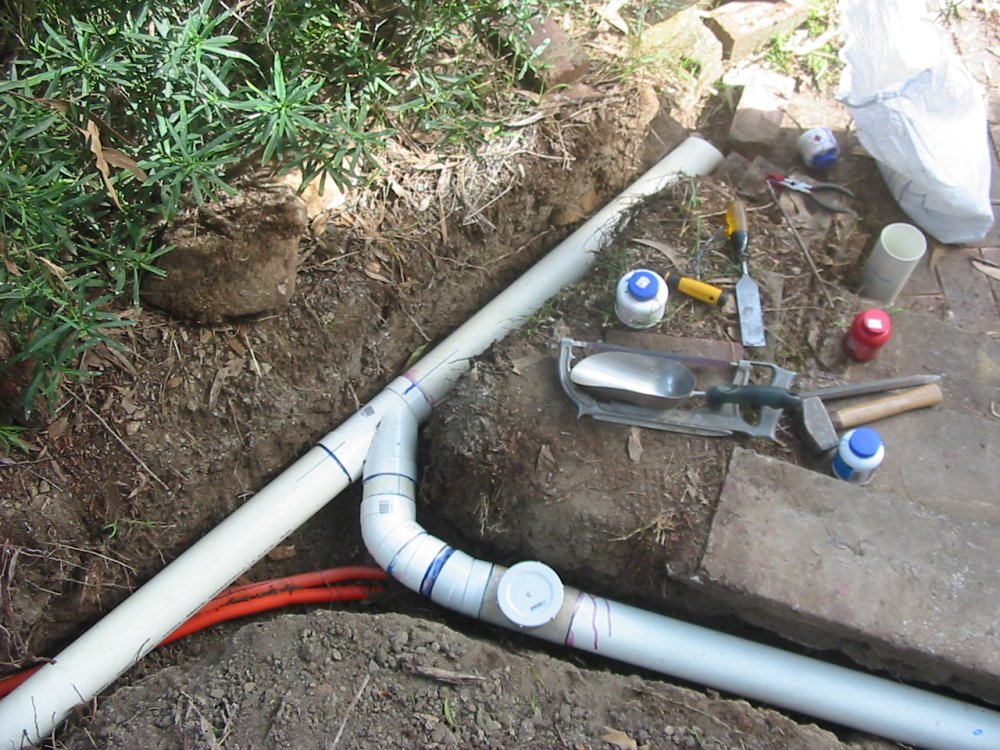
20110419. And so to the stuff in the ground. This was to be a combination of several chores, involving drainage, water, power and coms between three buildings. The small metal shed just happened to be involved.
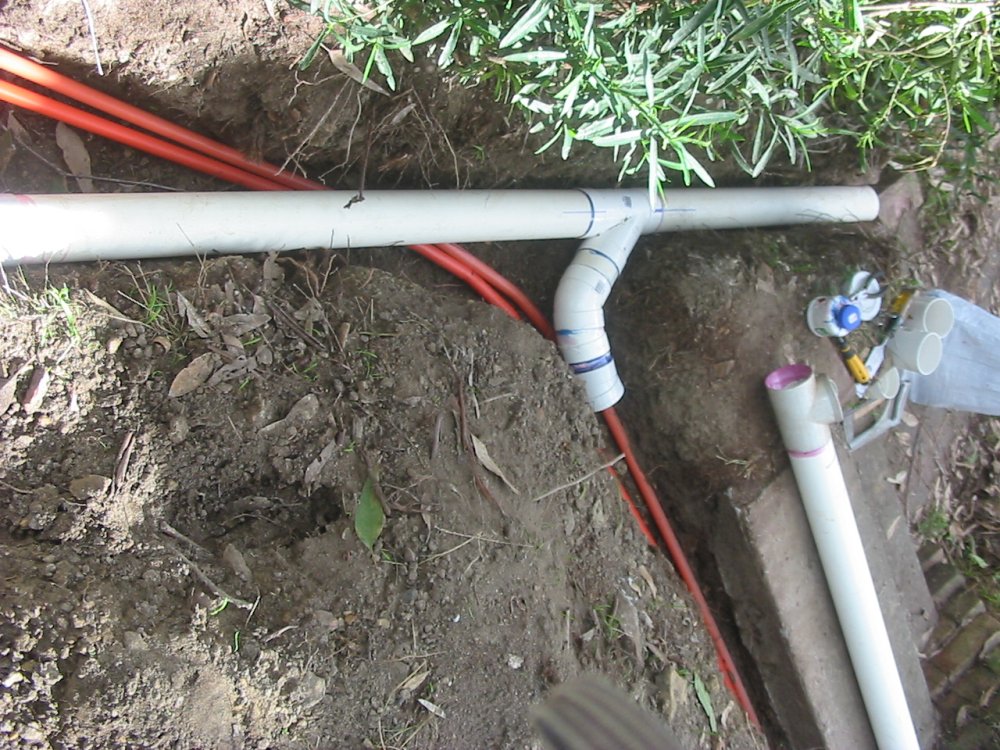
Pic 3 has that sump pit overflow pipe, sticking out from under the slab covering the pit.
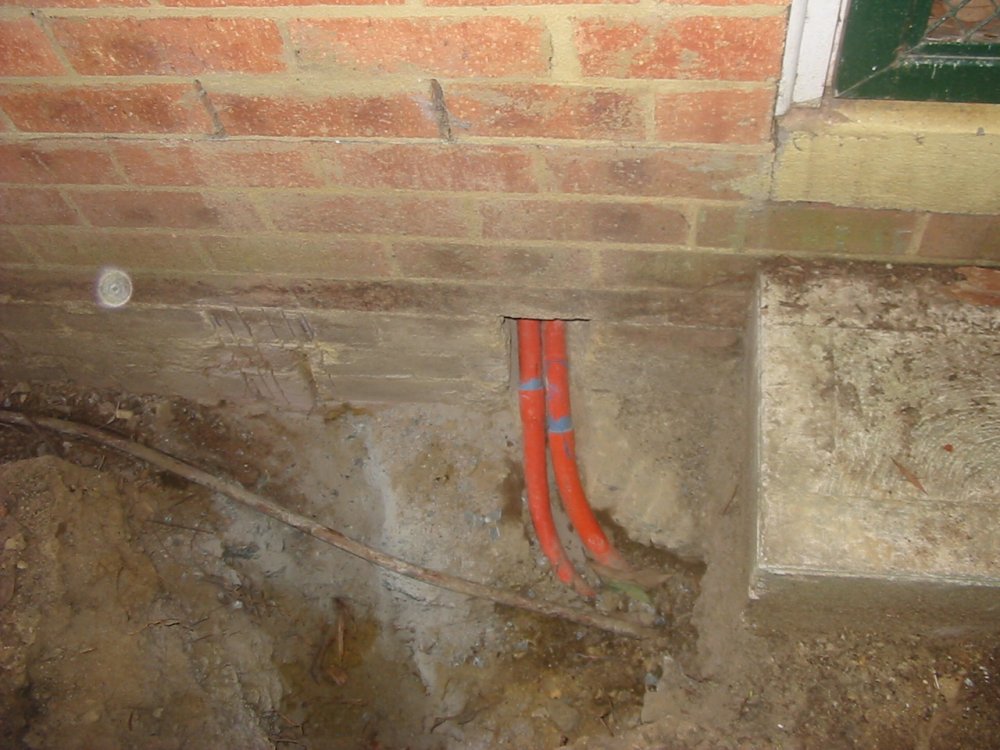
Pic 4 is cutting a hole through the brick wall of my main workshop, for extra conduits. The two already there are power and coms from the house.
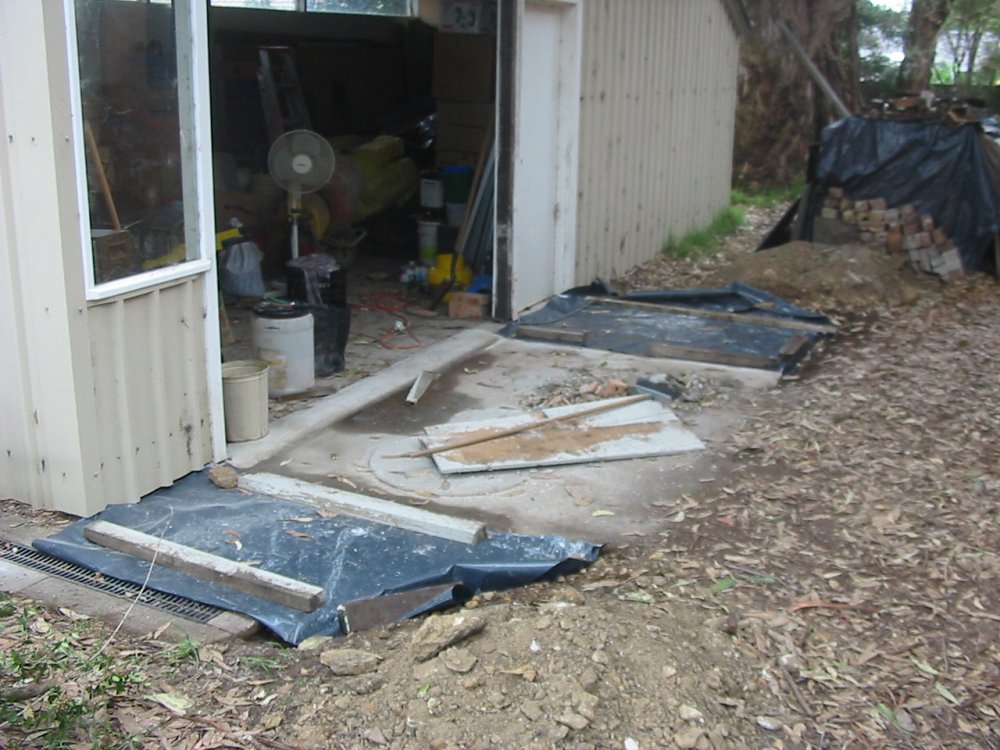
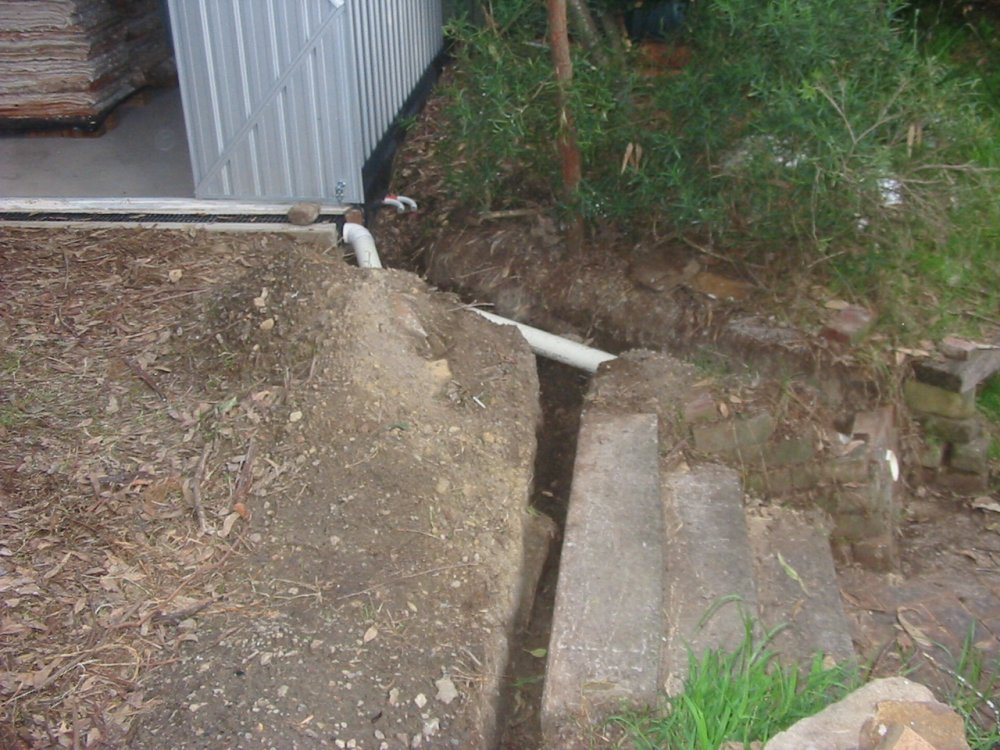
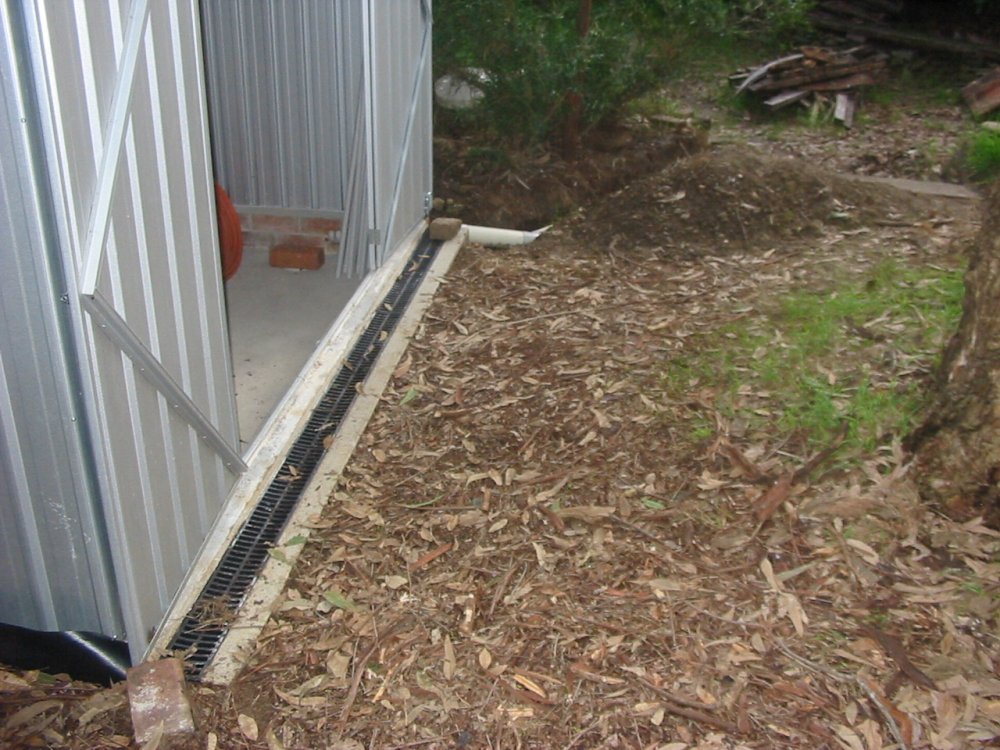
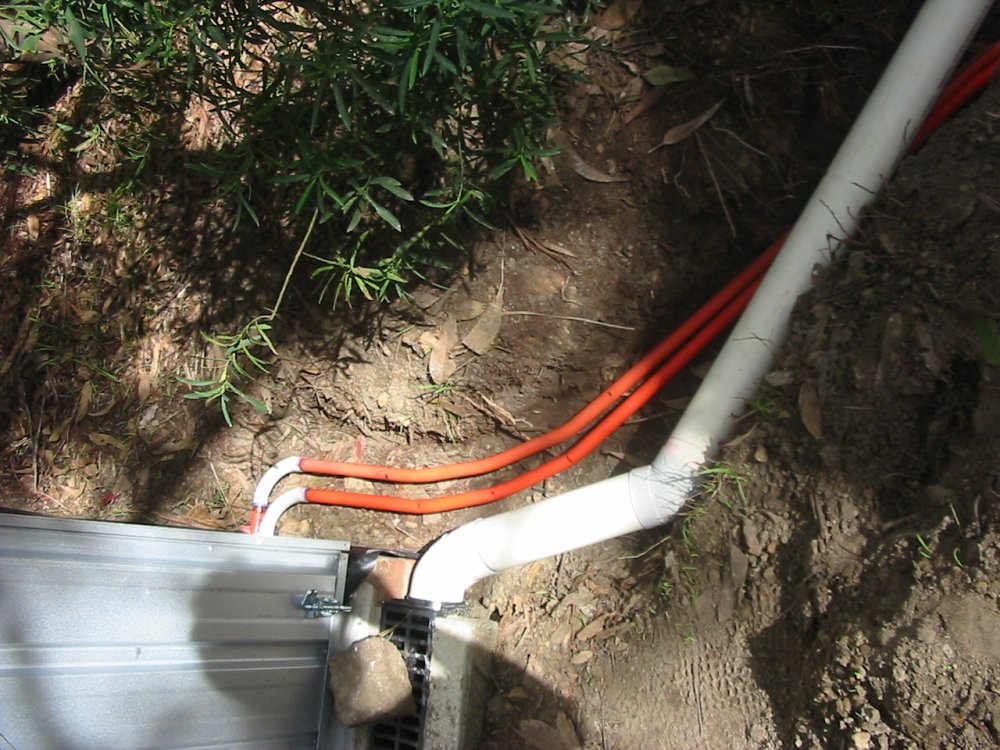
Pic 6 shows the door sill drain installed at the small shed, with the drain pipe in place. It goes to a large 'sunken BBQ area' at the right, which also acts as a final overflow retaining basin in very heavy rain. It's rarely seen standing water, and at most just a few inches deep.
 |
 |
 |
 |
 |
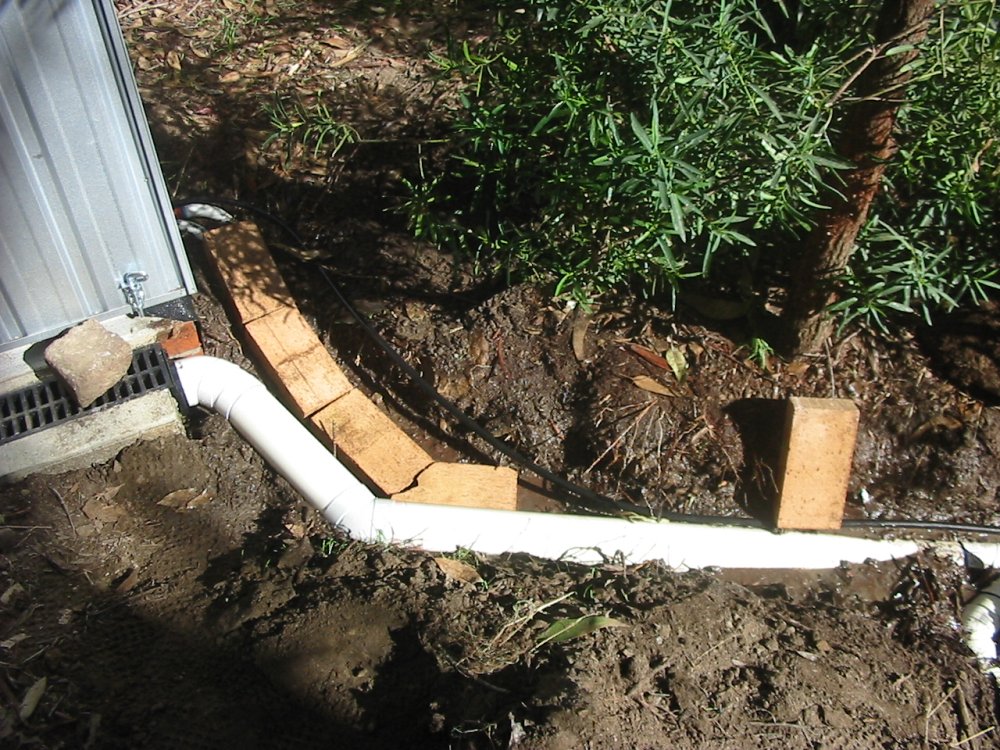
More drainage. Also you can see the lower edge of the shed walls are now concreted to the brickwork. I'd hoped this would be reasonably waterproof, but it turned out the concrete formed lots of little cracks which wicked rainwater off the walls into the shed inside. Later on I painted the outside with several coats of silvery bituminous paint, which fixed that problem.
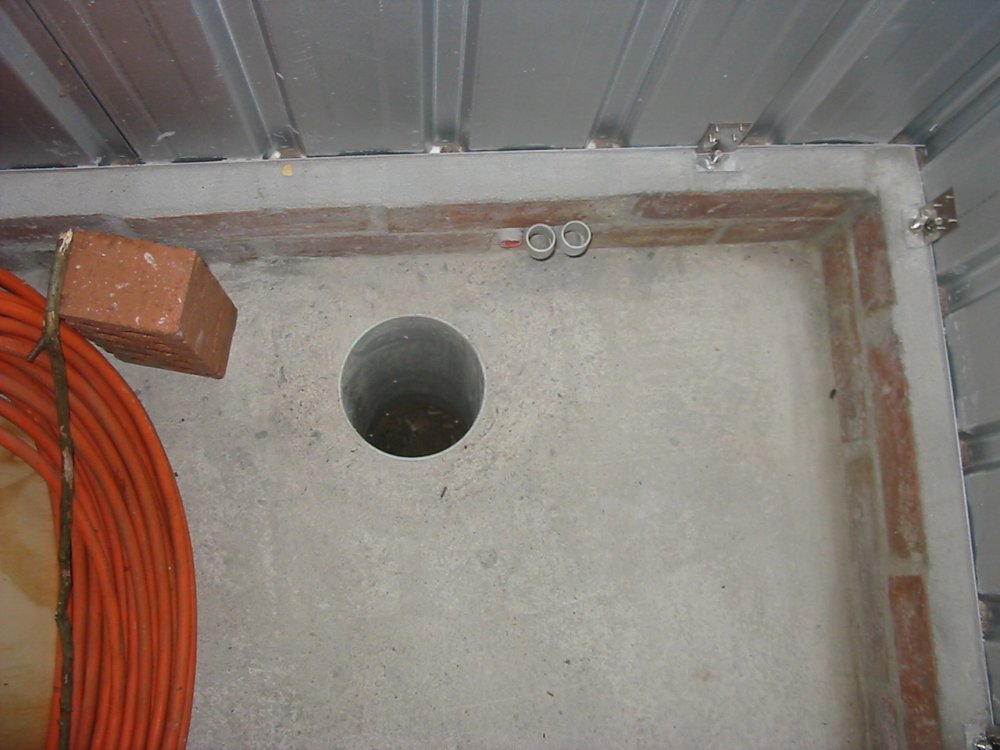
The round pipe set into the floor slab is open at the bottom to the soil. It's intended as a soak pit to absorb small amounts of water that may get in. If there is ever a need I can put a small sump pump in there, draining to the nearby (lower) basin via one of those small pipes through the bricks.
Normally I keep a small stick in this sump pipe, so lizards can climb out if they fall in. Which they do. Silly lizards.
 |
 |
 |
 |
 |
 |
 |
 |
 |
 |
 |
 |
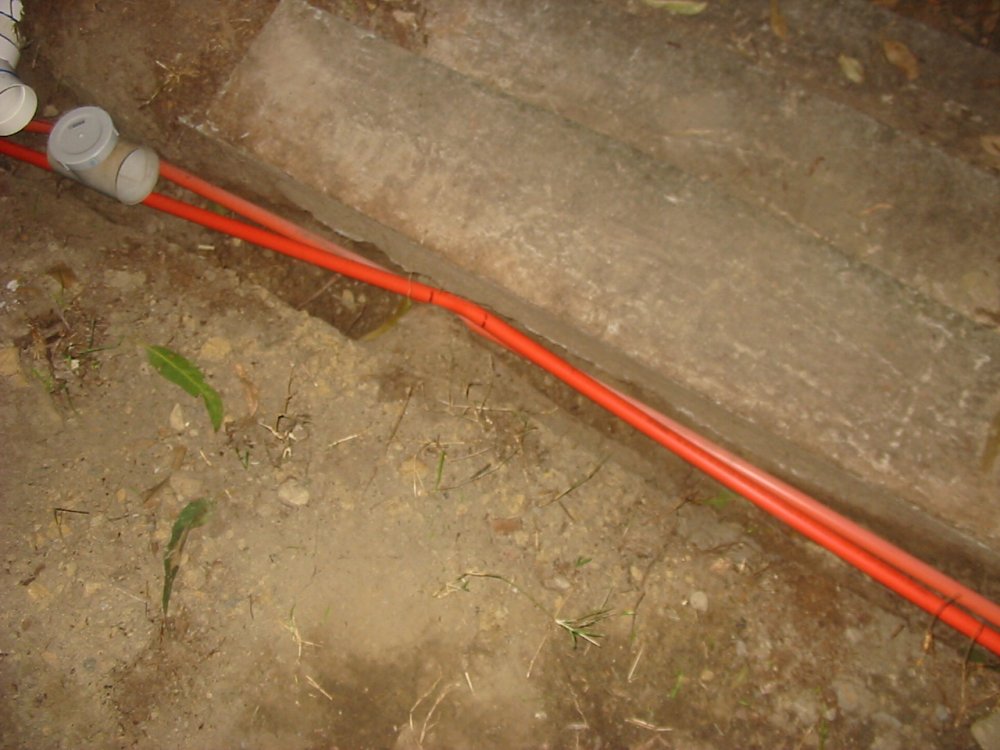
20110422. Just boring pics of in-ground pipes and ducts. There's more too, related to the larger shed. But that will be in the post about that shed.
That white sheet material stacked up inside the garden shed? That's high temperature kiln insulation. There's another story about my lifelong ambition to do sculptural bronze casting. Related to that, many years ago I was lucky enough to be given permission to salvage materials from a brickworks that was being demolished. I got a lot of firebricks, and this stack of insulation. That's what the larger unfinished shed is for, ultimately — to house a metal casting furnace. They're easy to make if you have all the needed materials, and I do. Just lacking... time, money, energy, motivation... sigh.
 |
 |
This was where that stuff was stored before building the small shed. Now this heap is gone, and the materials are out of the weather.